Today on the Splitcoaststampers website, I was asked to do a tutorial for my Mini Blind card. You can check it out in the tutorial section of the SCS site here. You can also see my original tutorial and card here.
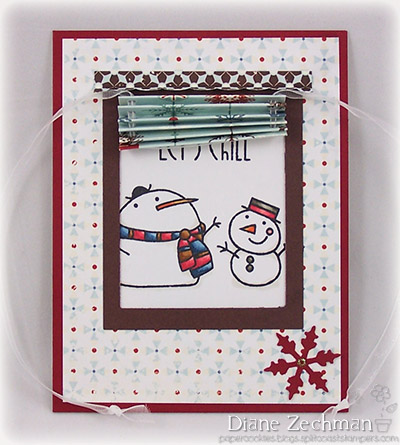
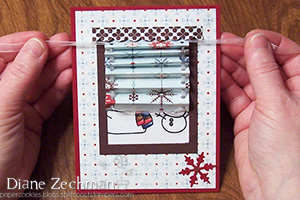
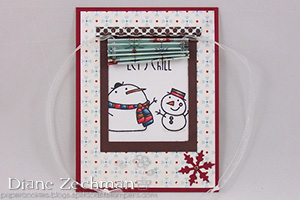
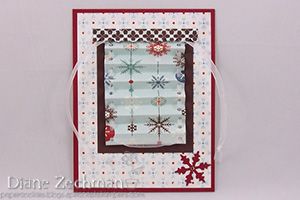
Here’s my card with the blind closed and also open. * Video tutorial is at the end of this post.
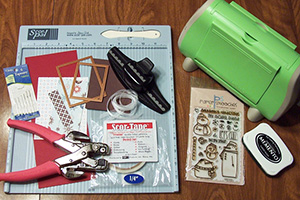
card base- 5 1/2 x 8 1/2 piece of cardstock (SU! Cherry Cobbler)
layer- 4 x 5 1/4 piece of cardstock or patterned paper (Echo Park)
inside layer (optional)- 3 1/2 x 5 piece of neutral cardstock (white)
blind- 2 3/8 x 4 7/8 piece of patterned paper (Echo Park)
valance- 3/4 x 3 1/8 piece of cardstock or patterned paper (E.P.)
window frame- 3 1/2 x 4 1/2 scrap of cardstock (Choc. Chip)
Stamps- Paper Smooches Swanky Snowdudes
Ink- Memento Tuxedo Black
Scor-Pal, Scor-Tape, glue, 18” ribbon, Crop-A-Dile, Large Rectangle Nestabilities, die cutting machine, SU! Scallop Edge punch, EK Success snowflake punch, Stickles, large-eyed needle (optional).
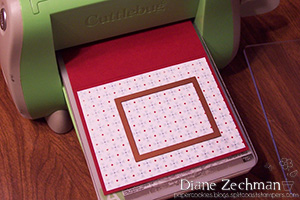
Step 1: Adhere the layer to the cardfront. Using the next to the largest size of the Large Rectangle Nestabilities, die cut an opening in the card front only.
Hint: If you don’t have Rectangle Nestabilities, simply cut a 2 3/8 x 3 opening in the card front with a paper trimmer or craft knife.
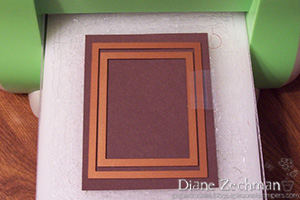
Step 2: Using the same die, along with the largest die, diecut a piece of brown cardstock to create a window frame. Use a little tape to hold them in place if necessary. Attach this frame to the card front.
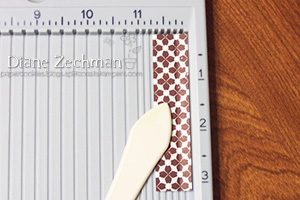
Step 3: Score the 4 7/8″ side of the blind every 3/8″.
Hint: To do this on the Scor-Pal- first align the paper against the left fence and score @ 3/8″, 3/4″, 1 1/2″, 2 1/4″, 3″, 3 3/4″, and 4 1/2″.
Step 4: Next, move the paper over so the left edge is aligned at the 1/8″ groove. Score @ 1 1/4″, 2″, 2 3/4″, 3 1/2″, and 4 1/4″.
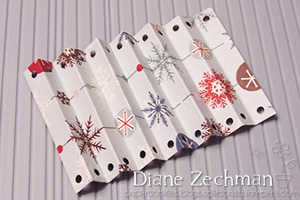
Step 5: Starting with a valley fold at the top, accordian fold the blind. Then, holding it folded up, punch each end with the smallest hole of the Crop-A-Dile.
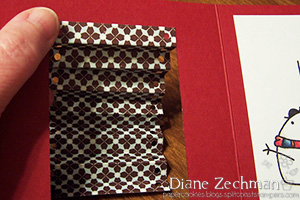
Step 6: Unfold. It should now look like this…
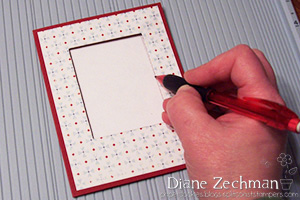
Step 7: Lightly trace the window opening onto the inside of the card with a pencil. Hint: If using a colored cardstock base, first adhere a neutral layer of cardstock to the inside.
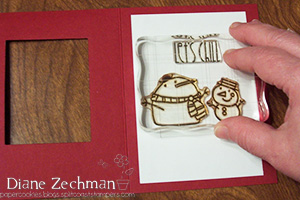
Step 8: Open the card and stamp images as desired using the pencil lines as a guide.
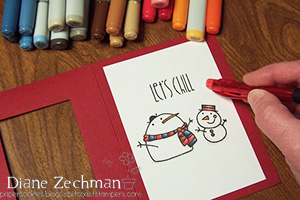
Step 9: Color your stamped images, if needed, and erase the pencil lines.
Step 10: Attach the top section of the blind to the inside of the card front, aligning the first (top) scored line with the top of the window opening.
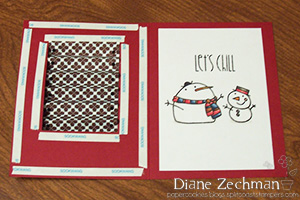
Step 11: Apply Scor-Tape or glue to the inside of the card front as shown. Adhere the front to the back. (The finished card will not open like a normal card.)
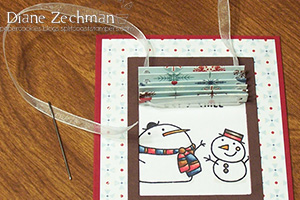
Step 12: Thread ribbon through the holes in the blind, starting and ending at the top. A large-eyed needle may be used to thread the ribbon through if needed. Knot ends of ribbon.
Step 13: To create a valance, score the 3/4” side at 1/4″. Then punch the other side with a scallop edge punch. Attach valance to the top of the window and finish card as desired.
Step 14: Pull both ribbon tails at the same time, in opposite directions, to make the blind go up.
The finished card open…
And closed…
Variation: Try using a window die instead of the rectangle dies to create the opening. Adjust the width of the blind as necessary.
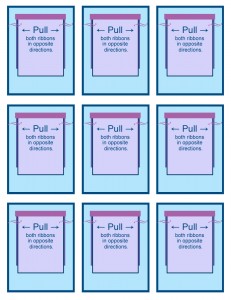
Also…sometimes we like to add a little “instructions” with our interactive cards, so I made a sheet with multiple copies. This can be printed out and cut up so one can be included with the Mini Blind card when mailed. Click on it for a larger pic and “right click” to save to your computer.
VIDEO: SORRY my camera cut off the end…as I was saying…the blind unfolds flat and the card will fit into a standard A2 envelope.
[youtube]https://www.youtube.com/watch?v=3YZ77hF-sB4[/youtube]




 cookiestamper ♥


7 responses to “Mini Blind card tutorial with video”