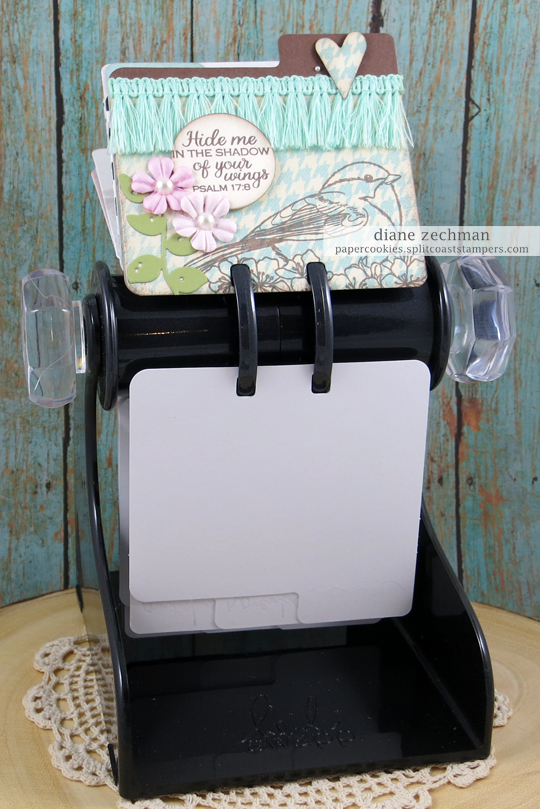
Hello! I am jumping on the Memorydex bandwagon today. A few years ago I was interested in these cards but never got around to creating one. Back in 2015, Heidi Swapp came out with the punch, some dies, and cards, etc. to fit into her Memorydex box (sort of like a library card system). She also has a spinner type rack (shown here). These are based on the old Rolodex system but with fun, creative cards rather than addresses/phone numbers.
Fast forward to today… some Bible journalers are now creating these cards with faith based inspiration and bible verses on them as a fun, creative reminder to keep on display. The SNSS Creative Worship group is focusing on these a bit this month and have dubbed them “Faith-dex” cards. So what better time for me to jump in?
Before I get to my card, there have been lots of questions about where to purchase the supplies. Here are some of the supplies I am starting with… Heidi Swapp Memorydex holder and Oval dies, Tabs dies, Everyday Kit, Monthly cards and punch. Some people make their own tray to hold them and others sell them. Just do a search for Memorydex tray.
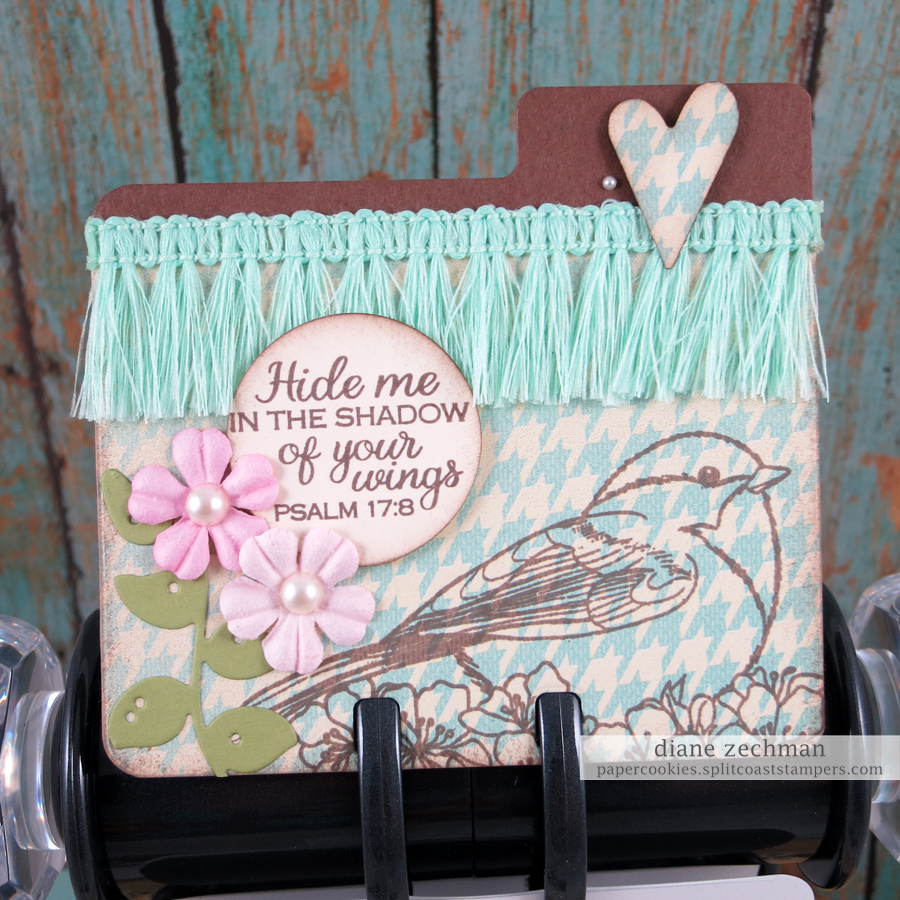
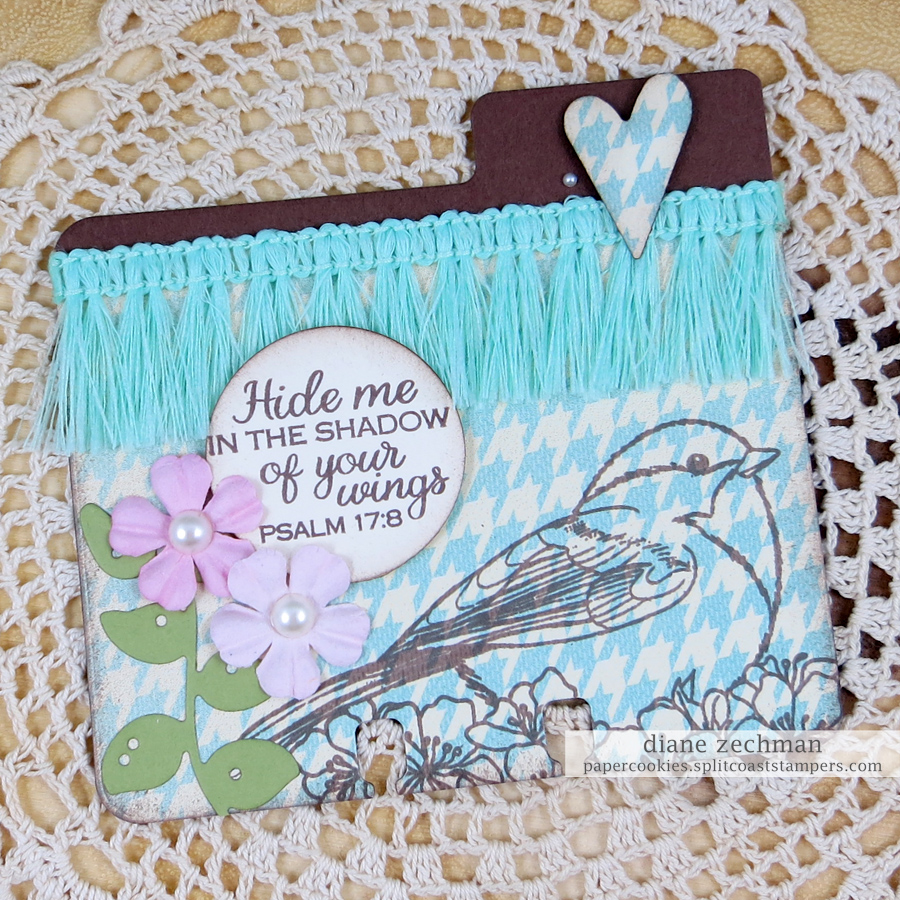
I used the Sweet ‘n Sassy Singing Praises stamp set and stamped one of the birds onto patterned paper. This was added to a brown die cut card and I added the fringe trim with Scor-tape.
Here’s the Heidi Swapp Memorydex holder. As far as the size of these cards, there seems to be some variance on the height but as long as they are no more than 4″ wide and 3 3/4″ high (for those who use the spinning Memery-dex), then you should be good! You can cut your own cards and punch the holes on the bottom. If you don’t have the Memorydex punch yet, there are tutorials on how to measure and punch with a regular hole punch.
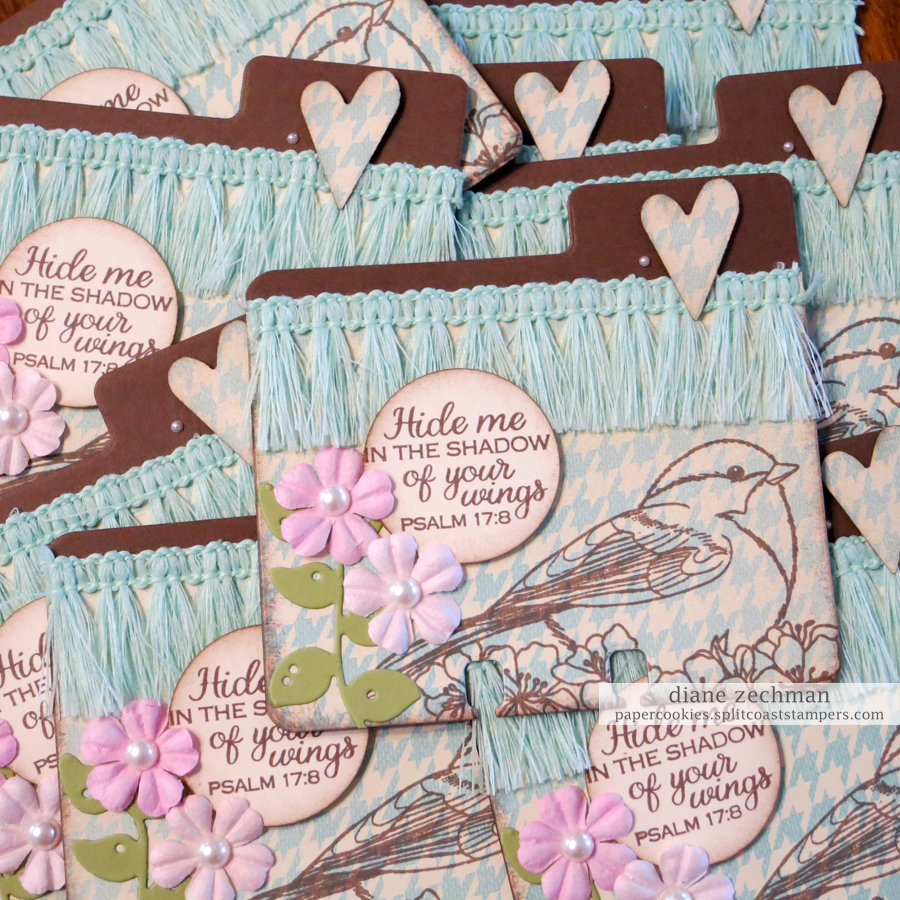
I made a few extras for a swap!
Have a great day!
stamps- Sweet ‘n Sassy Singing Praises; paper- vanilla, brown, SU! Pear Pizzazz and Etcetera dsp; ink- Memento Rich Cocoa; accessories- MISTI, Heidi Swapp Memorydex holder and Tabs dies, foam dimensionals, fringe trim, Scor-tape, 1 3/8″ circle punch, CC Designs Vine die, Prima flowers, pearls, EK Success heart punch.


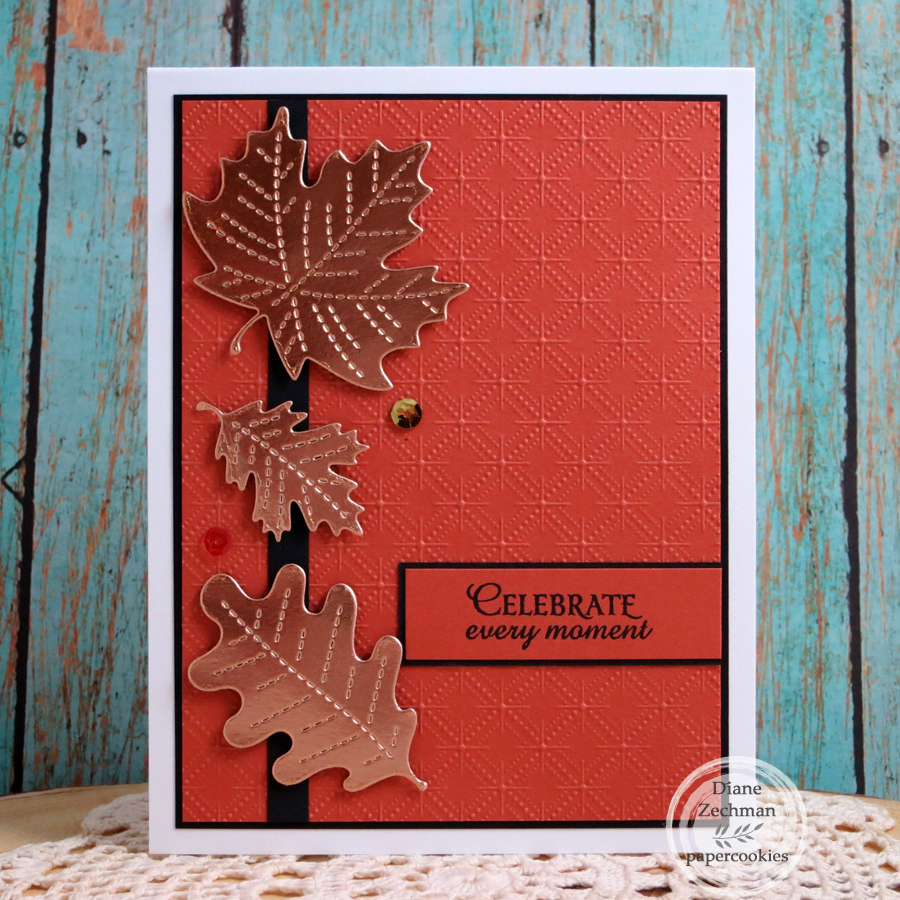

 cookiestamper ♥
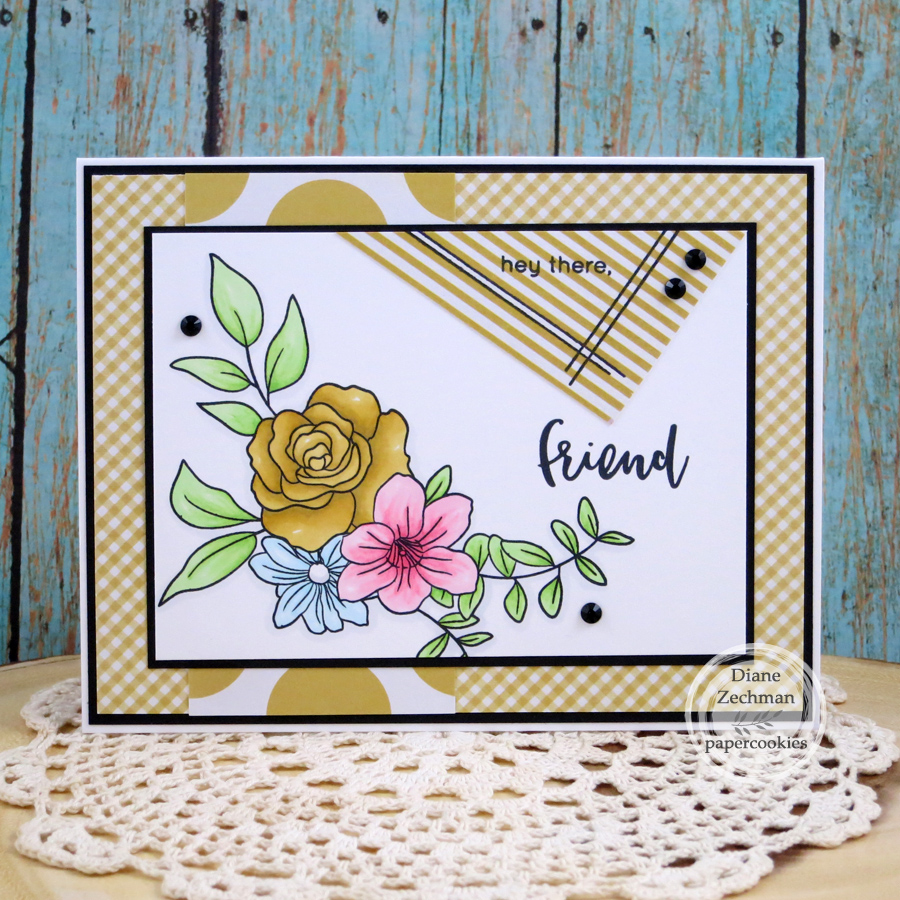


