Category Archives: Christmas

Stamp & Swap 2022

Today I am sharing the projects that I made for our annual Stamp & Swap, an all-day stamping event. Our theme this year was Gnome for the Holidays.

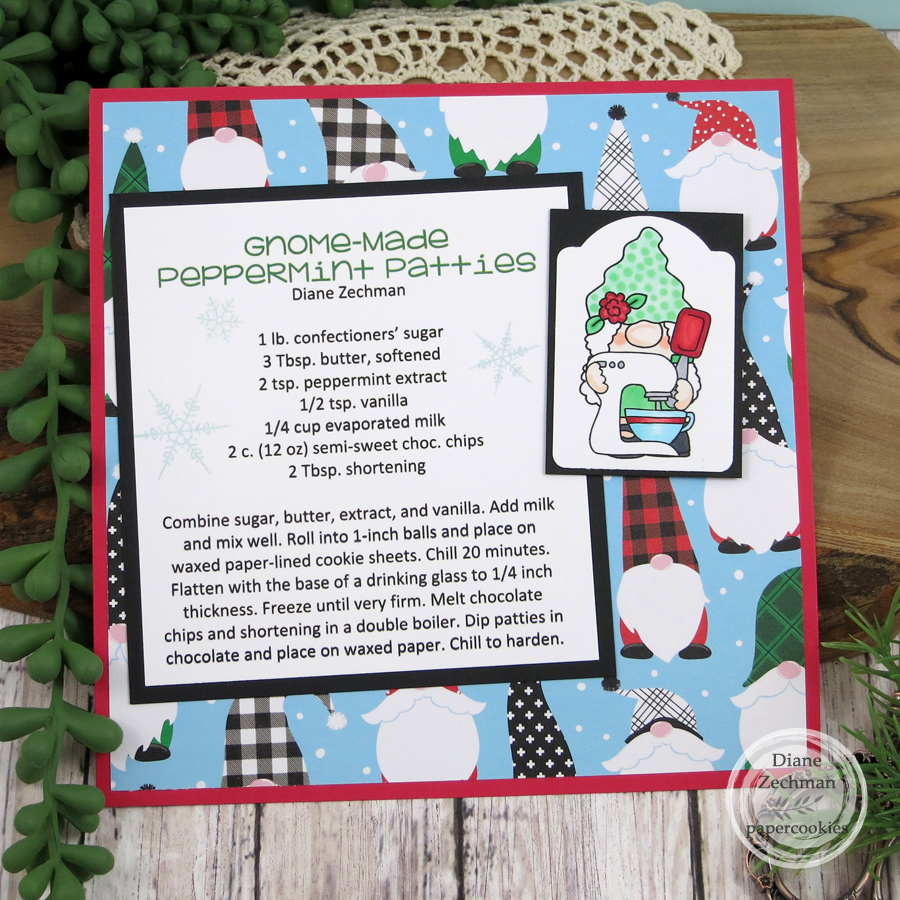
I had a bunch of Christmas Gnomes patterned paper from Hobby Lobby to use on some of my projects. The first one is a 6×6 recipe card. The gnome with mixer is a digital image by Last Minute Manda that I colored to coordinate with the background paper. The faint snowflakes were stamped with Sweet ‘n Sassy’s Cheerful Snowmen set.

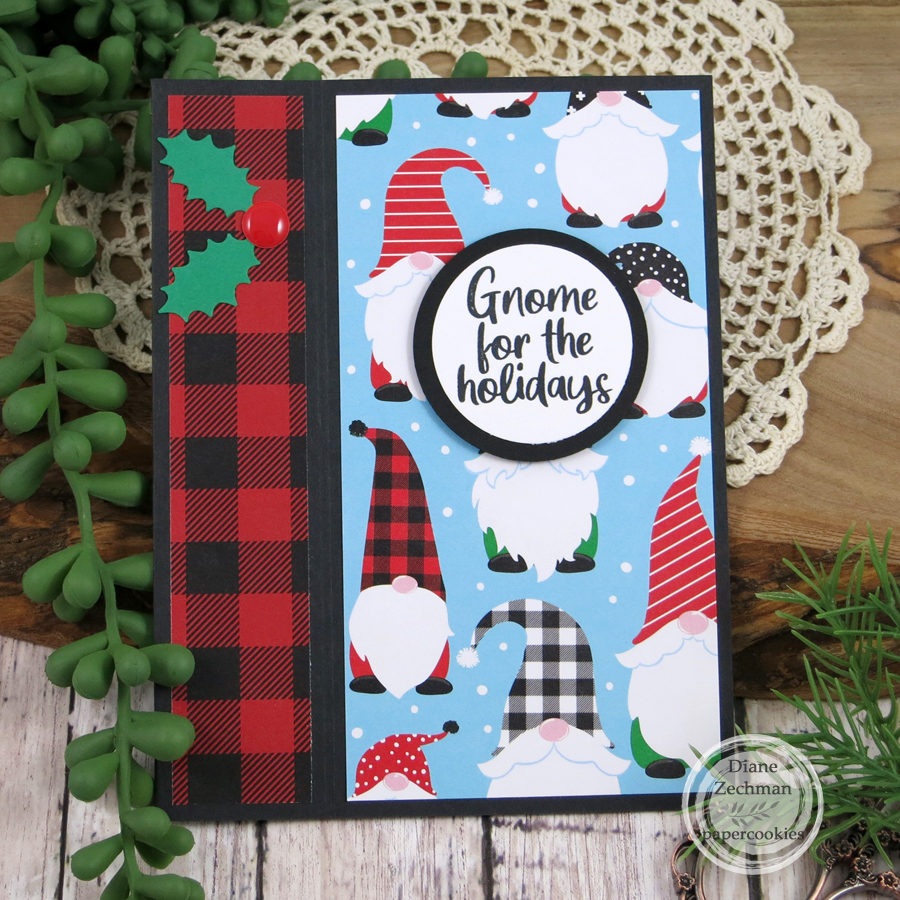
We try to keep our shoebox cards simple so everyone can either complete them or make a kit to complete at home. The left side of my shoebox card with the plaid paper is glued shut and only the right portion with the gnomes opens. The sentiment is from Sweet ‘n Sassy’s Christmas Gnomes.

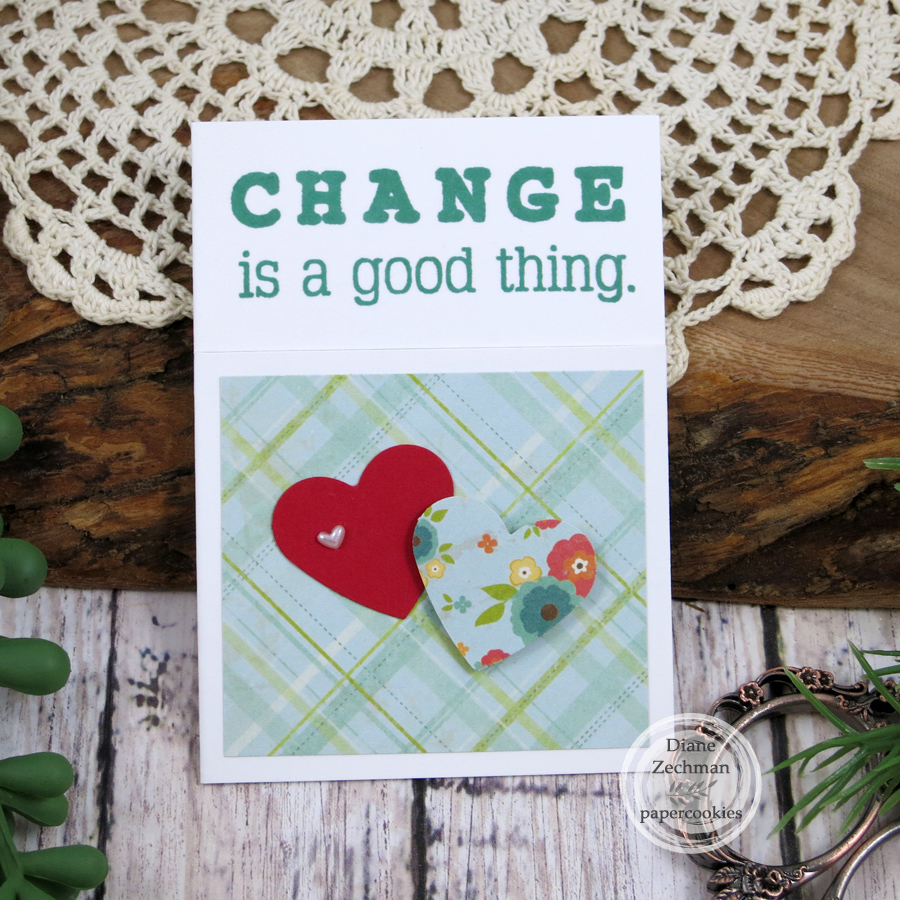
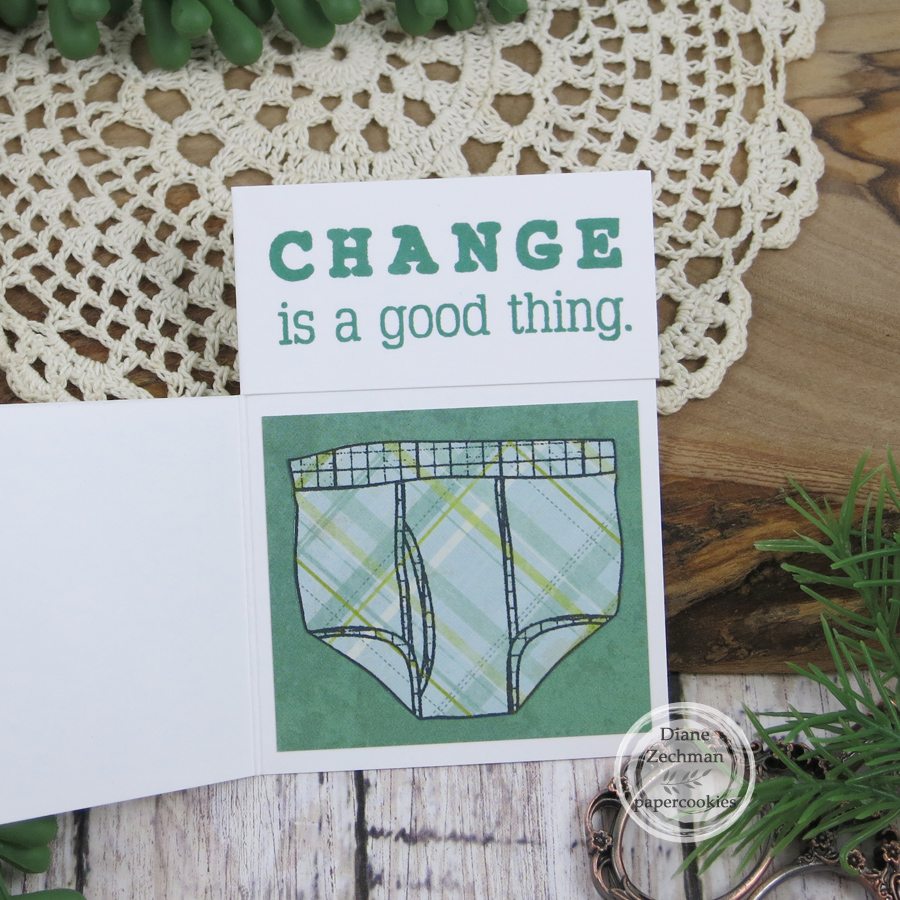
I made a simple interactive card for my ATC trade using a Unity itty bitty stamp set called Change is a Good Thing. This mini card has a top portion that is glued shut and the bottom opens up. 🙂

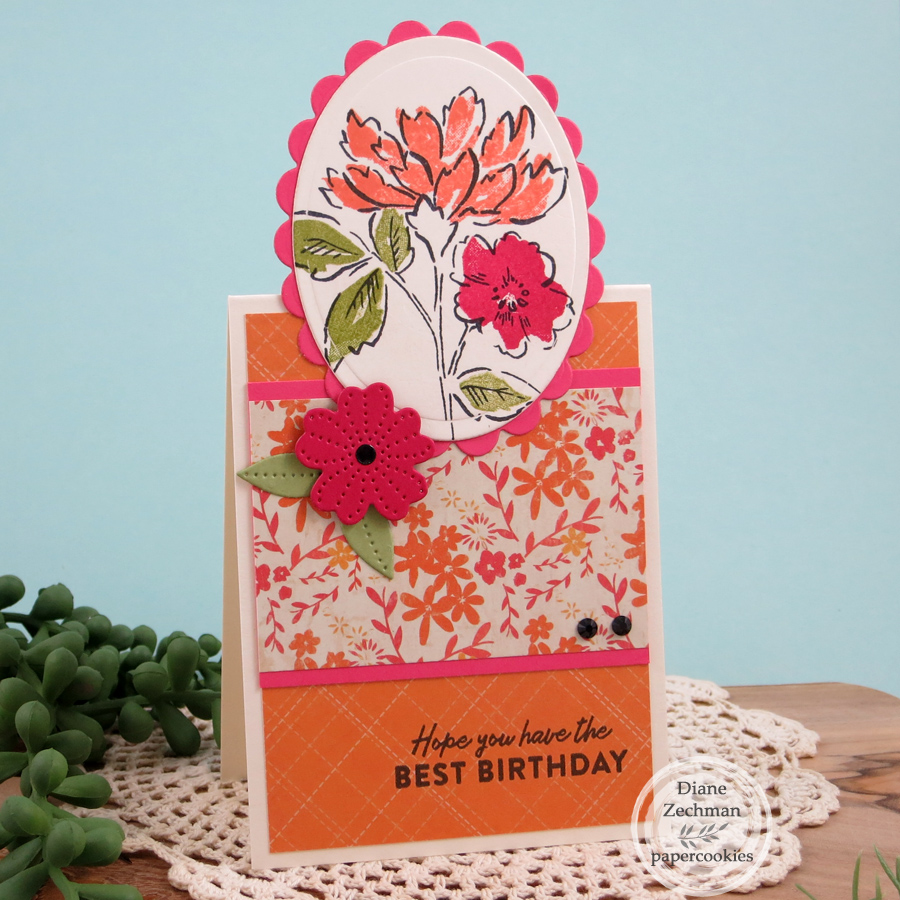
Next, I made a mini slim card with a tent topper using Stampin’ Up Hand-Penned Petals, Pierced Blooms Dies, and Friendly Hello. The paper is Colorbok- Beach House.

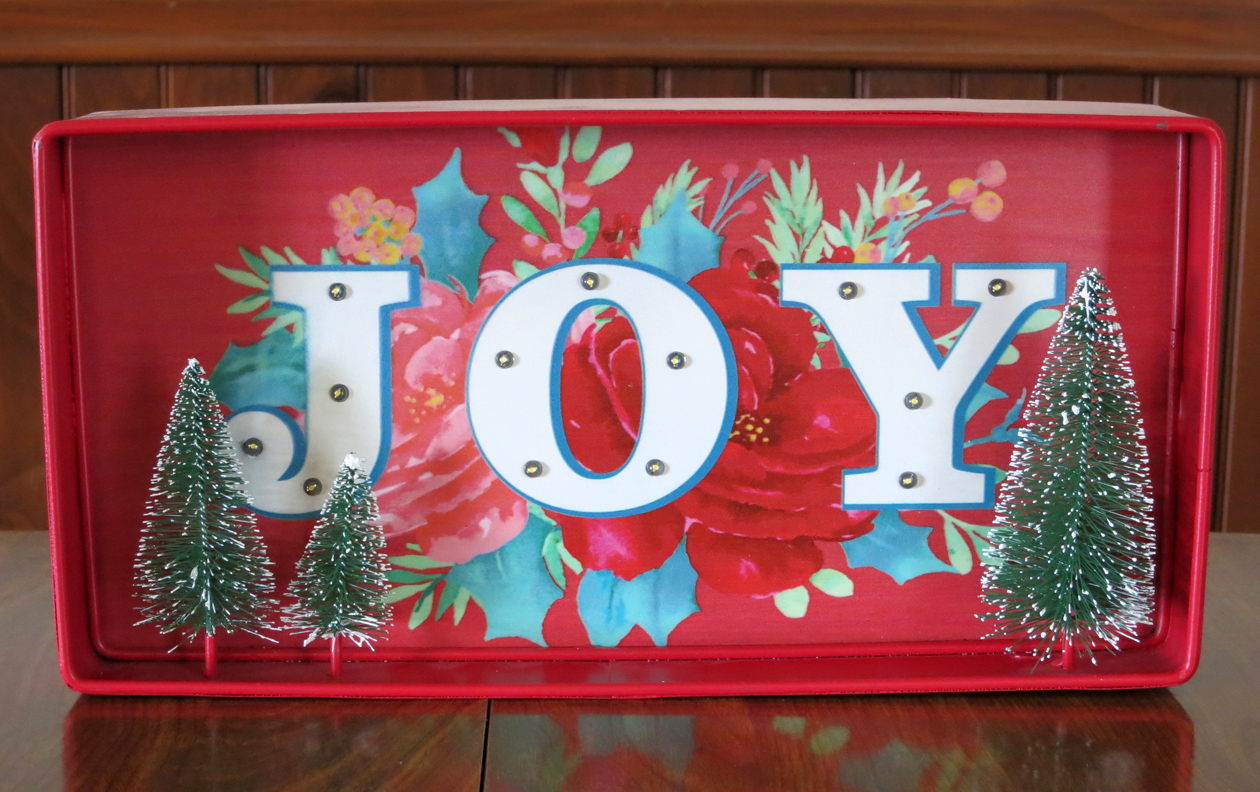
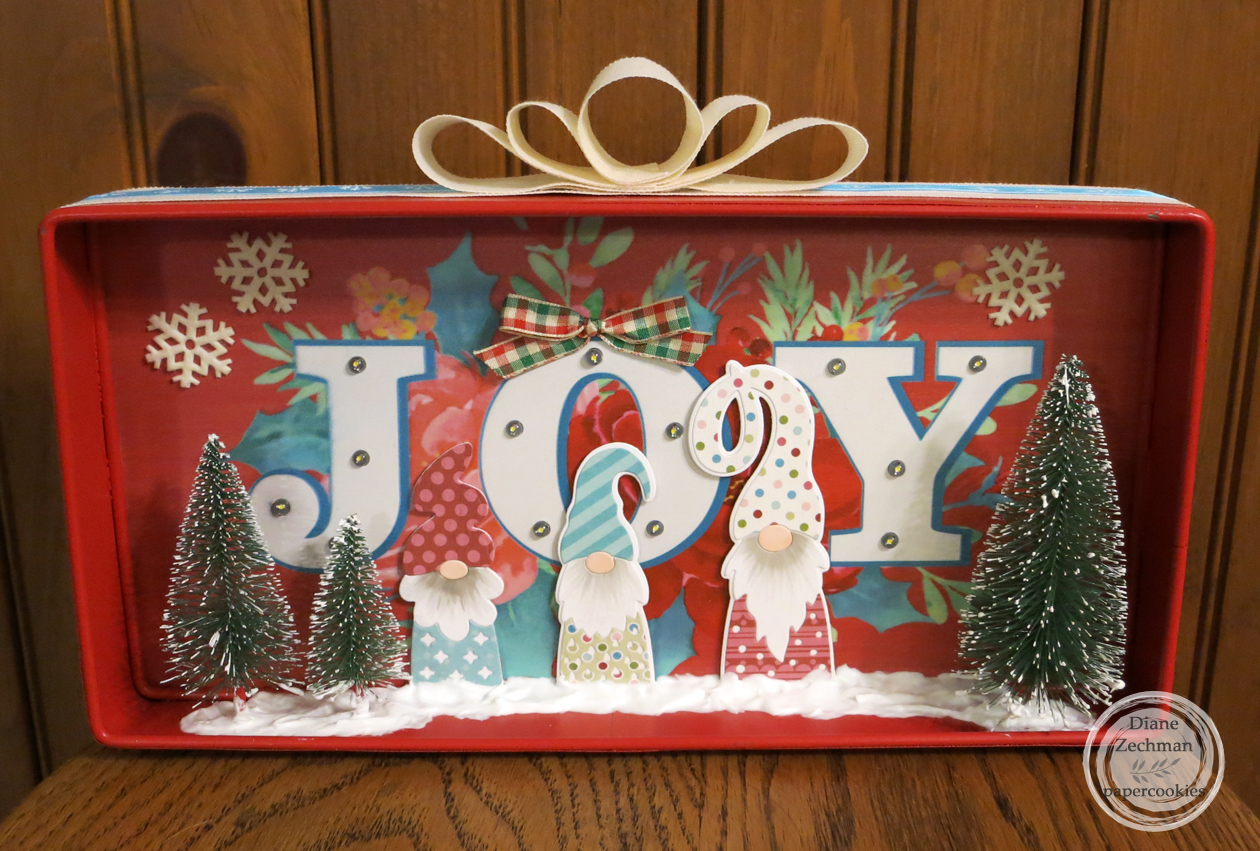
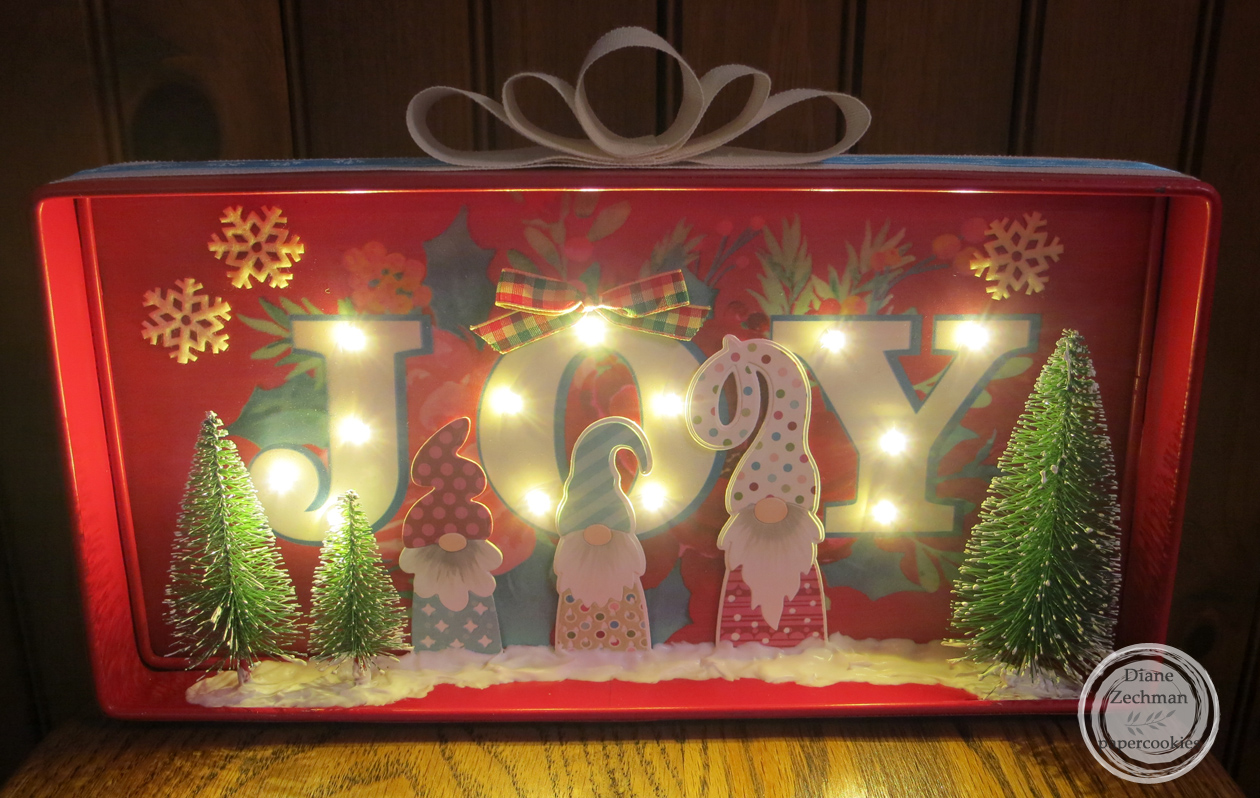
My last project was for a gift swap. I found a Pioneer Woman Christmas frame (first photo) on clearance last year at Walmart. The second photo shows how I decorated it with ribbons, gnomes, felt snowflakes, and Aleene’s True Snow. The gnomes are from Simon Says Stamp dies- Gnome, Pocket Gnome, and Li’l Gnome. As you can see in the last photo… it lights up!

Have a great week!

Adore Him

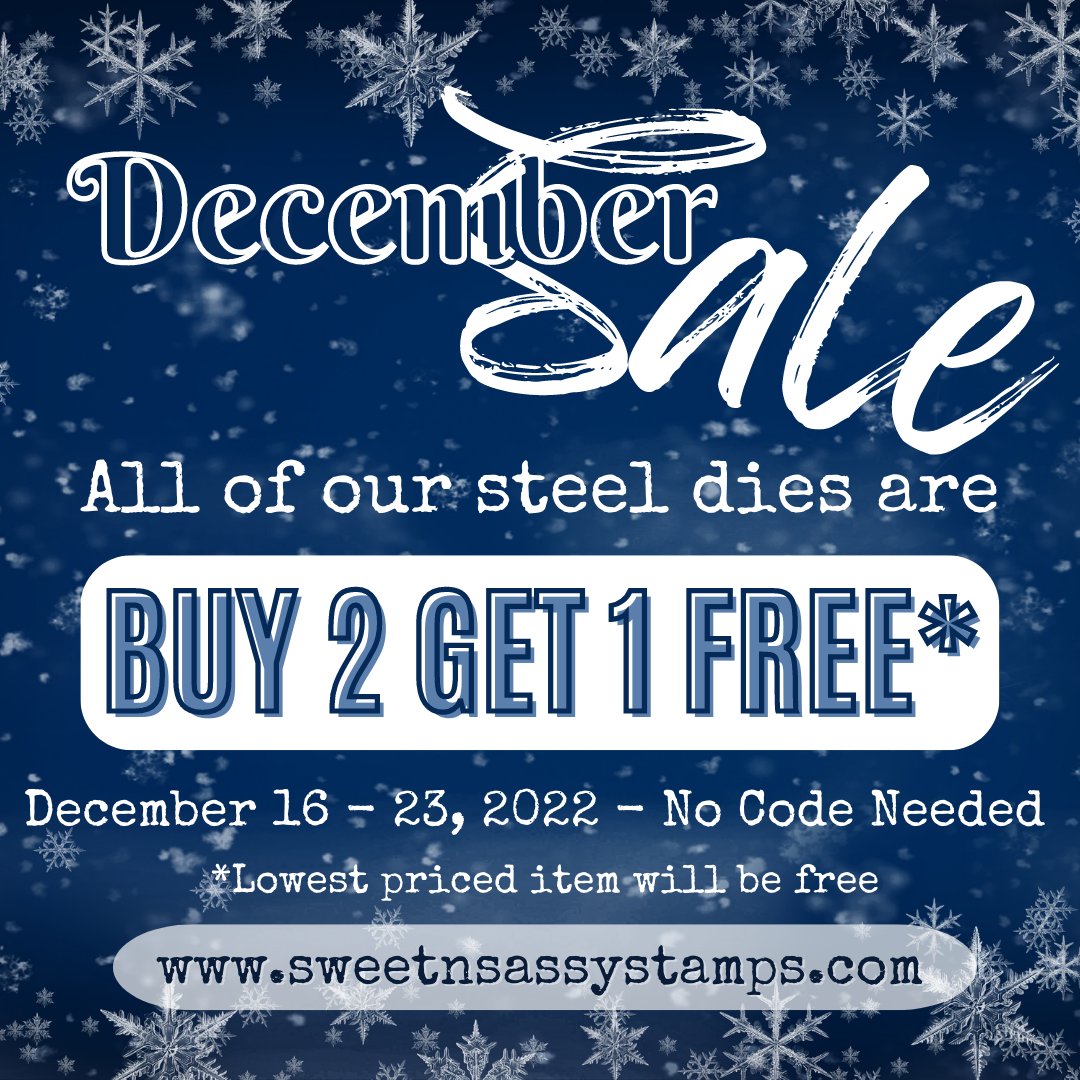
One of the new Sweet ‘n Sassy Stamps die sets released this month is for the Adore Him stamp set. I used the Adore Him Bundle on the cards I’m sharing today to create two CAS Christmas cards. Also, you will want to check out the sale going on at SNSS…ALL dies are Buy 2, Get 1 Free!

On the first card, I also used Christmas Silhouettes Bundle, Number Dies, and Stars Dies. Baby Jesus was popped up with foam tape.

I was going to keep the image and sentiment on my second CAS card in black and white but then decided to add in a bit of red. 🙂 The wise men are also popped with foam tape here.

Wishing you a wonderful Christmas!

cheerful hexies

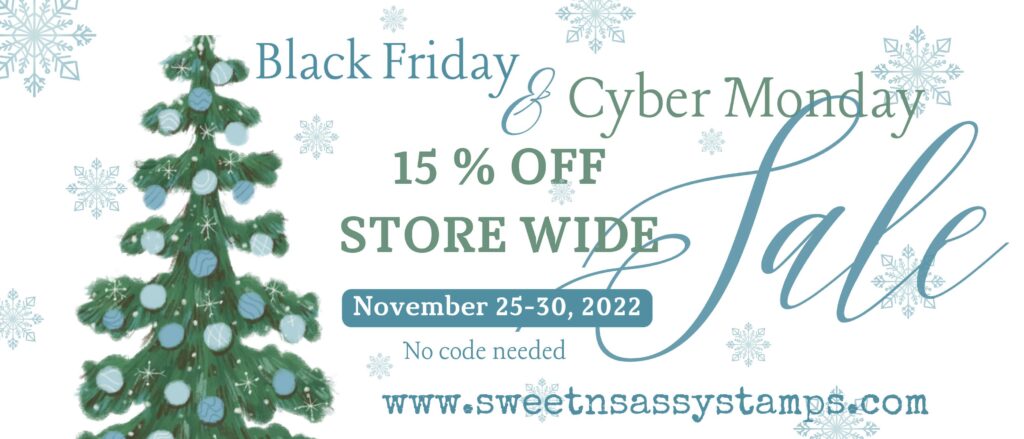
Hello! I have two more projects to share using this month’s release at Sweet ‘n Sassy Stamps. There’s also a Black Friday / Cyber Monday sale going on until Wednesday, so be sure to check it out!

I made two CAS Christmas cards for today. This first one is super quick & easy to put together. I used a die from the Cheerful Hexies Bundle to cut various scraps of Christmas prints. Then I stamped and die cut the “cheers” from the same bundle. A snowflake from the Sparkle Snowflakes Die Set was adhered and I added some Stickles for a little sparkle. A few scattered rhinestones finished it off.

The Jumbled Hexies Stencil was used for the background on my second card. I die cut some Cheerful Hexies Dies again and used stamps from the Mini Tag Sentiments Bundle.

Have a great day!

more catch up

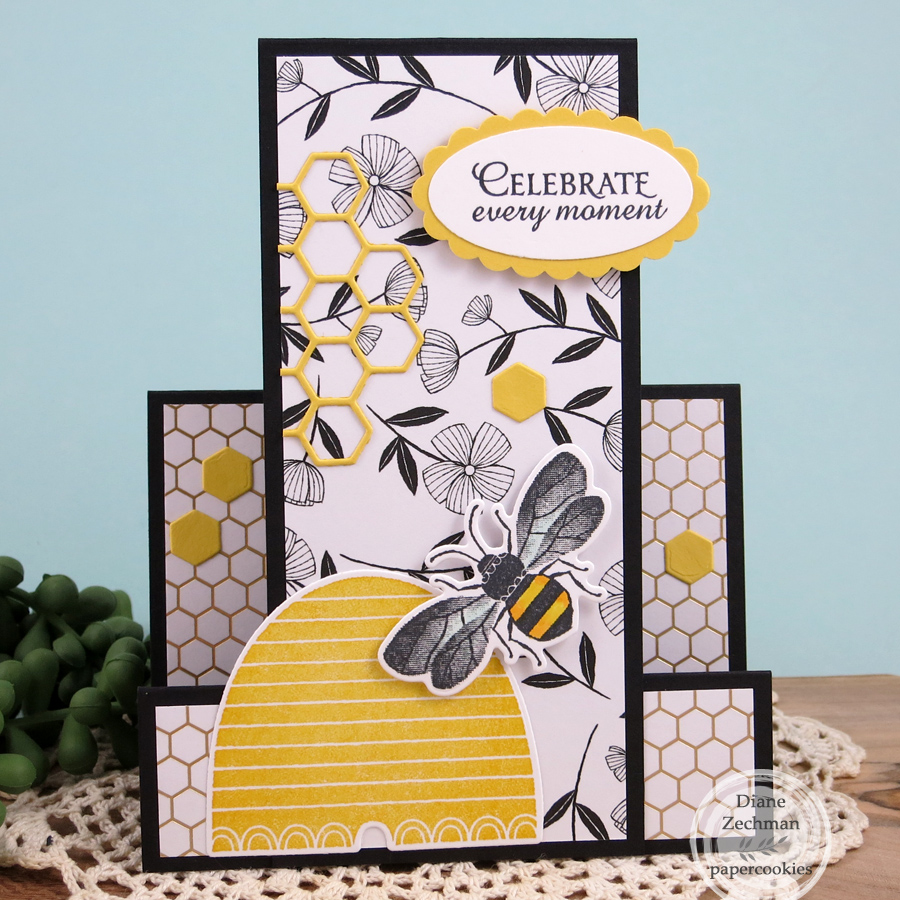
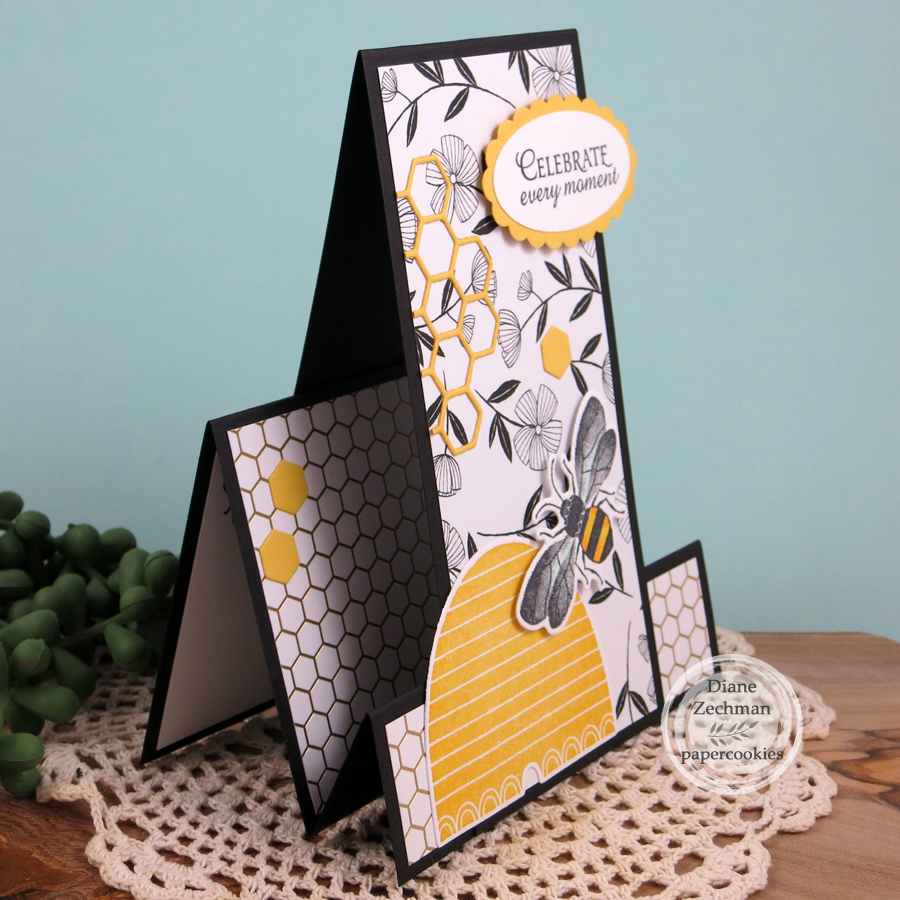
I’m sharing a few more cards today from the past 6 months. The first two are Faux Center Step Cards. Instead of cutting the scored card base and popping the center up, a separate strip is folded and adhered to the middle. So easy! First, I used the SU! Honey Bee Bundle.

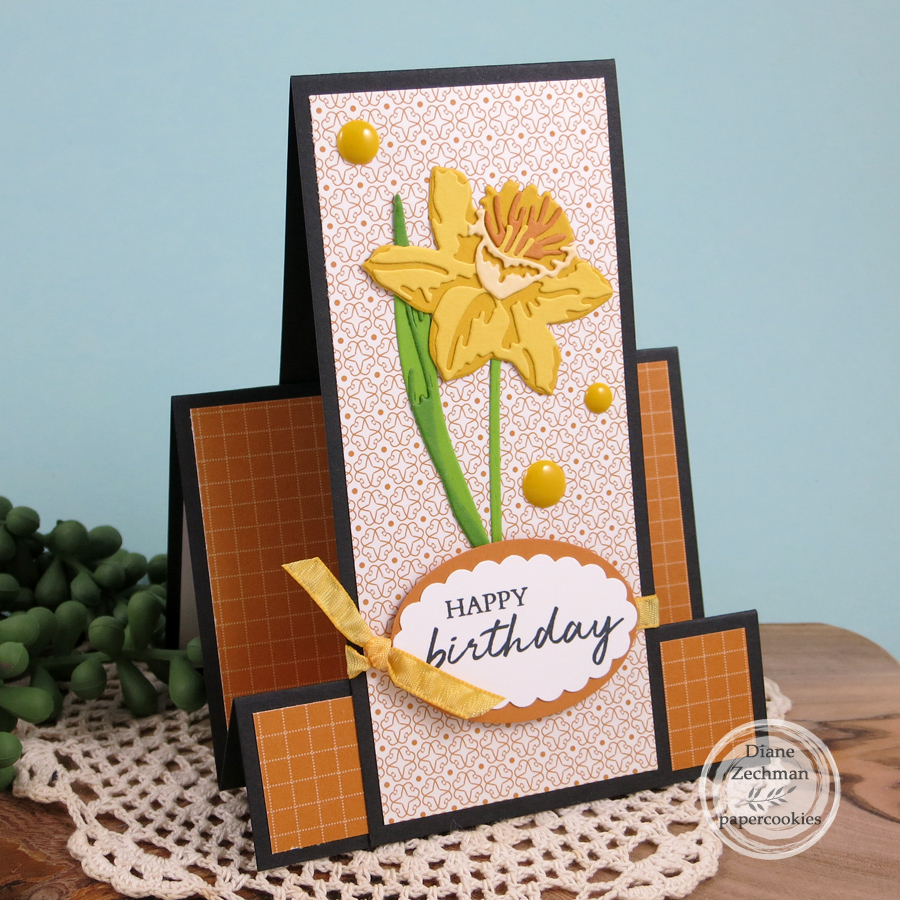
For the second Faux Center Step card, I used an Altenew Layered Daffodil die set that was a magazine freebie several years ago.

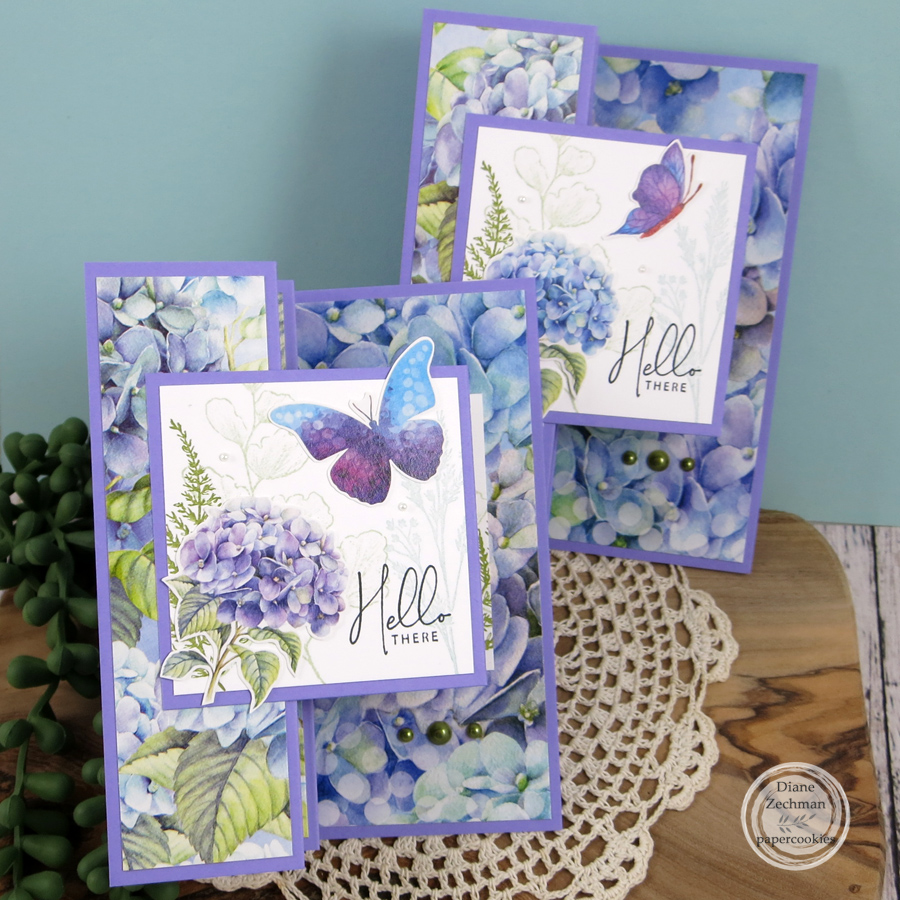
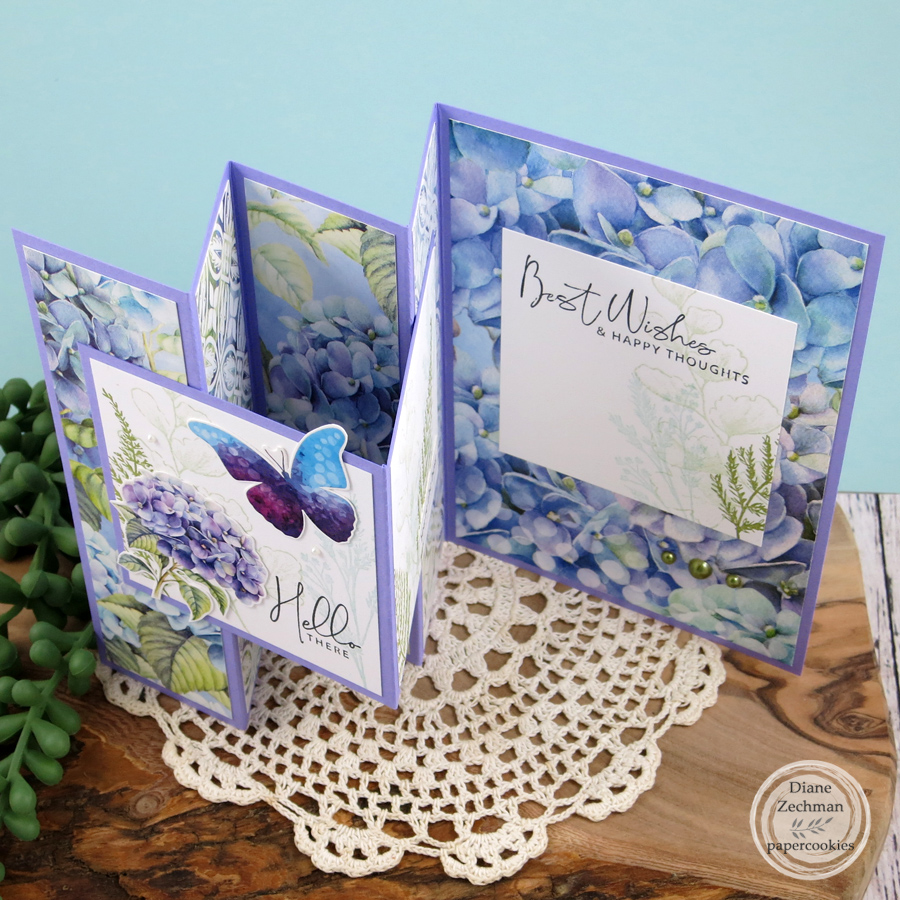
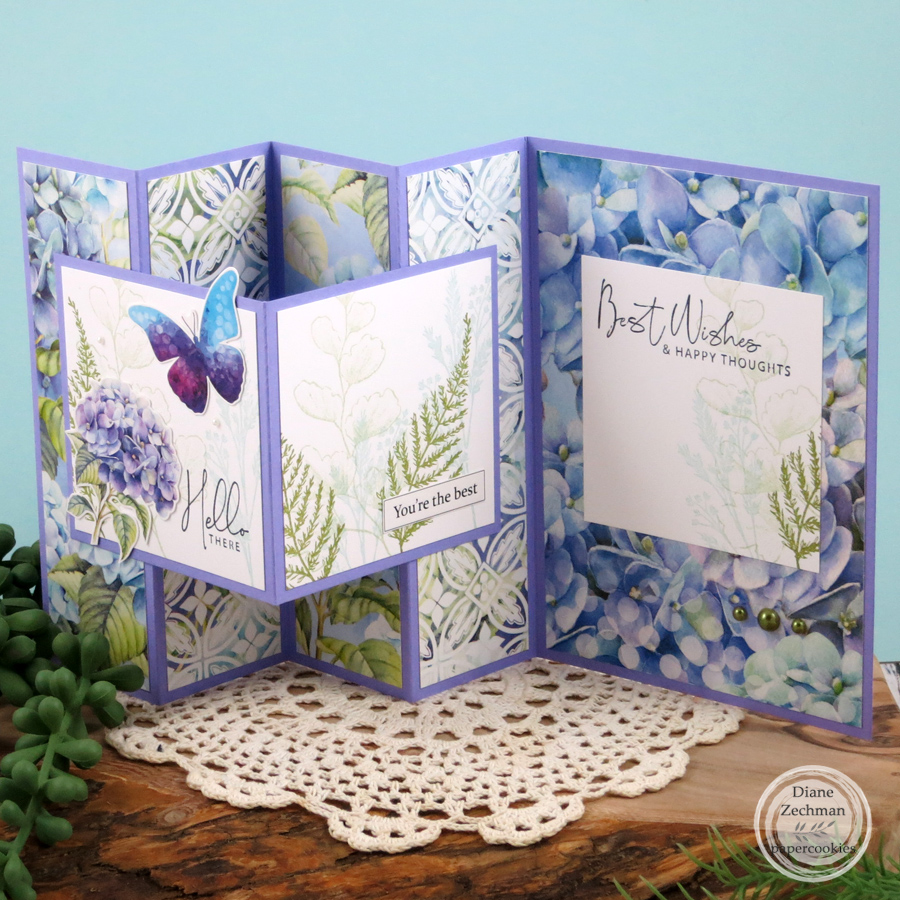
Next is a W-V Fold card. I used some pretty papers shared by a friend and the SU! Nature Prints stamps.

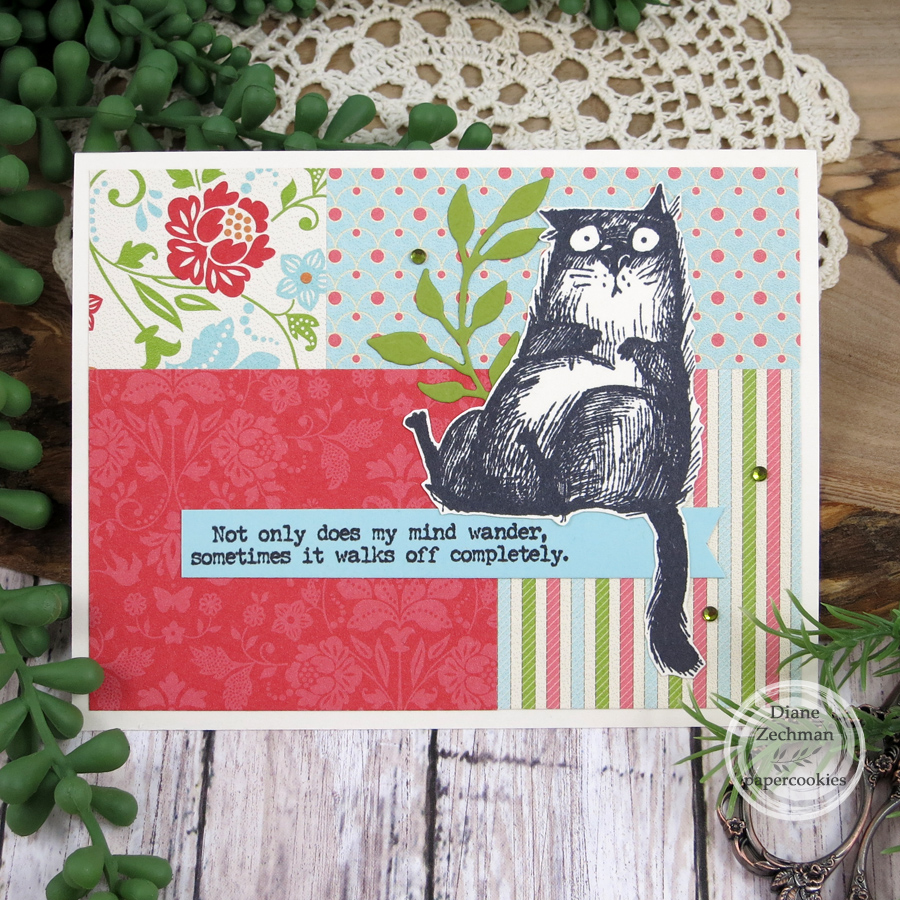
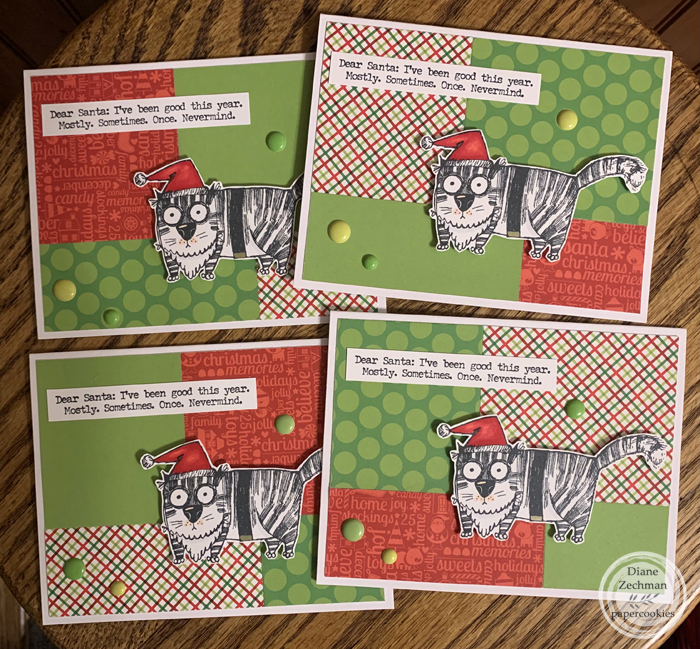
The Tim Holtz Snarky Cat and Snarky Cat Halloween sets were used for the next two cards. This design is the Stack, Cut, & Shuffle technique. It’s great for making a quick set of 4 cards! Just stack 4 pieces of patterned papers and cut them all together. Then shuffle the pieces around and adhere them in place.

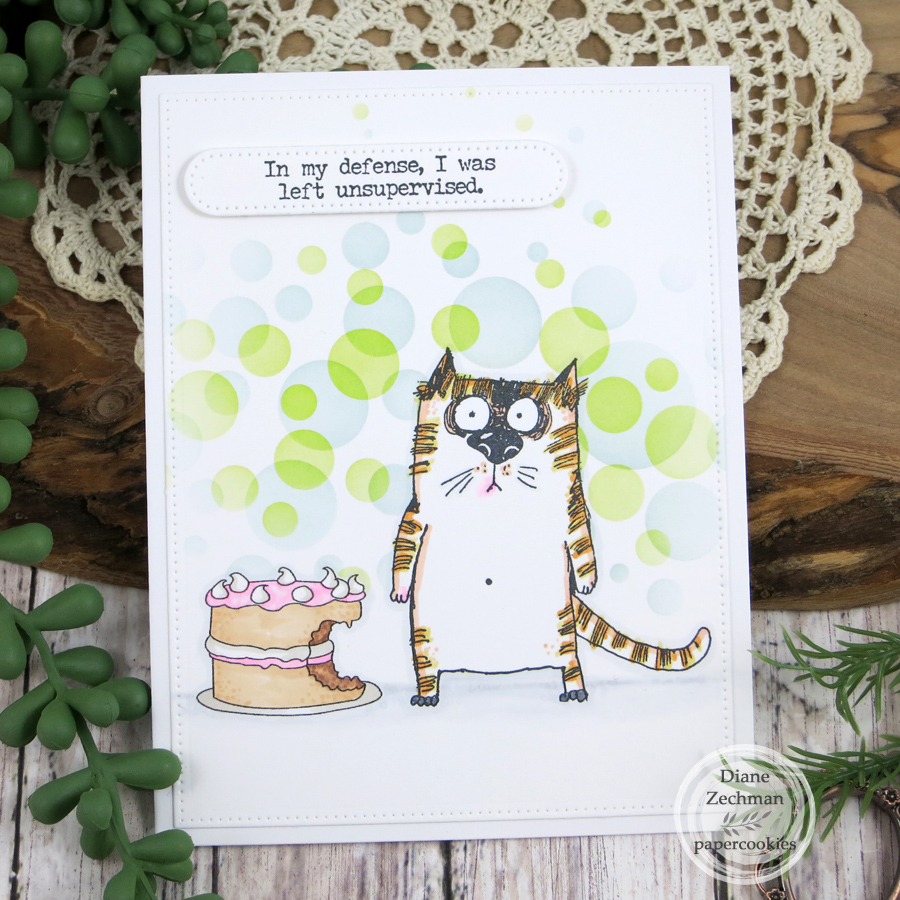
I used a clipart coloring page for the cake on this birthday card and reduced the size of it. The dotty background was made with the Taylored Expressions Bokeh Stencils.

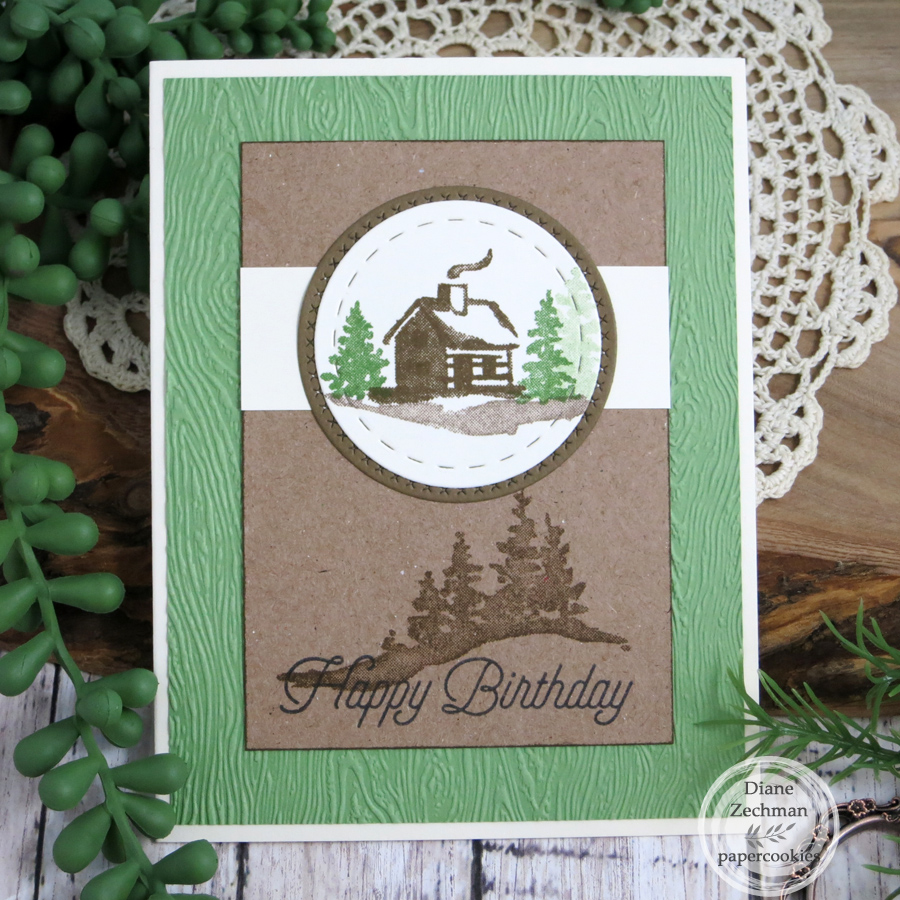
This masculine card was made with SU! Snow Front and the Timber embossing folder.

Another masculine card uses the SU! Calling All Heroes set. The tiny words are from SNSS Birthday Wordfetti and the cover plate die is CC Designs Quad Collage Die.

Taylored Expressions has some great stencils…here I used the Mini Slim- In the Garden set. The sentiments are from SNSS Everyday Greetings.

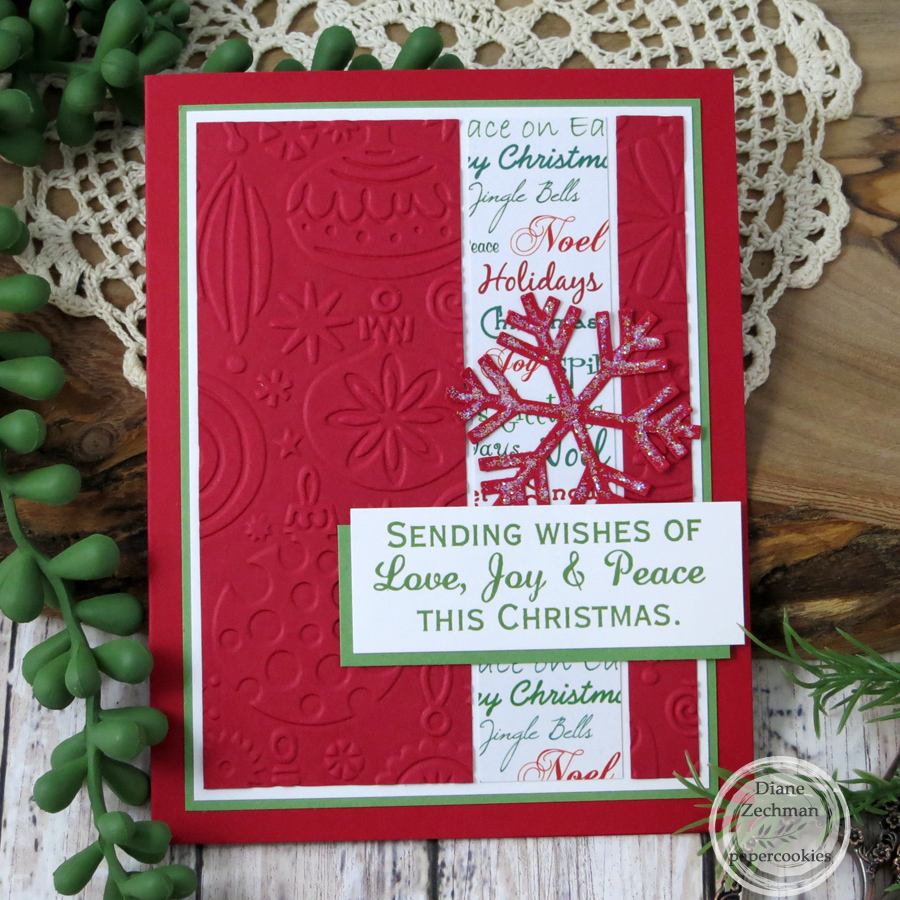
This last card was made for a Christmas in July challenge. I used an old Cuttlebug embossing folder, Christmas Ornaments. The sentiment is from the retired SNSS Wondrous Miracle, and I think the snowflake is an old SU! punch.

Have a great week!

September SNSS holiday release

Hello! Today I have a few cards to share for the second half of the Sweet ‘n Sassy Stamps September release. Earlier this month, SNSS released some fall products and now we are thinking Christmas.

I love cards that are created with kraft cardstock, and it works so well for Christmas. Here I used it with the Christmas Cookies stamp set and NEW coordinating Dies. If you don’t have the previously released stamps, these are also available in a bundle. I stamped the images with Soft Suede ink and accented with a white paint pen.

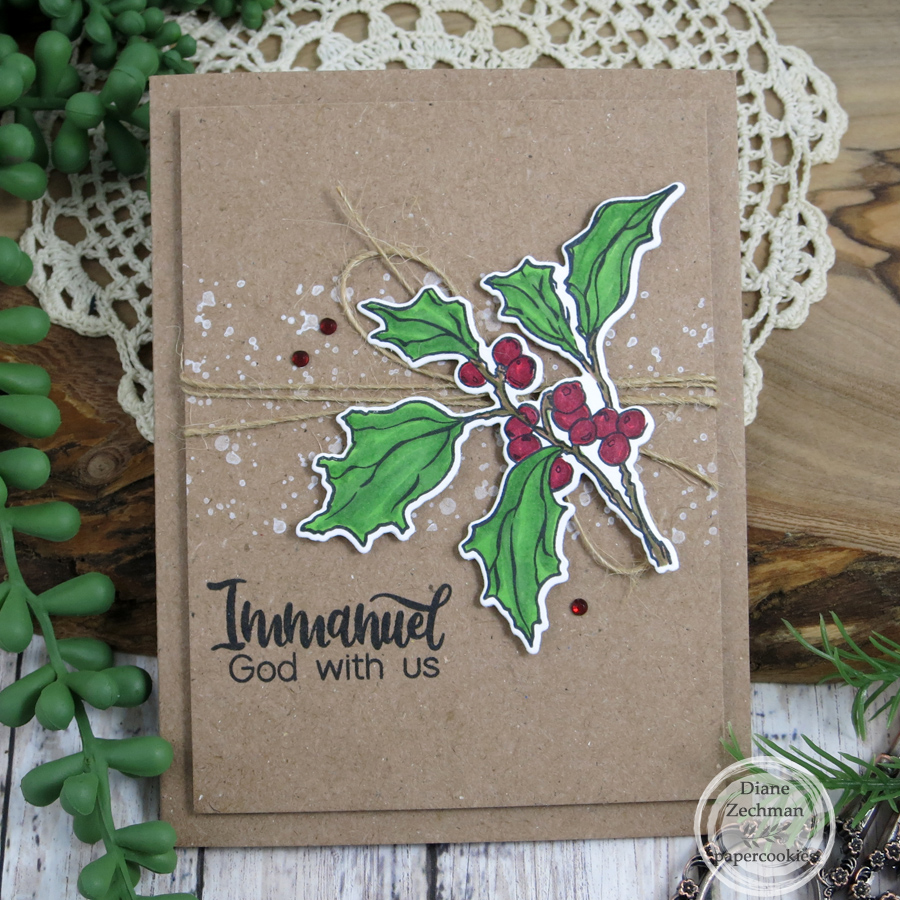
For the second card, I stamped a background with Texture Tiles 1 and a Unicorn White inkpad. Then I added the words and image with the new Holly Christmas Bundle (also available separately).

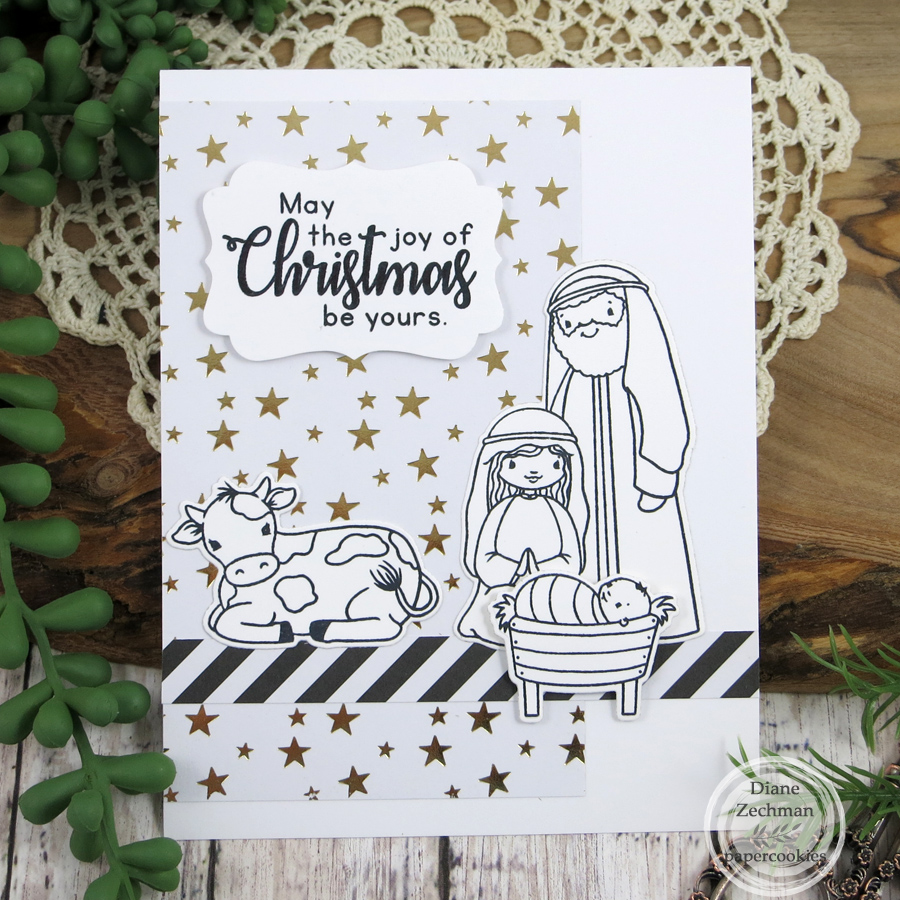
My last two cards feature the Let Us Rejoice Bundle (also available separately). I used some gold star patterned paper and kept the sweet nativity images in black & white. I loved how these turned out and will definitely make several more to add to my Christmas cards this year!

Have a great day!

gnome for the holidays

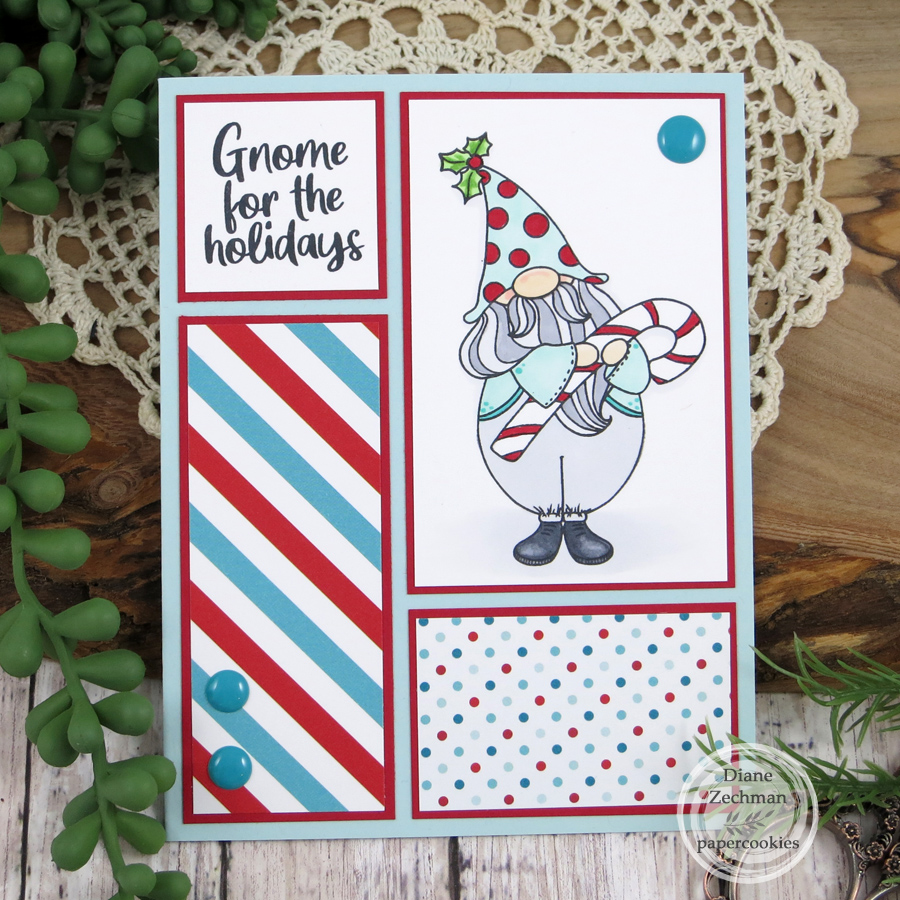
Hello! Today Sweet ‘n Sassy Stamps is having a Christmas in July Instagram Hop. Be sure to check it out if you are on IG! I have a card also to share here using the SNSS set called Christmas Gnomes. Turquoise & red is a great color combo for the holidays, and I pulled some papers in those colors to create my card.

The measurements for my panels, starting at the top left and going clockwise, are 1 1/2 x 1 1/2, 2 3/8 x 3 5/8, 1 1/2 x 2 3/8, and 1 1/2 x 3 5/8.

Have a great day!

stamps- Sweet ‘n Sassy Christmas Gnomes; paper- white, SU! Real Red & Soft Sky, MFT- Cool Collab; ink- Memento Tuxedo Black; accessories- MISTI, Copics, enamel dots.

more recent cards

Good morning! This is a very image heavy post today but I have quite a few cards to share. Thanks for sticking with me! I’ll try to keep the text short. 🙂

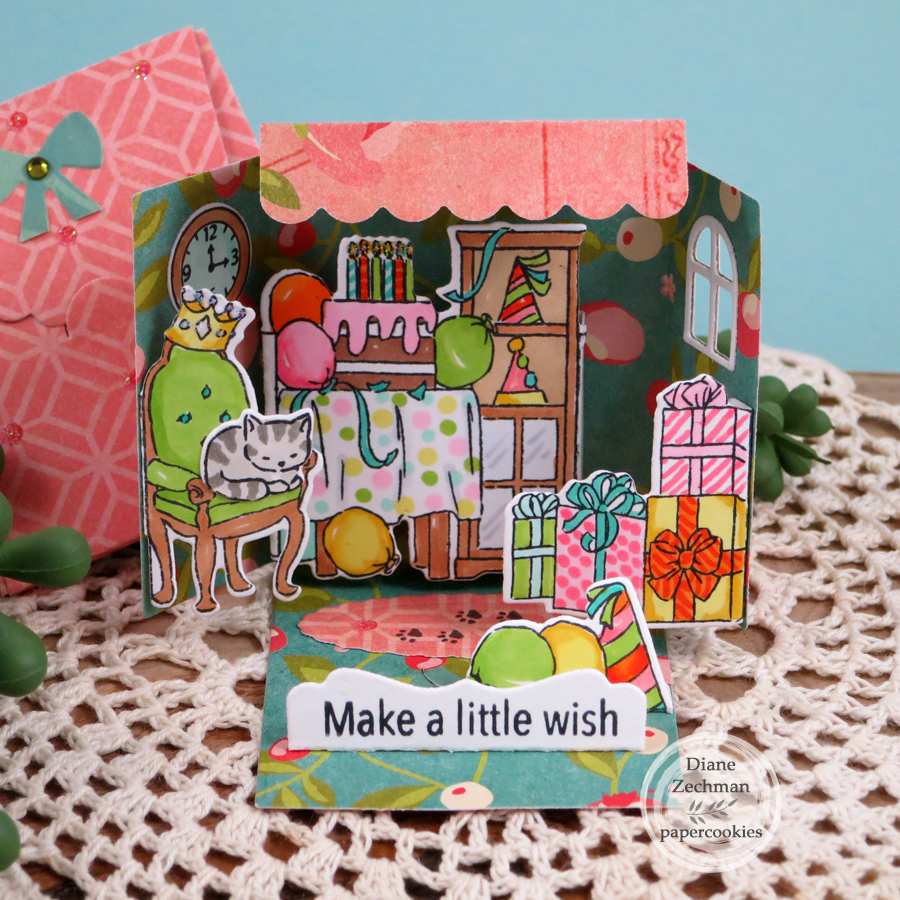
The first card uses the Art Impressions 5319- Birthday Set5317- MB Template Dies5318- MB Envelope Dies5323- MB Wall Accessories, and 5324- MB Cat Accessories. I made this one a few months ago and overlooked it in my files. These are so fun to create and fold up so tiny!

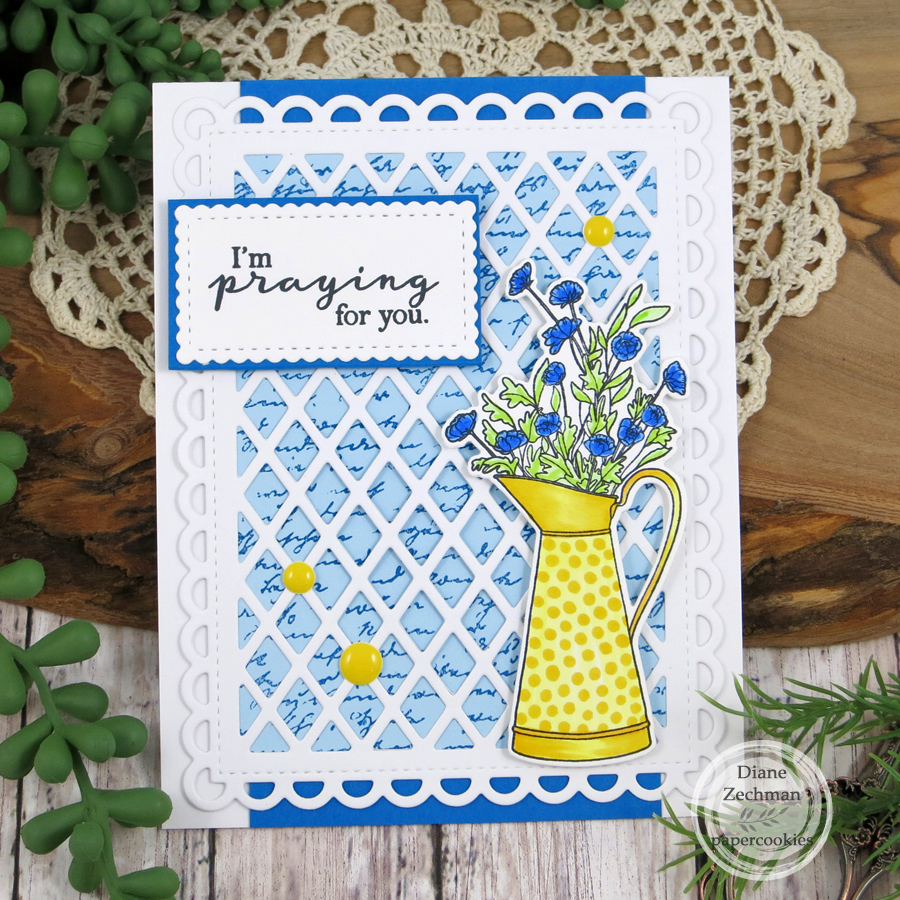
My second card was made in support of Ukraine and was given to someone who has family in shelter there. Praying for everyone in this horrible situation. I used SNSS Beautiful Bouquets Bundle, SNSS Script Background, Sunny Studio Frilly Frames- Lattice, and SU! Stitched So Sweetly dies.

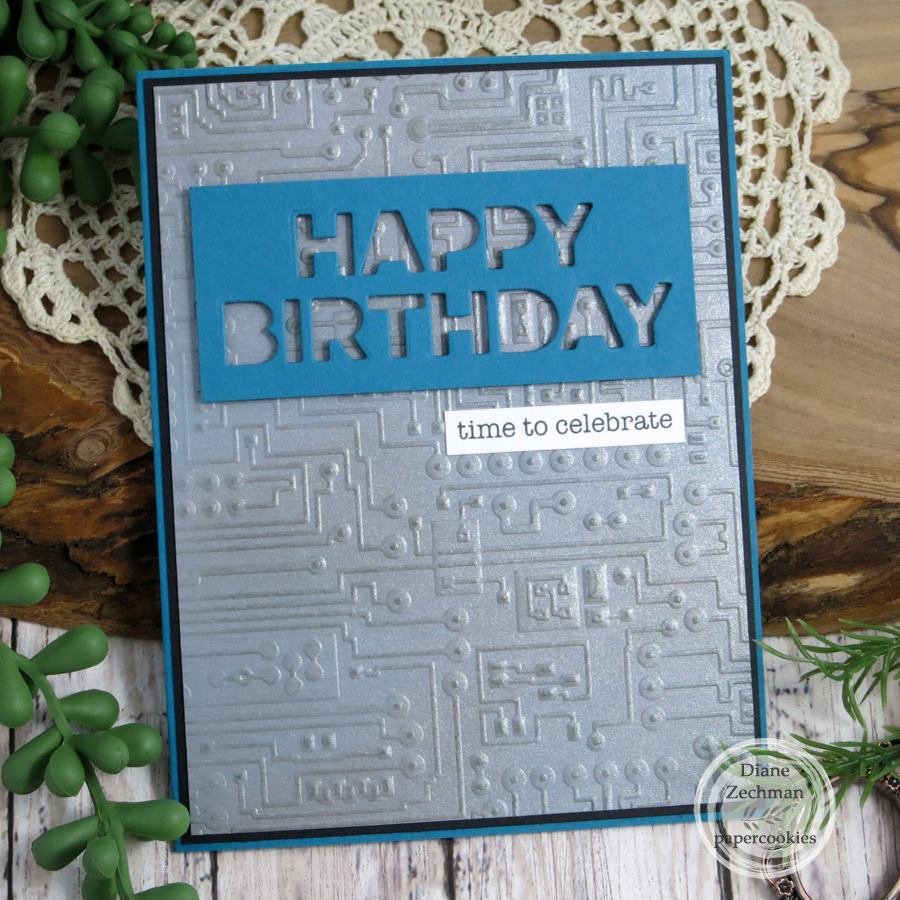
A masculine birthday card using Sizzix Circuit embossing folder and MFT Block Happy Birthday die. The small sentiment is Sweet ‘n Sassy Birthday Wordfetti.

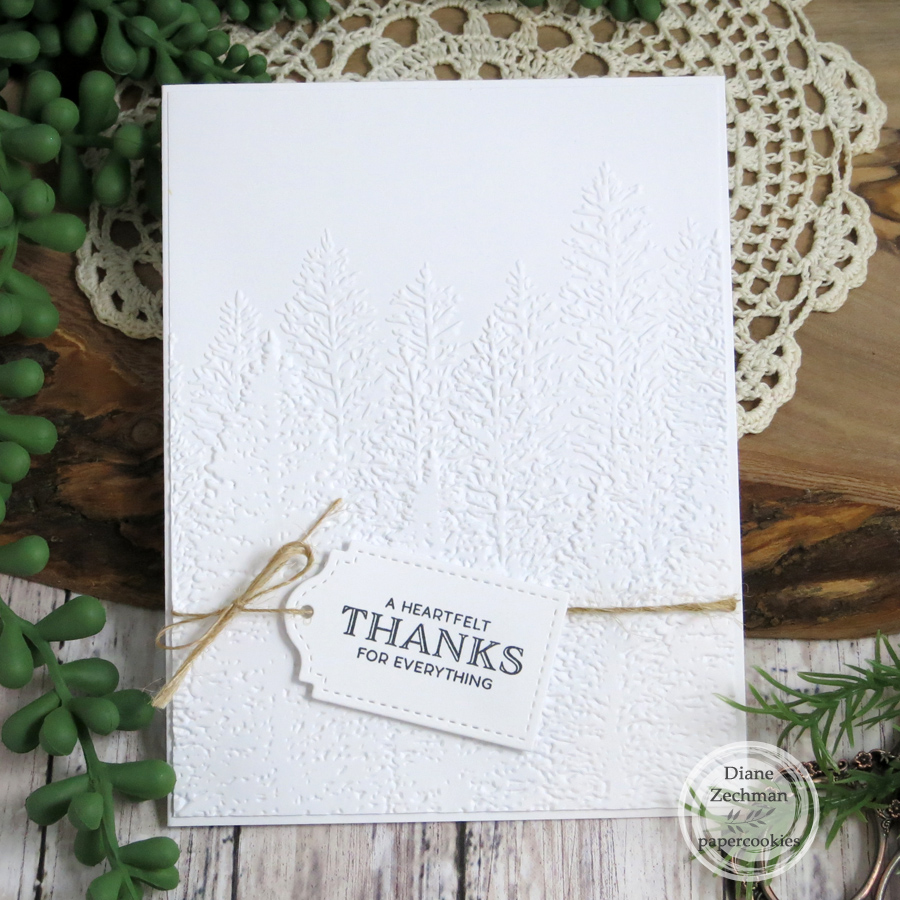
I made a set of CAS thank you cards for a friend who’s father passed away. SU! Punch Party, Trio of Tags Dies, and Evergreen Forest embossing folder.

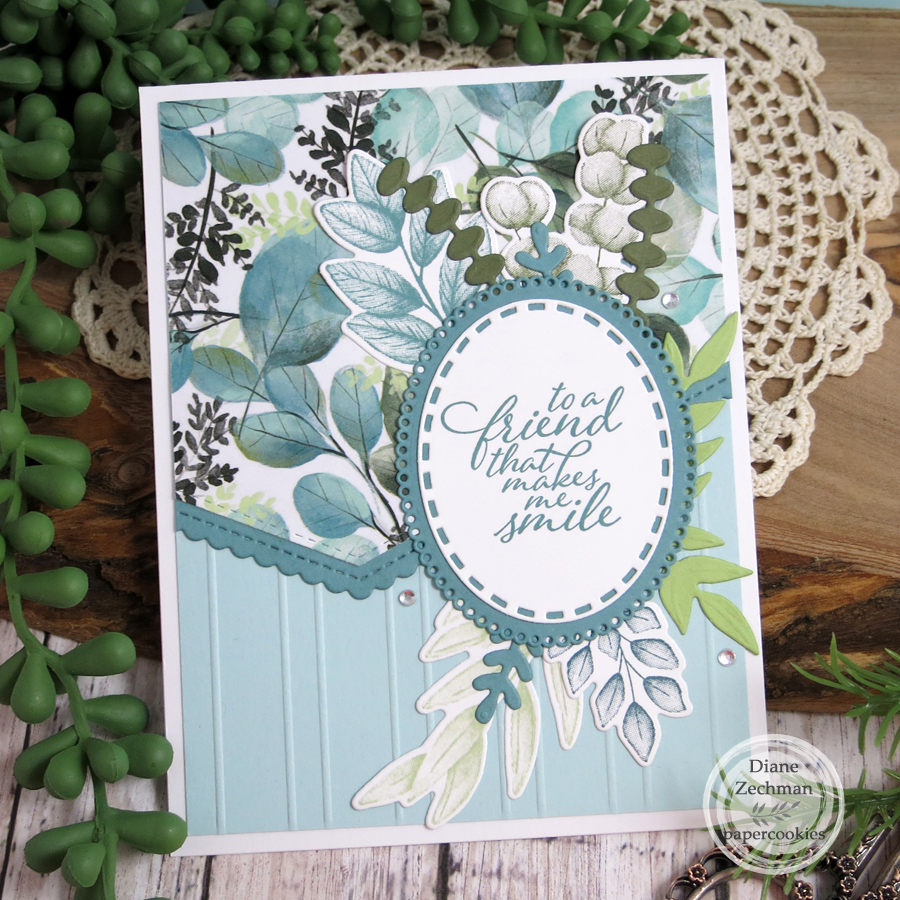
The next two cards use SU! Forever Fern, The Paper Studio- Eucalyptus paper, MFT Stitched Basic Edges and Scalloped Stitched Basic Edges, and Sizzix Layered Ovals. Colors- Soft Sky, Mossy Meadow, Lost Lagoon, Certainly Celery, Blue Bayou, Soft Seafoam.

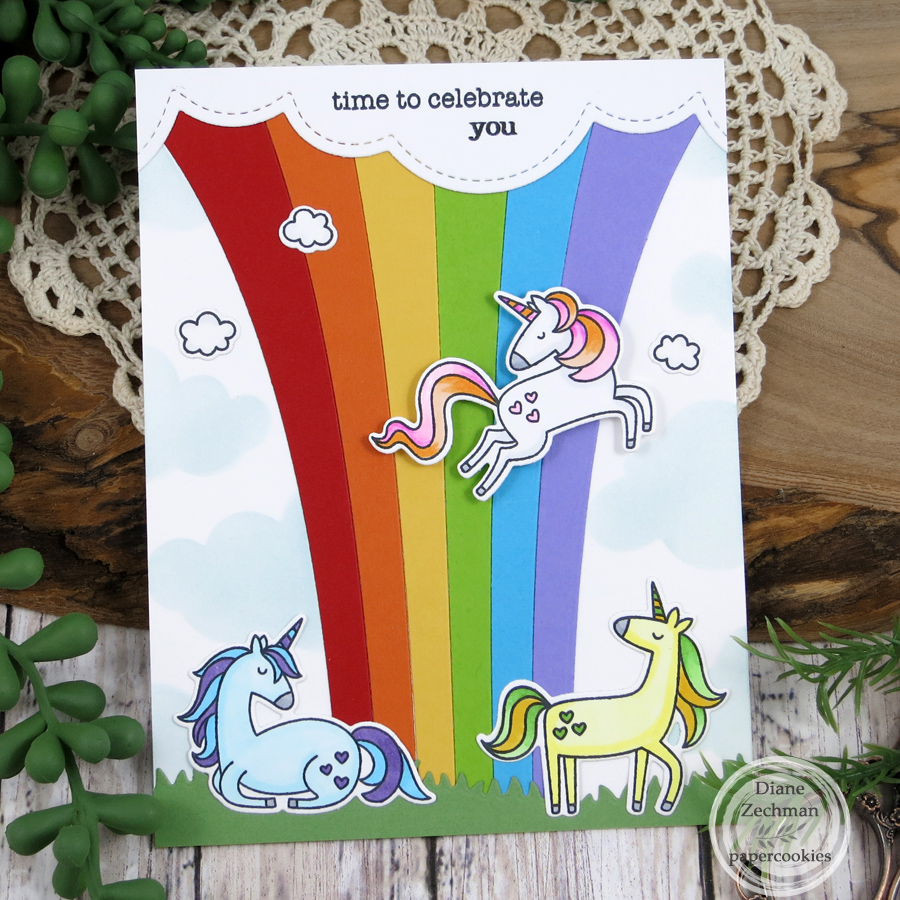
A special card for a birthday girl! MFT Friendly Unicorns & Dies, Color Blast Die, and Grassy Hills Die, Lawn Fawn Puffy Cloud Borders, Sweet ‘n Sassy Birthday Wordfetti and Puffy Clouds Stencil.

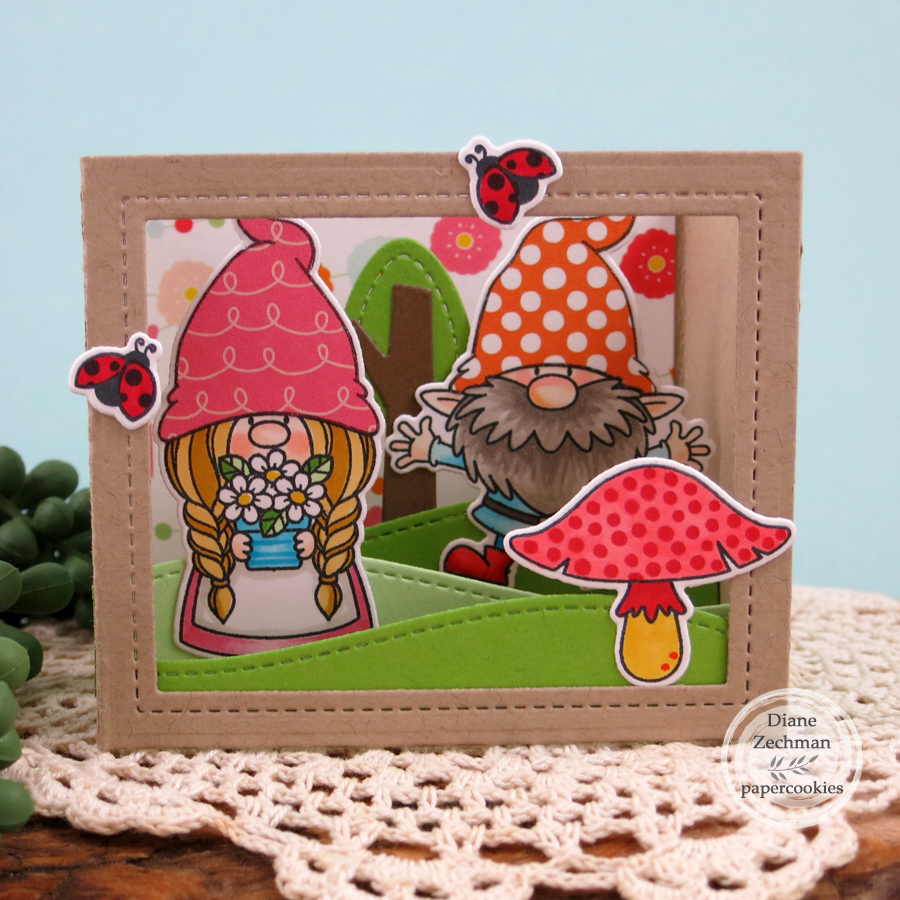
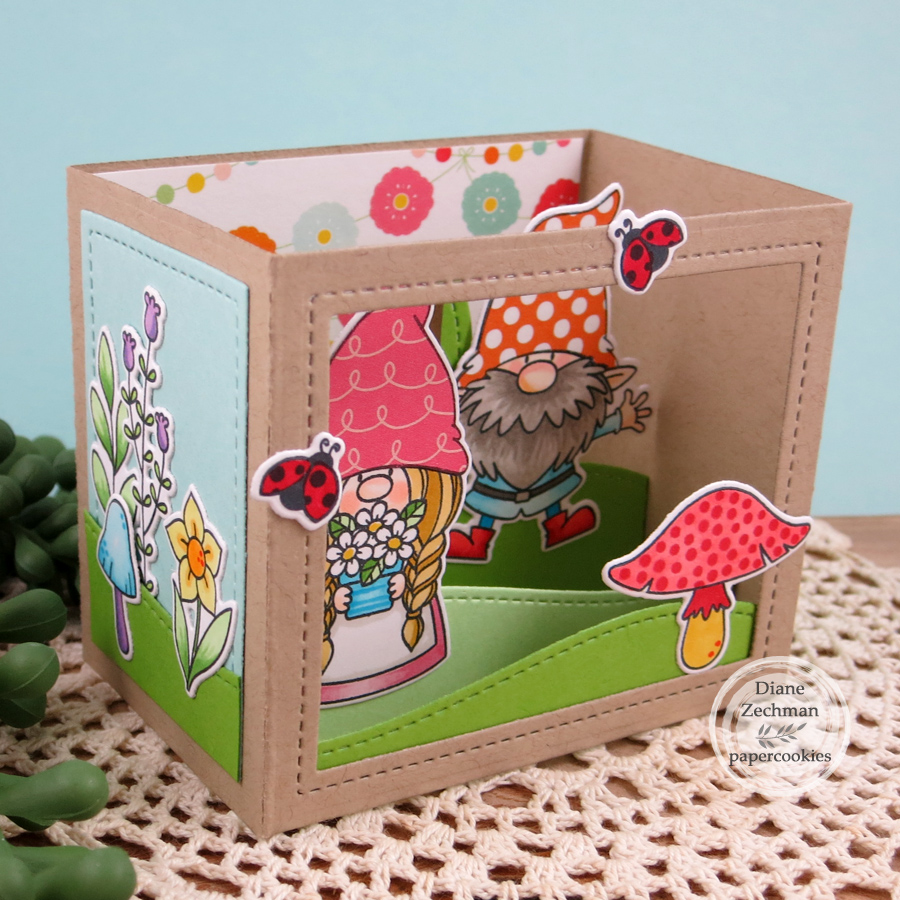
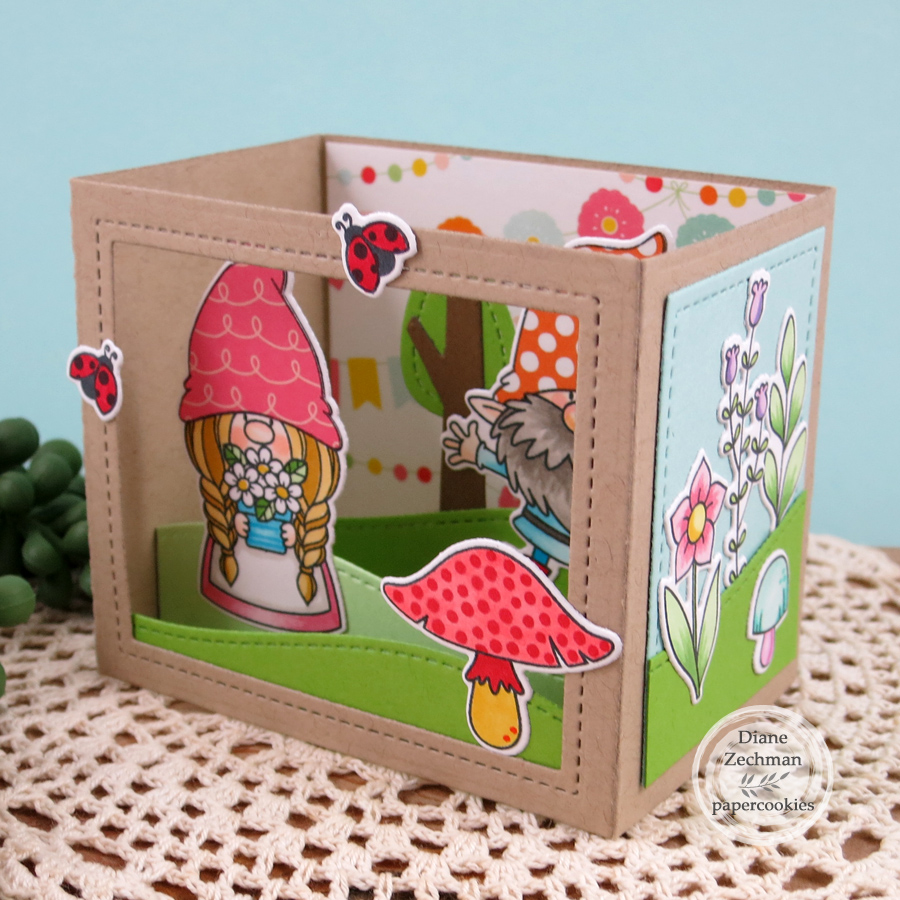
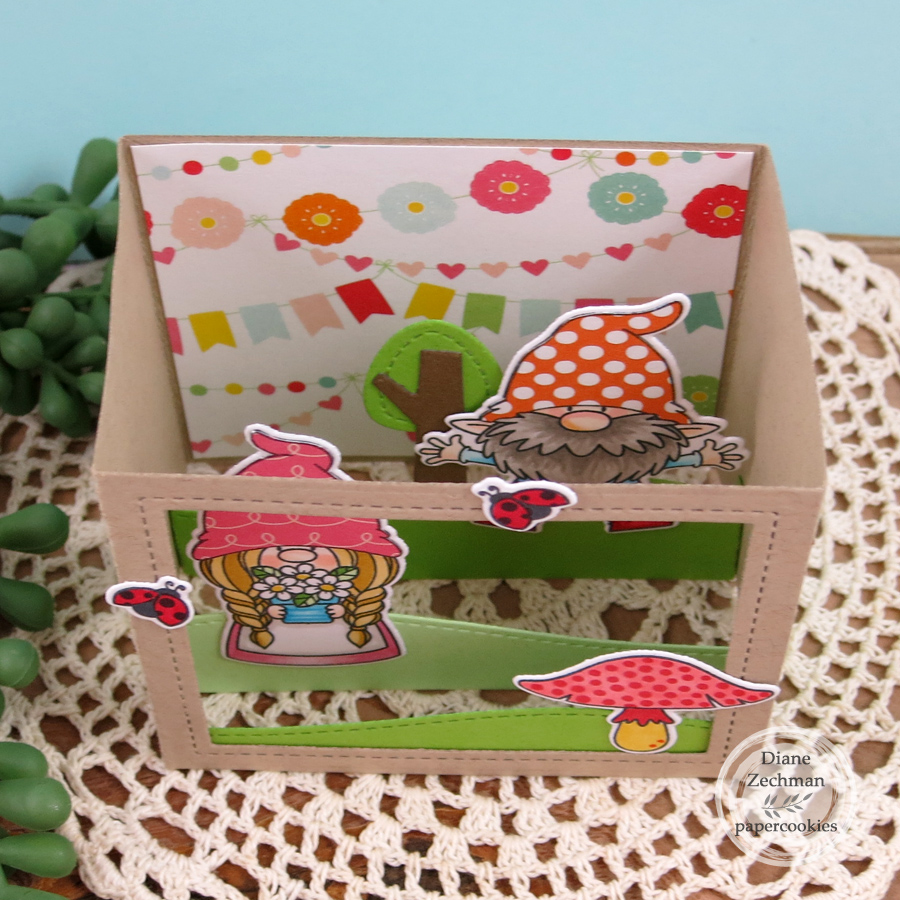
I made a cute gnome shadow box card with Lawn Fawn Shadow Box Dies, and MFT Hanging With My Gnomies.

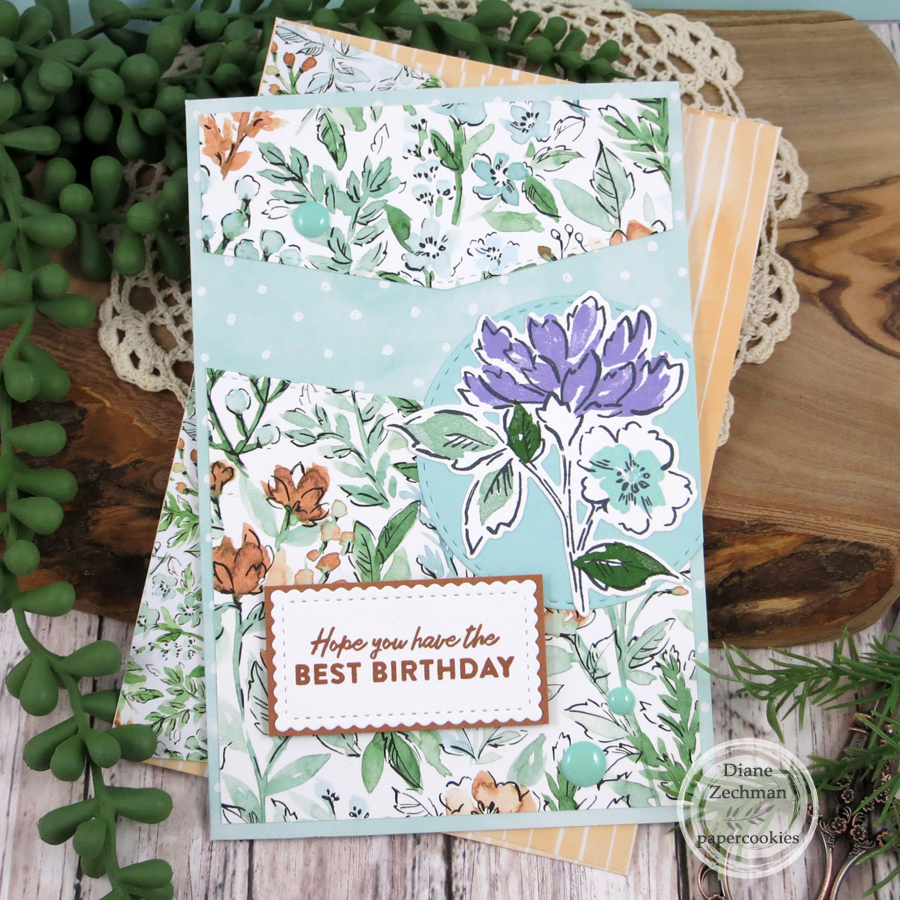
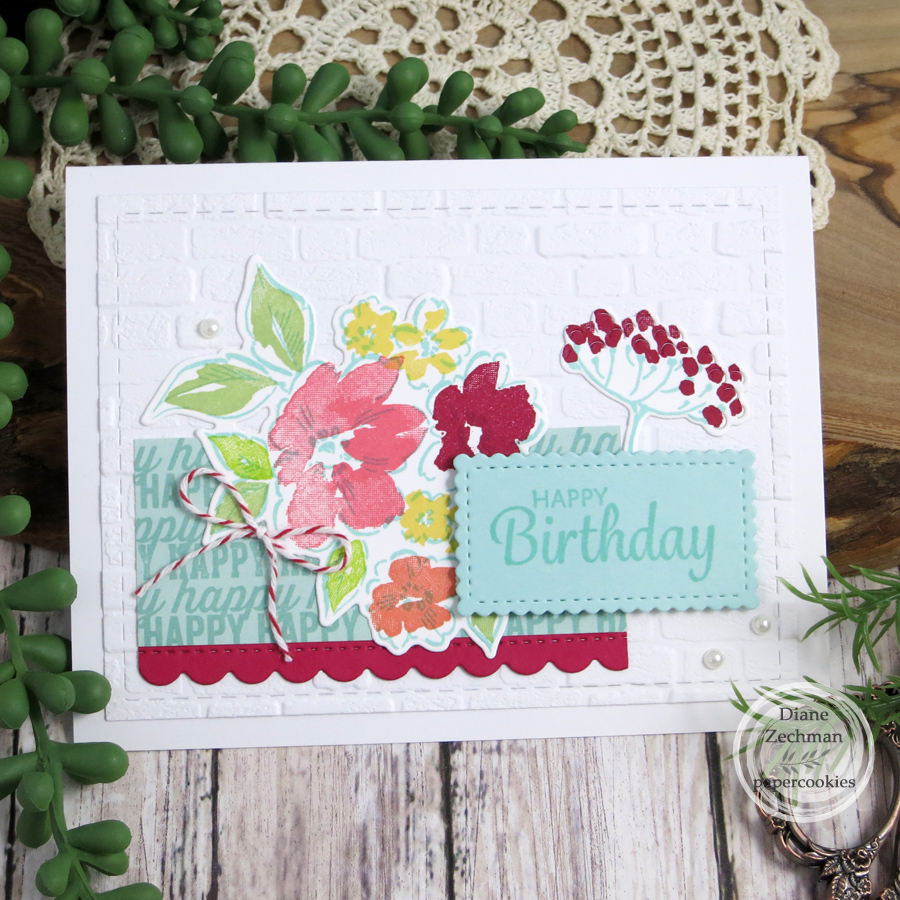
Next is two cards with SU! Hand-Penned Petals and Hand-Penned Memories & More cards & envelopes. I also used the SU! Stitched So Sweetly Dies. On the first card I also used a sentiment from SU! Friendly Hello and SSS Stitched Circles Dies. On the second card I also used SU! Here’s A Card, SU! Brick & Mortar embossing folder, and Gina Marie Stitched Rectangles. It was semi-cased from Elizabeth Price (Seeing Inkspots).

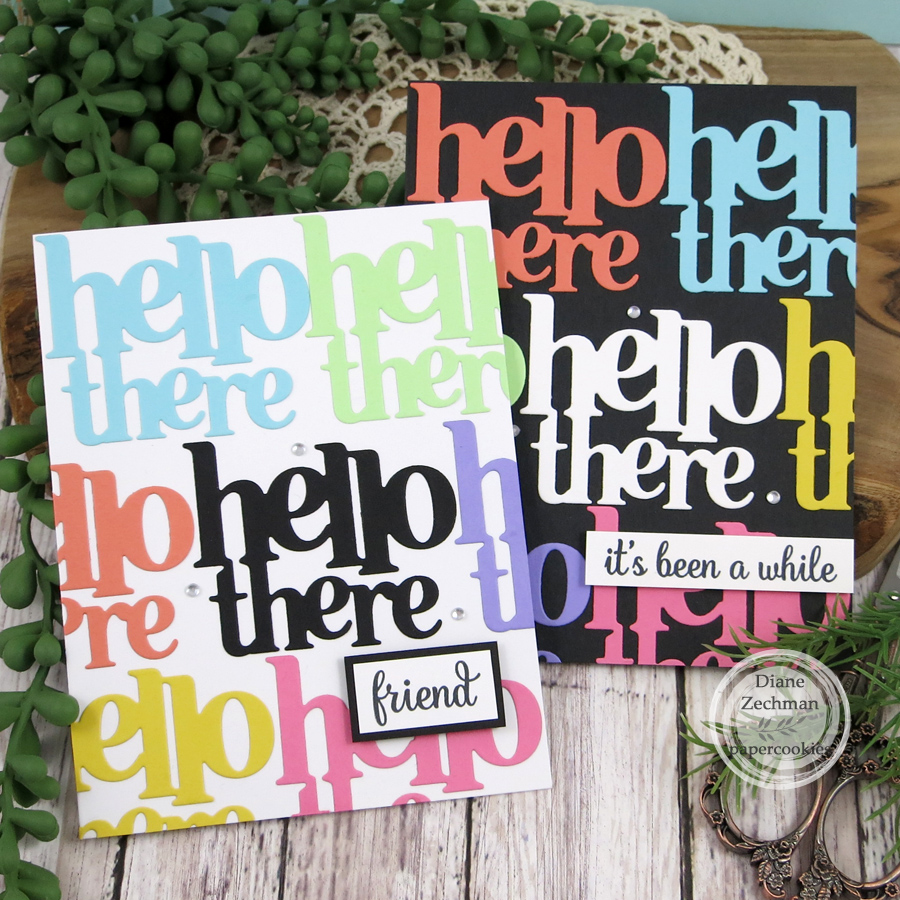
Simple black & white versions of a card using word dies… Hero Arts- Hello There stamp & die set.

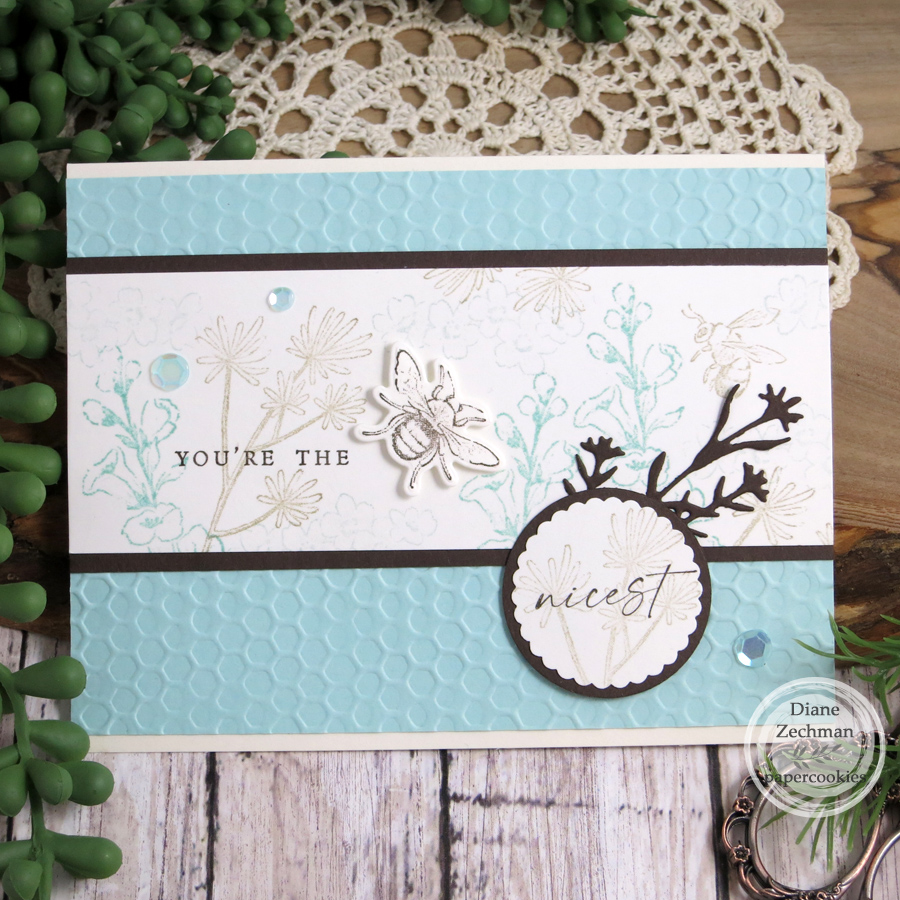
I went with blue and browns for my bee card… SU! Honeybee Home, SU! Hive embossing folder, and circle punches.

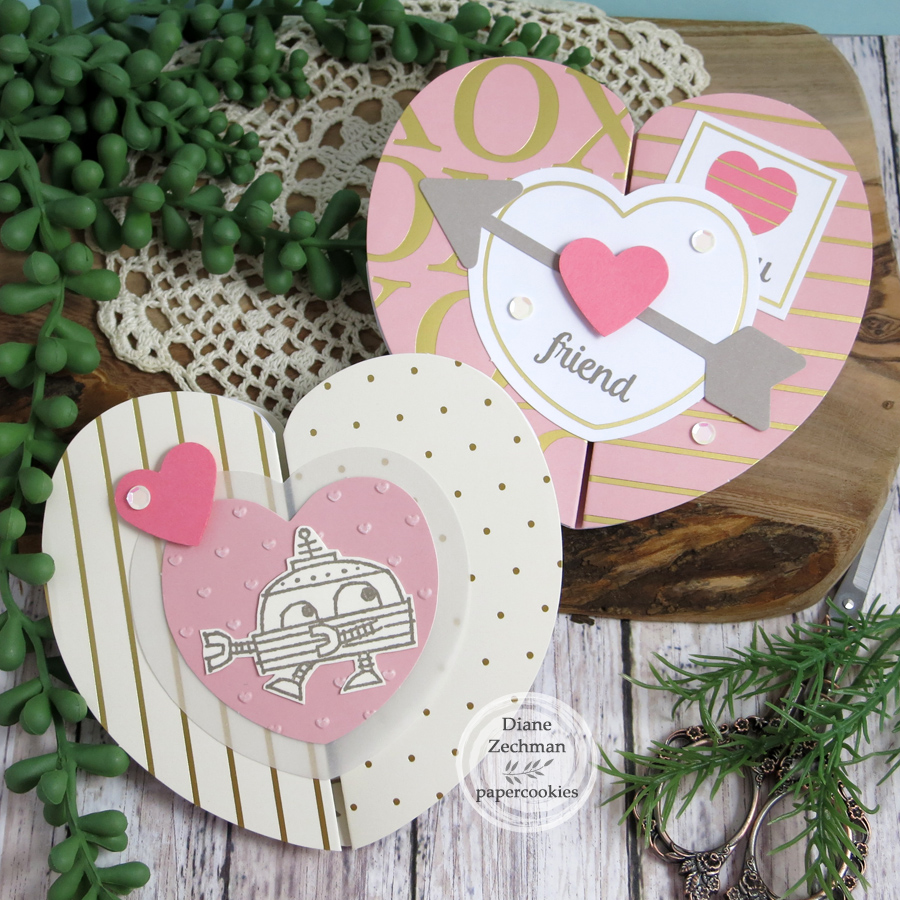
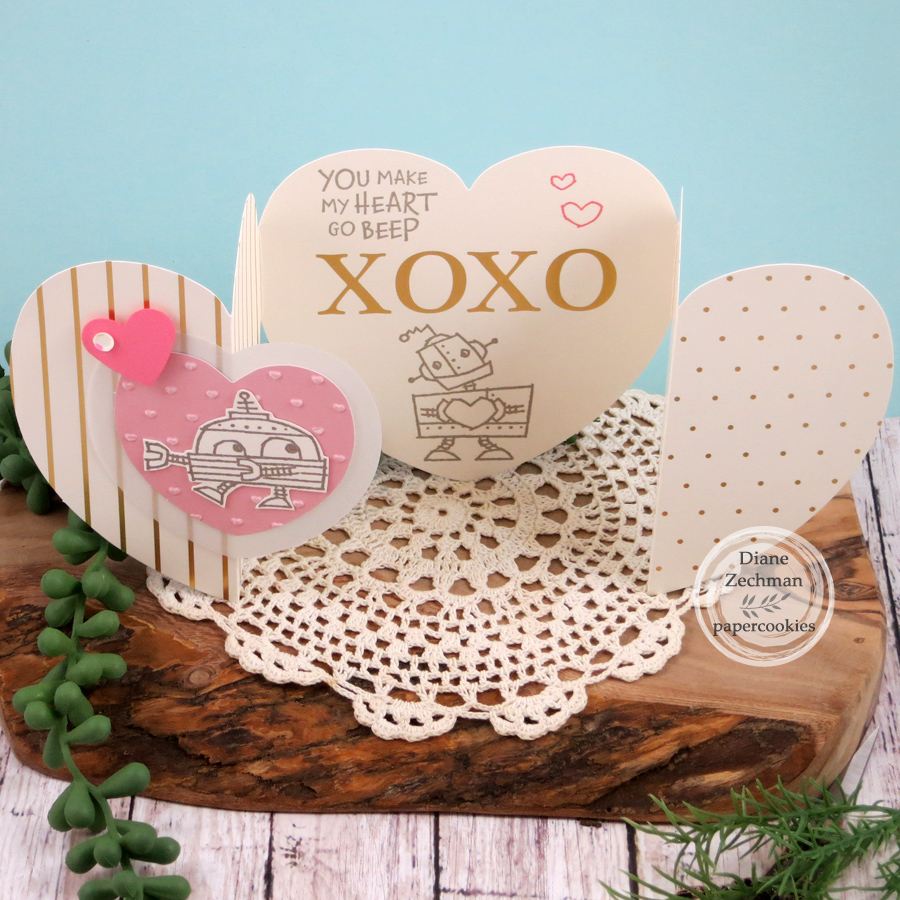
A few alternates from the SU! January 2022 Paper Pumpkin kit. The embossed hearts are from an old Cuttlebug Love Language embossing folder. These were scored to change them from a trifold card to a gatefold. I love shaped cards!

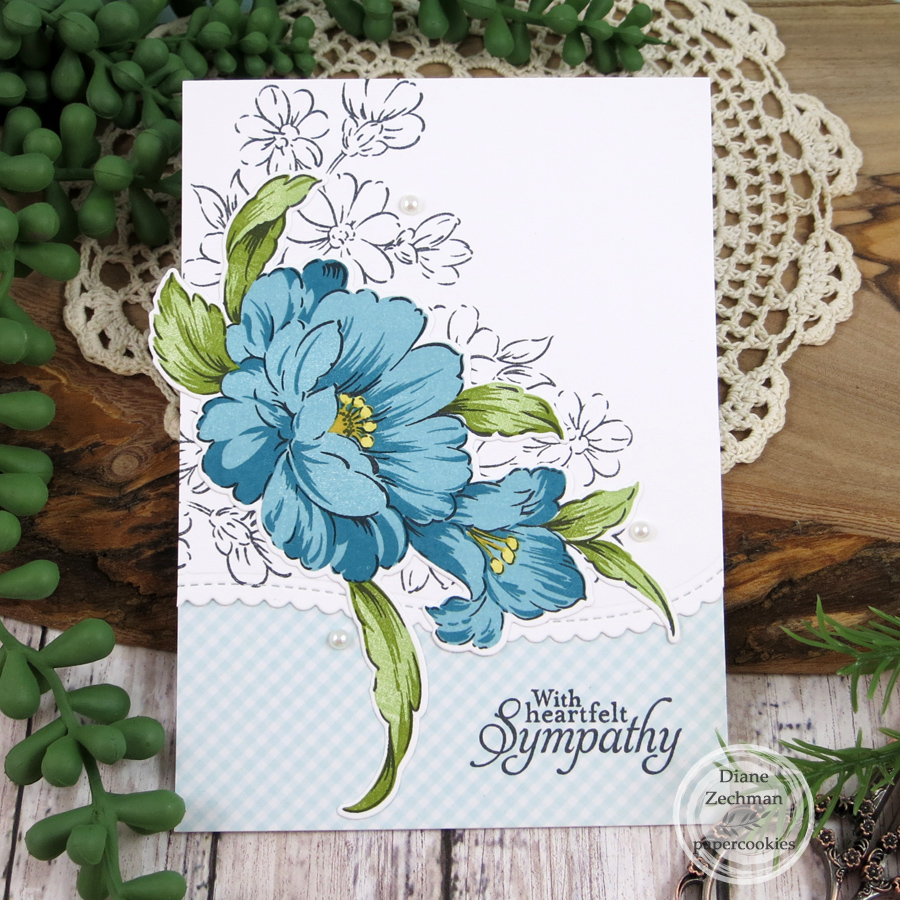
Altenew is known for their florals and the Simple Beauty set was used here to make some sympathy cards. The diecut edge is from MFT Stitched Scallop Basic Edges 2.

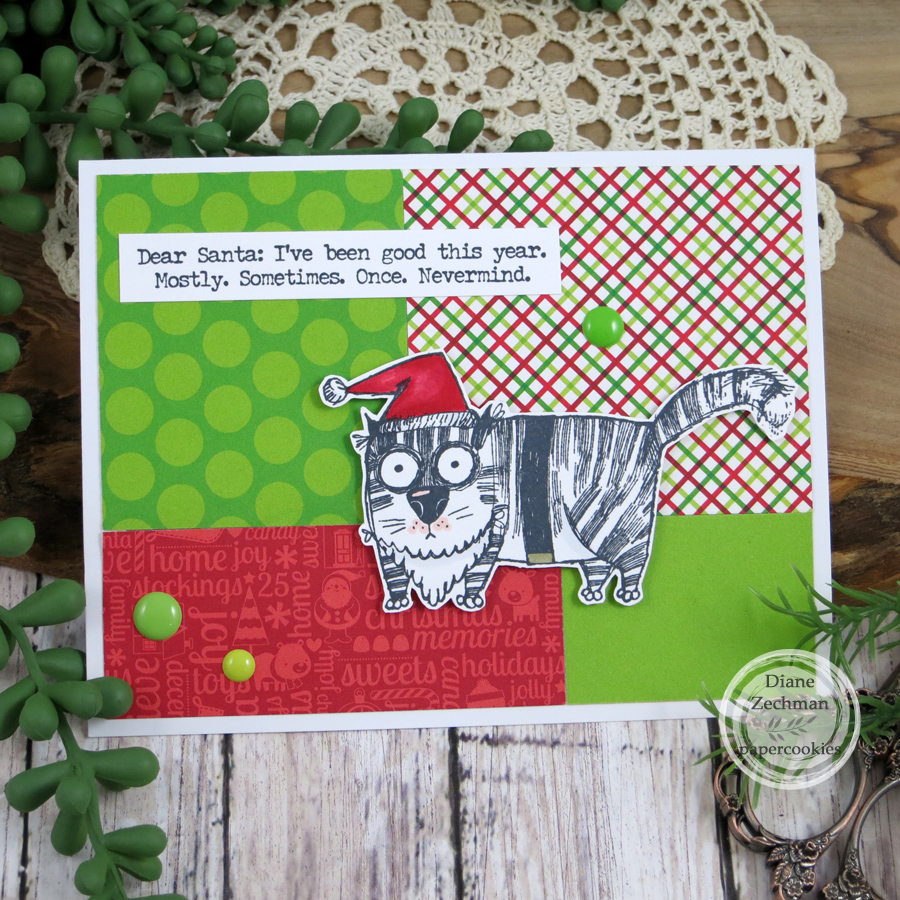
I am late getting a start on this year’s Christmas cards but I squeaked out a few with the TH Snarky Christmas Cat set.

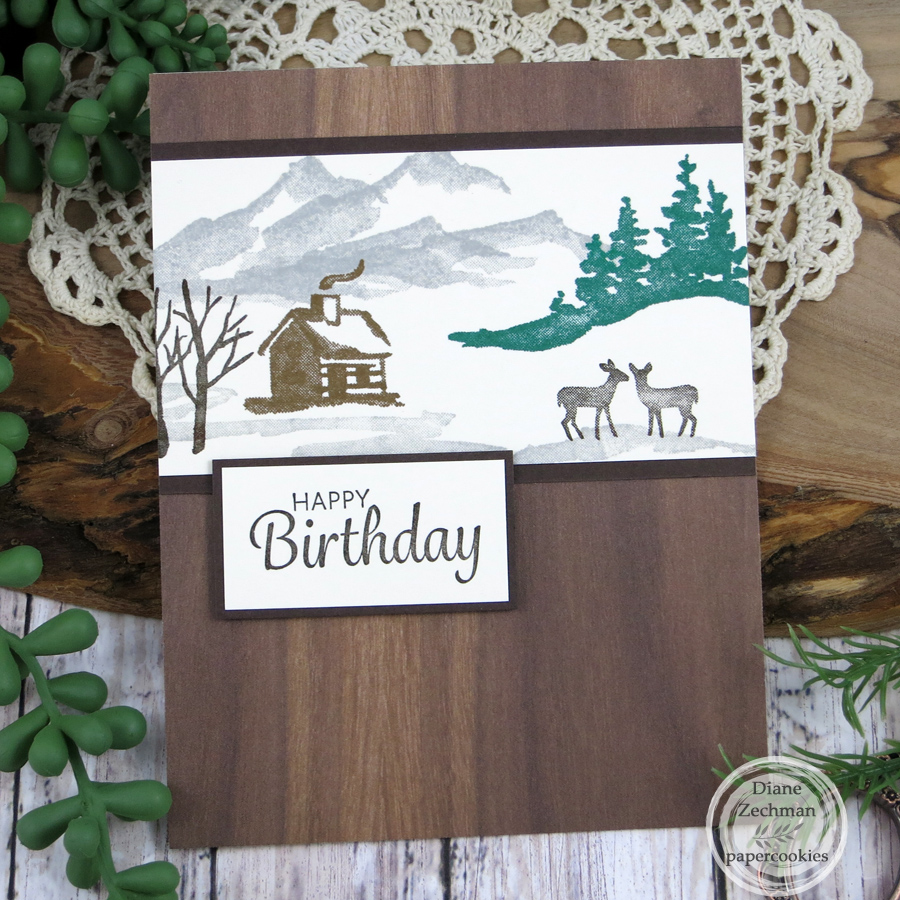
Another masculine birthday card. These are harder for me! SU! Snowfront used here with some woodgrain paper.

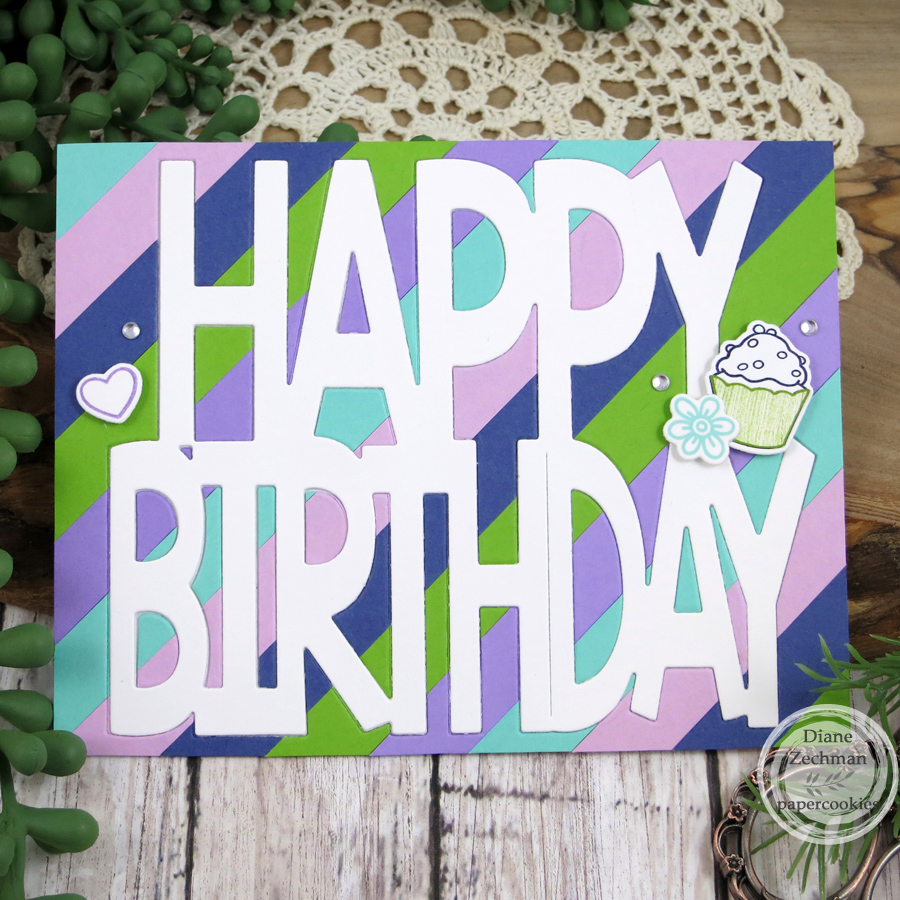
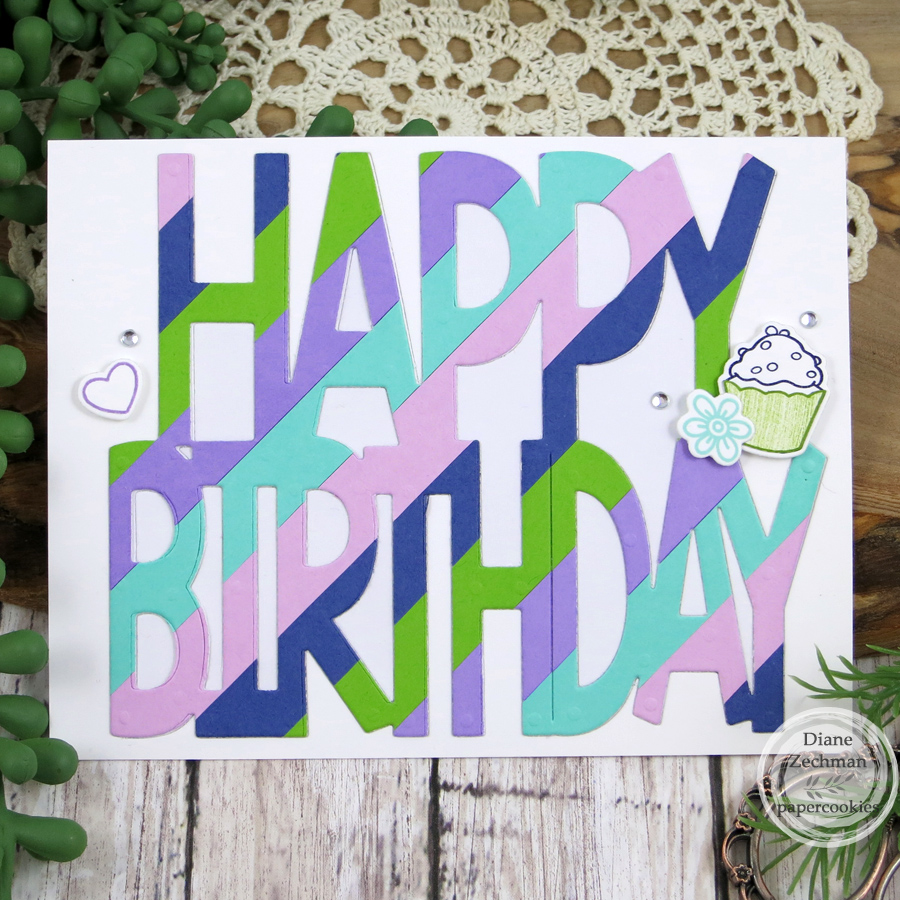
And lastly, some diecut birthday cards using Sweet ‘n Sassy Sweet Treats Stamp & Die Bundle, Sizzix Happy Birthday Drop-Ins Card Dies, Lawn Fawn Double sided adhesive sheets, and a bunch of 1/2″ cardstock strips!

Thanks for scrolling this far and have a great day!

sparkle & shine

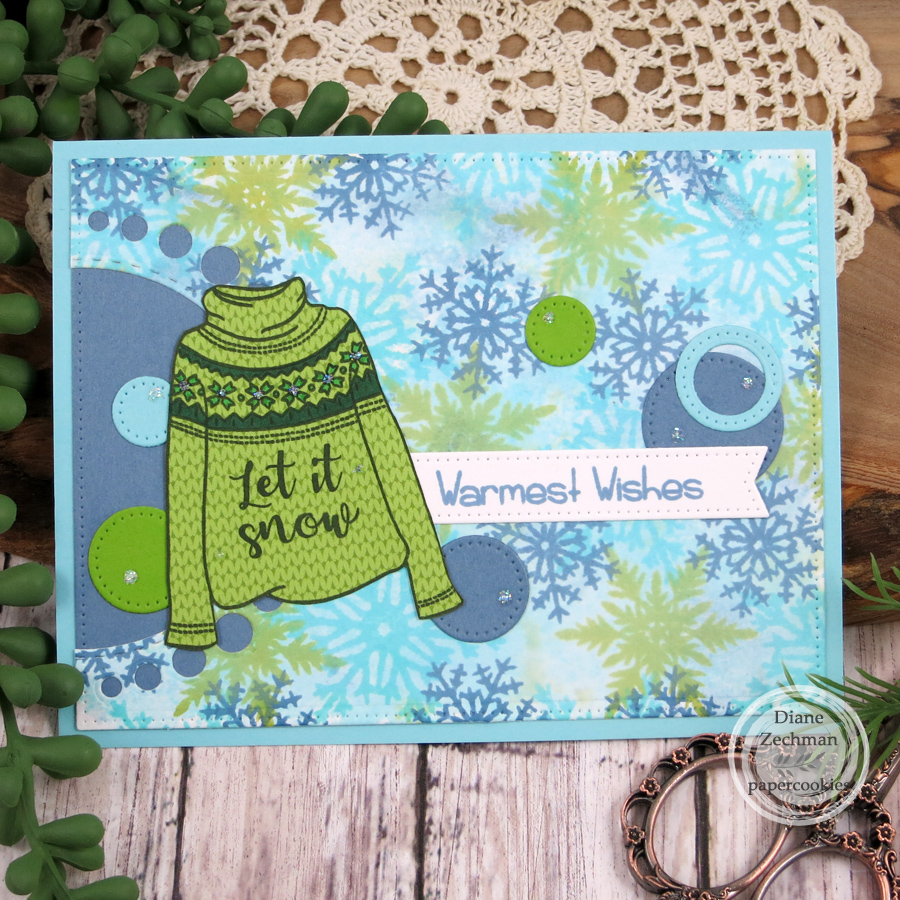
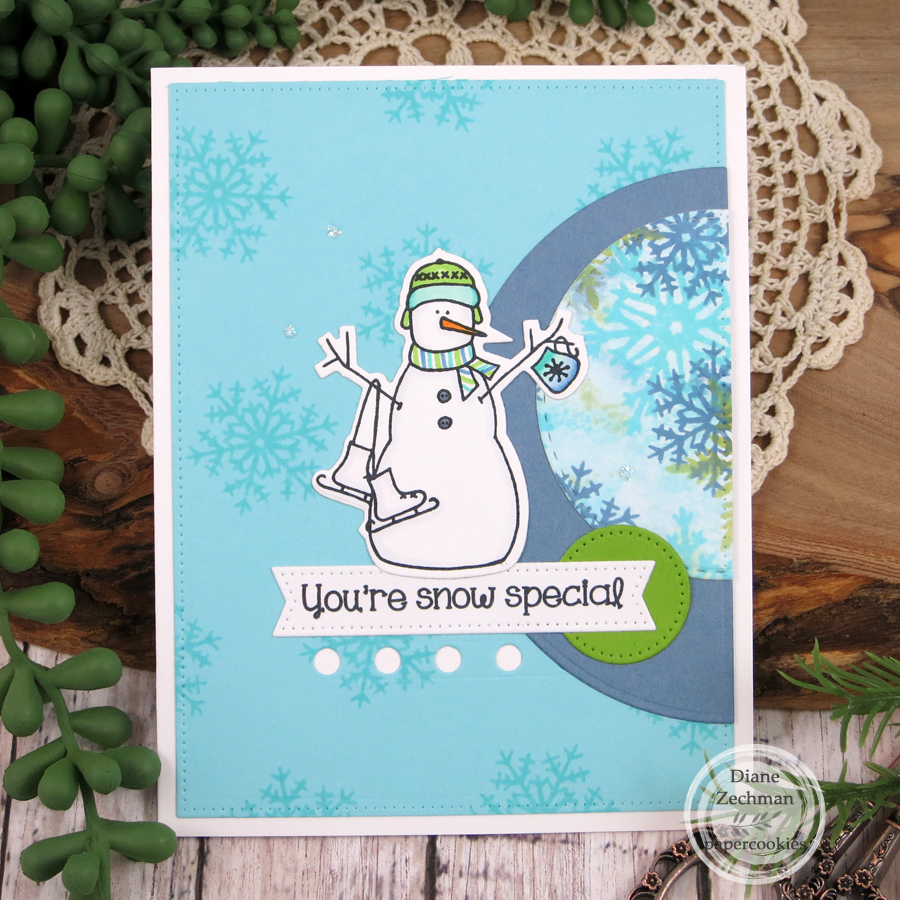
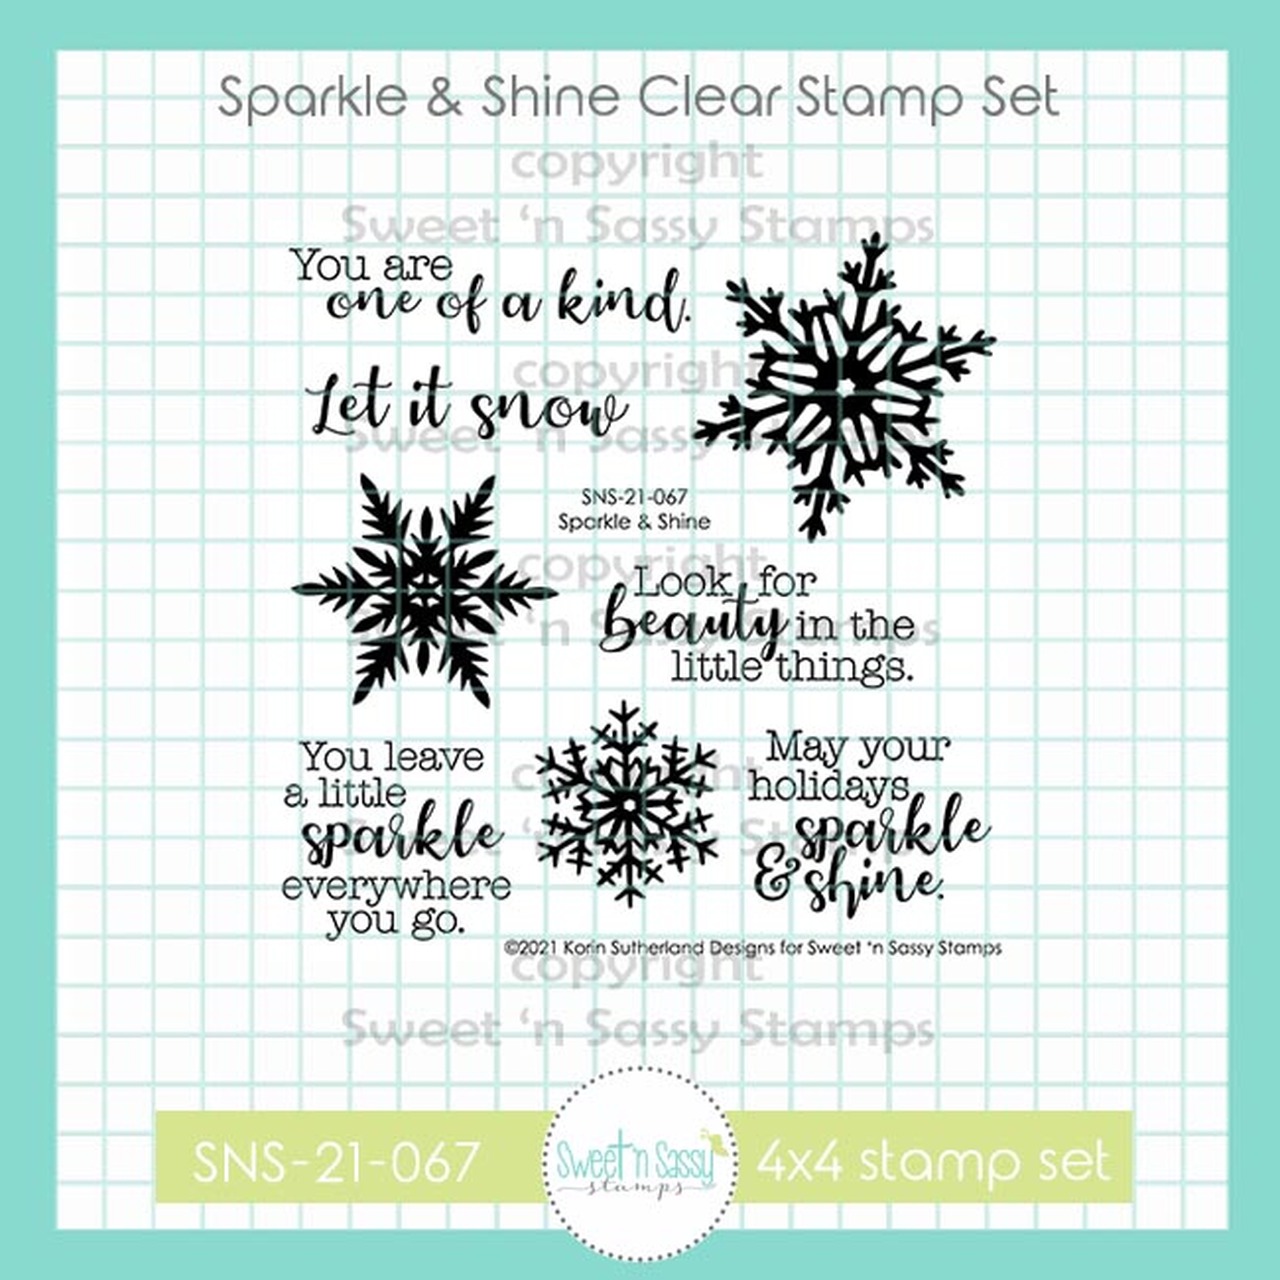
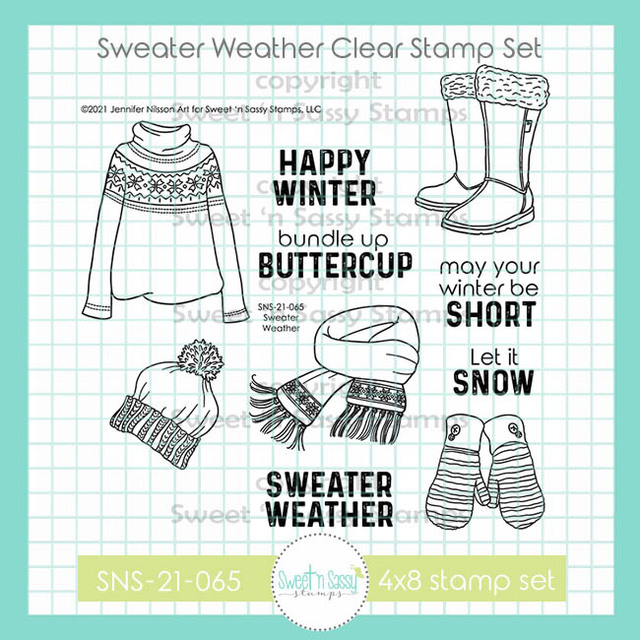
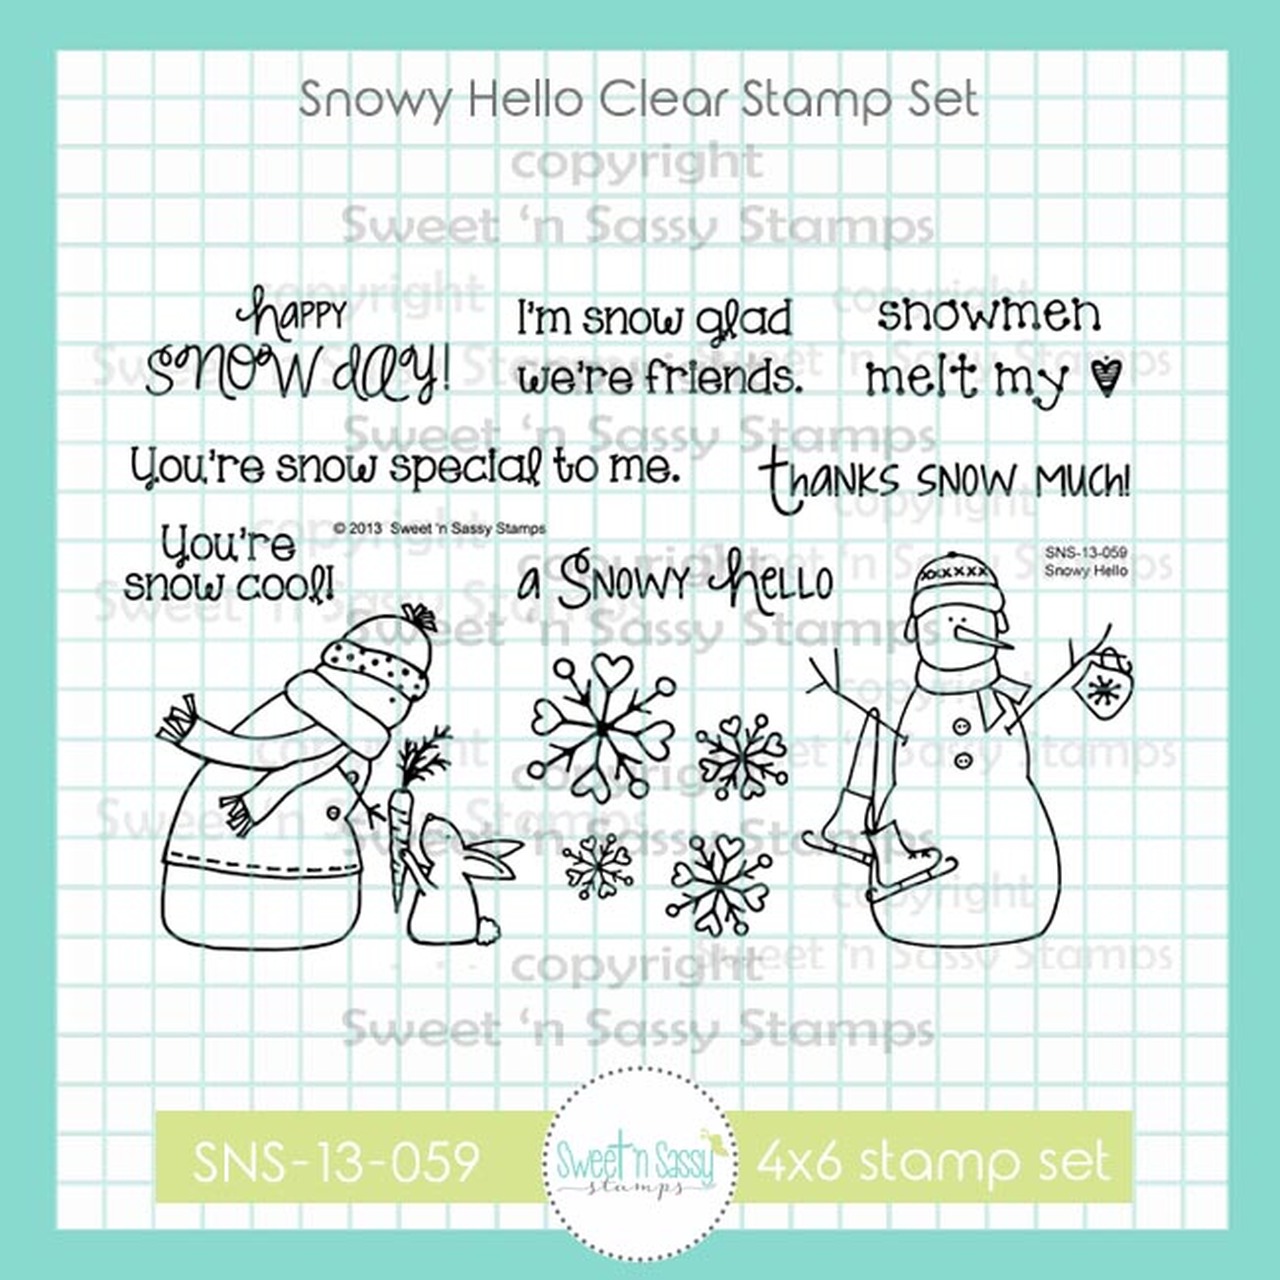
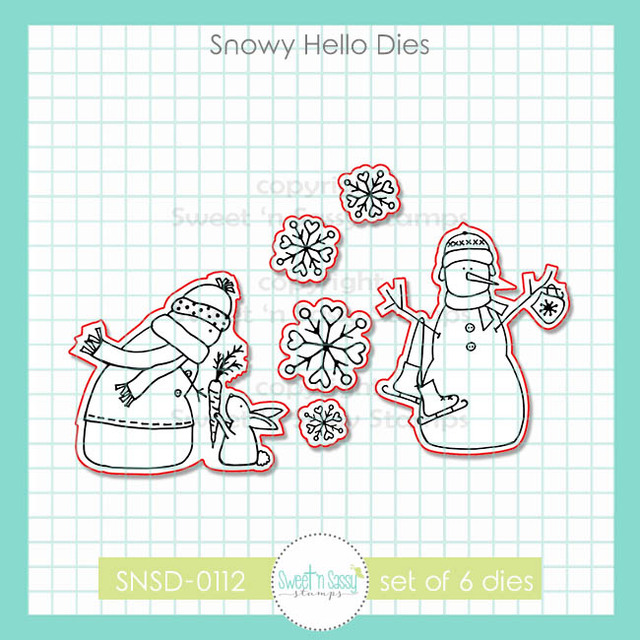
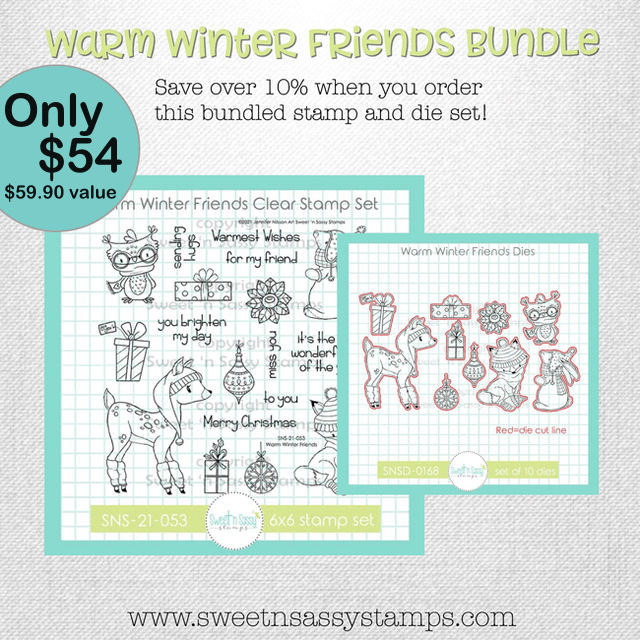
Good morning! I’m on the Sweet ‘n Sassy Stamps blog today with two more cards for the January release. Today I used Sparkle & Shine, Sweater Weather, Warm Winter Friends, and my own set, Snowy Hello, which has returned and is now available with dies! Dies are also available separately if you previously purchased the set.

I created my own background for the first card and die cut some circles to make it a little whimsical. The sweater was paper pieced, and I stamped the words on the front.

I couldn’t just toss the partial circle that I cut from the background, so I added it to my second card, along with a few more circles. I love that the Snowy Hello set now has Dies!

To make the background, I first smooshed some Distress inks onto my work surface. Then the ink was spritzed with water and I laid the cardstock on top. Repeat several times and dry as needed. When finished and dry, I stamped the flakes over top.

Have a great day!
stamps- Sweet ‘n Sassy Sparkle & Shine, Sweater Weather, Warm Winter Friends, and Snowy Hello; paper- white, SU! Cool Caribbean, Buckaroo Blue, Granny Apple Green; ink- Memento Tuxedo Black, Distress- Salvaged Patina, Stormy Sky, Shabby Shutters; accessories- MISTIScor-PalGemini Jr., Copics, Simon Says Stamp Stitched Circles, MFT Die-Namics Blueprints 21, Stickles.

snow friend like you

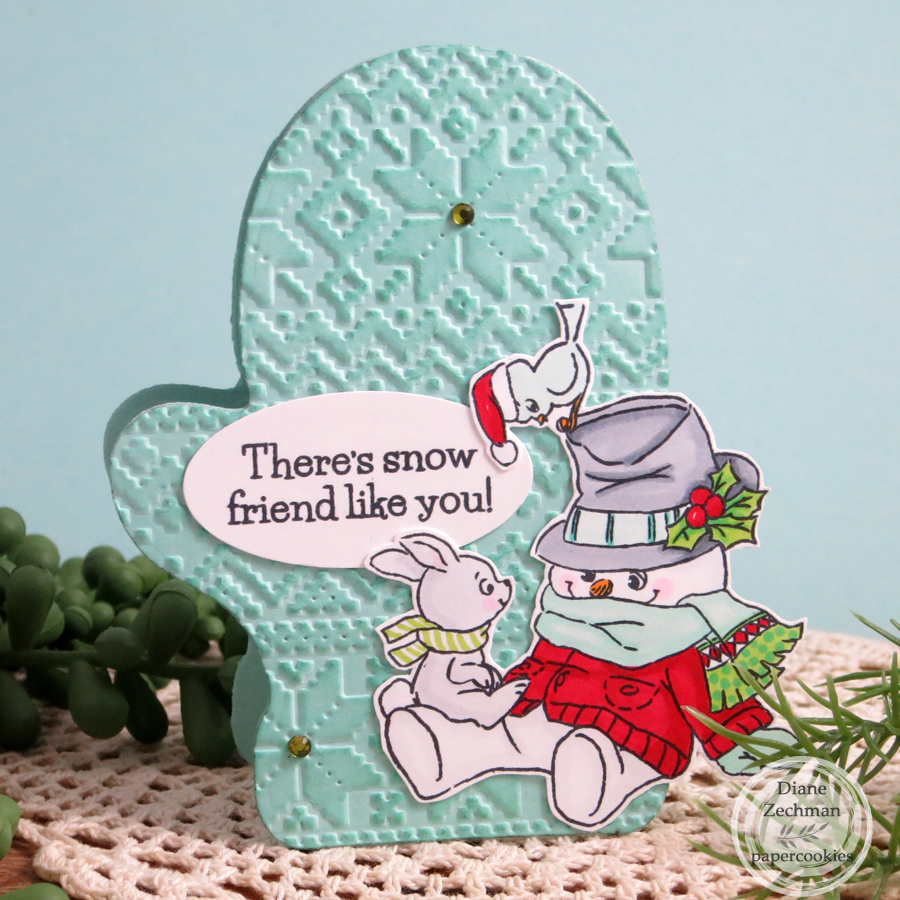
I have another card to share today. I was asked to guest design for the Art Impressions blog today and the theme is “Get In Shape…shaped cards…no squares or rectangles”. Well, I do love a shaped card! 🙂

I used a sweeeet snowman, bunny, and bird image from Ai 4935- Sparkle & Cheer Set, along with an old mitten shaped die (Spellbinders Nested Mittens) to create my “cold weather friends” card.

If you don’t have a mitten die, you can easily draw your own pattern or use clip art to make one. Keep the top fold of the card base slightly below the top of the mitten to create the fold. Then add an additional mitten to the front. I embossed the front mitten with Sizzix Knit Set embossing folder and sponged some ink (SU! Pool Party) on it before adhering it to the card front. The images were colored with Copics.

Have a great Thursday!
Isaiah 7:14

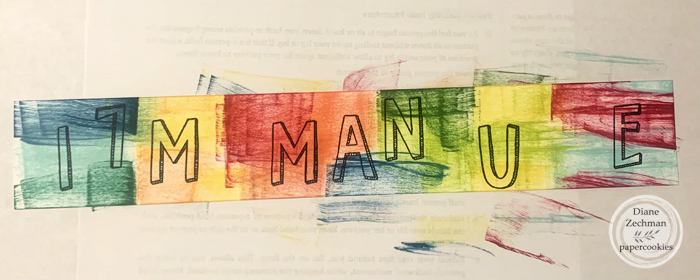
I hope you all had a blessed Christmas! Lately I’ve been wanting to jump back in to do some more bible journaling with Sweet ‘n Sassy Stamps and the name Emmanuel kept coming to mind. Whether you spell it with an “I” (Hebrew) or an “E” (Greek), it means the same… “God with us”.

Here I used SNSS Joyful Alpha, Born This Day, Starry Night Stencil, and Bitty Hearts Stencil. I also used a Memory Box Star of Wonder die for the gold star. The manger was stamped and colored on white cardstock and cut out to adhere.

I started by swiping various colors of ink cubes onto a scrap strip of white cardstock. Then I stamped the letters and cut them out.

I masked a triangle to brush the blue & yellow inks and then stenciled the stars & hearts. I messed up on the yellow hearts so they’re hard to see but it’s not about the artwork, right?!

Have a great day!