Category Archives: wedding

anniversary wishes

Welcome to day #4 of our April release features!

We’re excited to be featuring two very useful sets today…

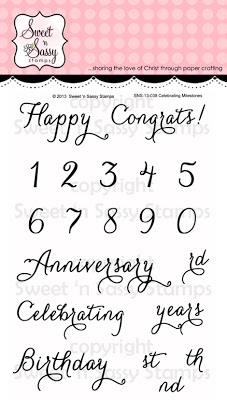
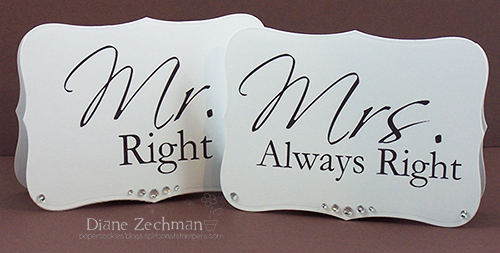
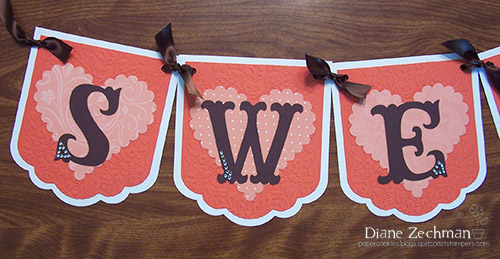
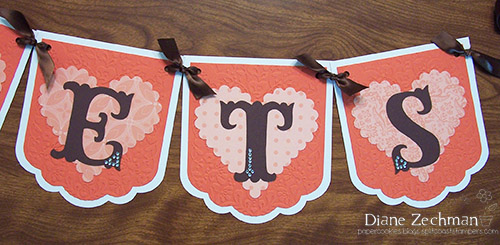
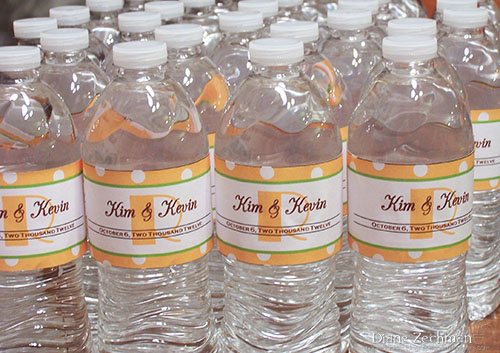
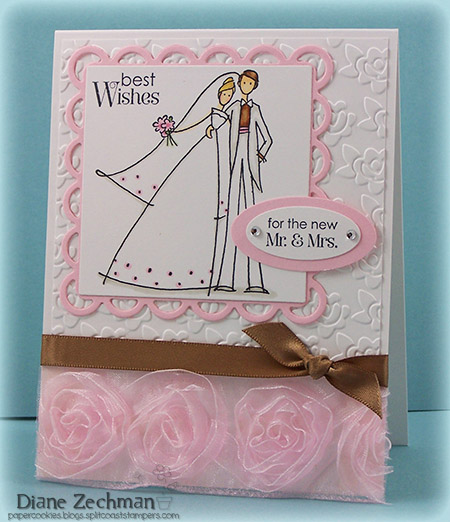
  • Stamp set includes 10 sentiments & 10 numbers
  • Set measures approximately 4″ x 6″
  • The first sentiment measures approximately 3″ x 7/8″
  • Designed by Korin Sutherland
  • Stamp set is priced at $15 

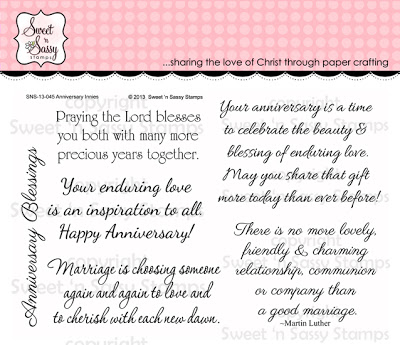
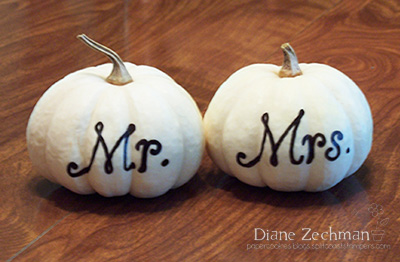
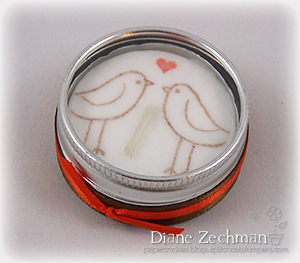
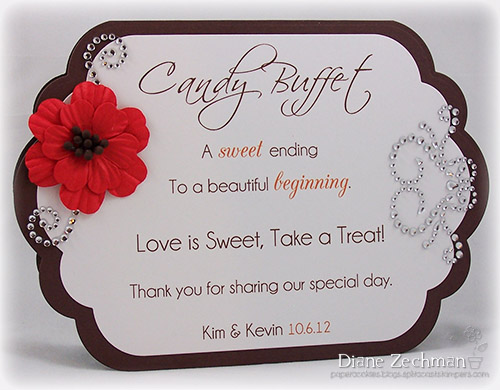
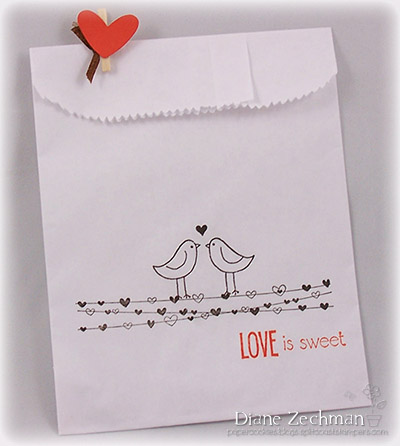
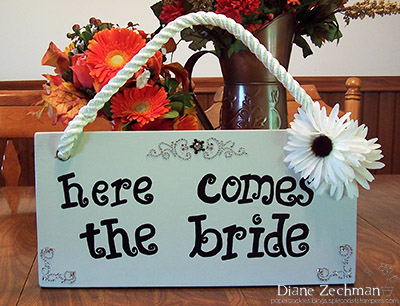
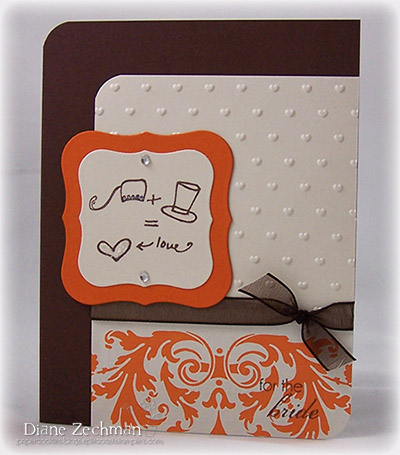
  • Stamp set includes 6 sentiments 
  • Set measures approximately 6″ x 4″
  • The first sentiment measures approximately 2 3/8″ x 3/8″
  • Designed by Korin Sutherland
  • Stamp set is priced at $15 

Check out some of the fabulous samples made by our talented DT on the SNSS blog.

Be sure to leave a comment on each of the blogs along your journey because we’re giving away this adorable stamp set to one lucky commenter!

The deadline to comment for a chance to win is midnight EST Wednesday, April 10th. The list of winners will be announced on our website homepage by Thursday, April 18th.

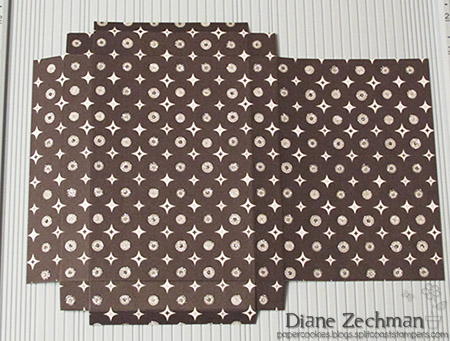
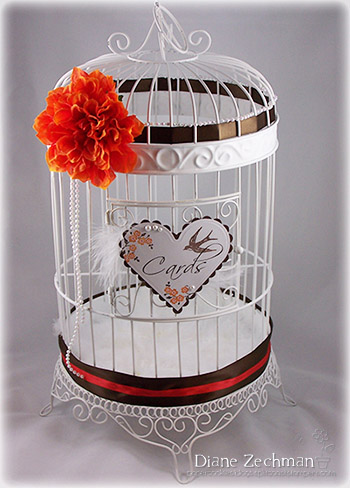
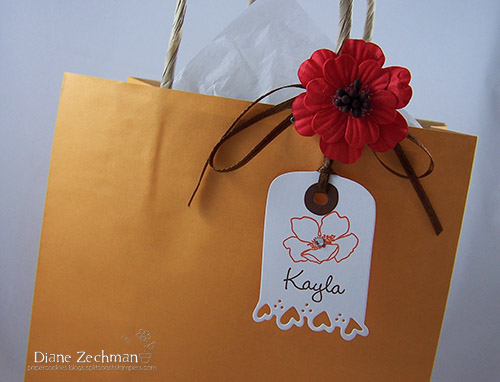
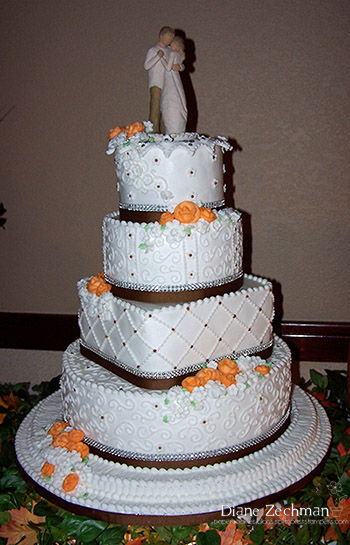
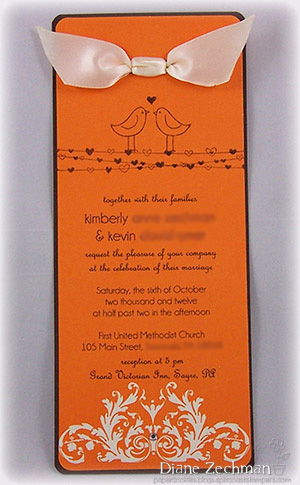
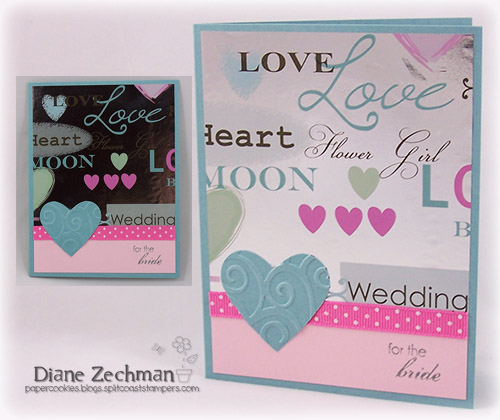
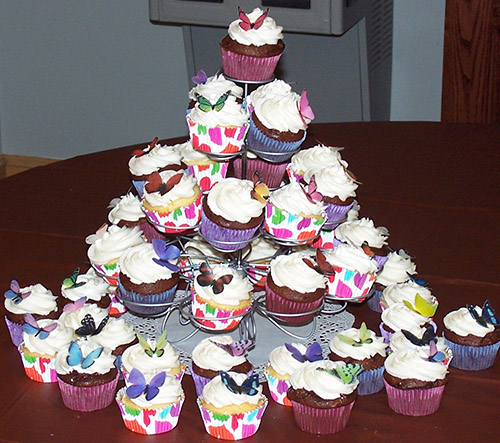
I made a card for a 50th anniversary…what a special milestone! 

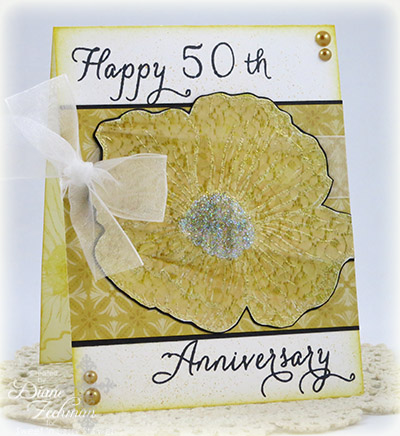
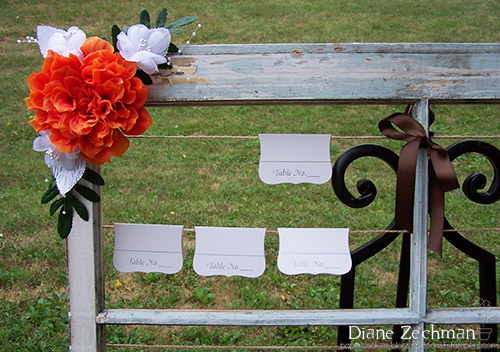
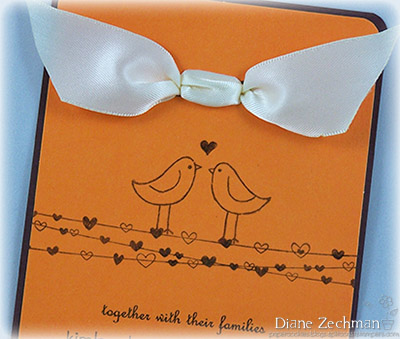
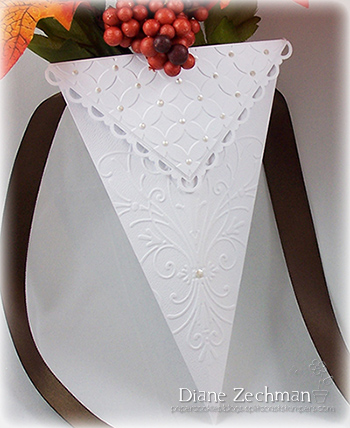
The big flower was done with the Faux Cloisonne technique, using a glittery gold embossing powder on a magazine page with a picture of lace.  It wasn’t quite the color I wanted so I colored it with a Copic, then added Stickles to the center.  Here’s a close up…

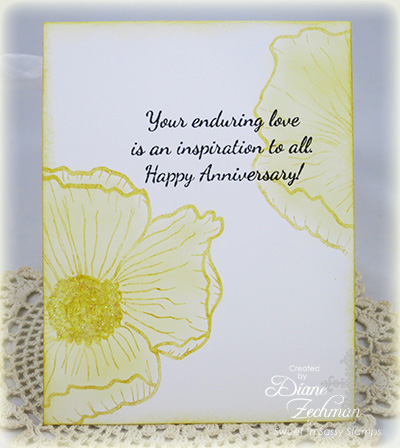
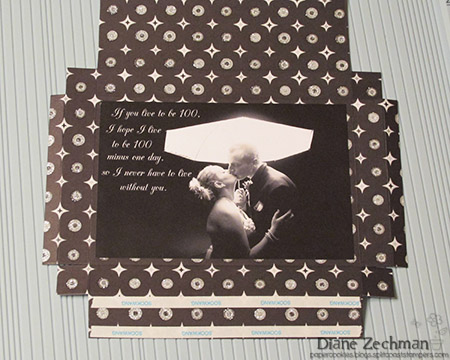
The inside was stamped to match…

 Thanks so much for joining us!  Enjoy the hop!

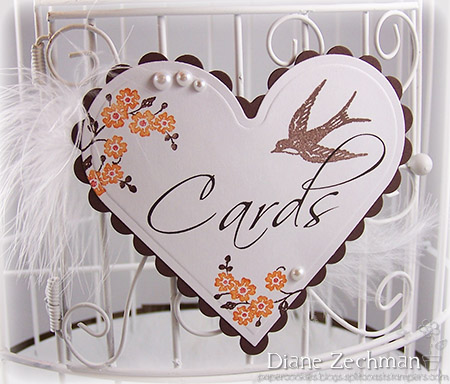
stamps- SNSS- Celebrating Milestones, Anniversary Innies, and Poppy background; paper- white, black, Cosmo Cricket- Tea For Two; ink- Memento Tuxedo Black, Versamark, SU! Crushed Curry and Soft Suede; accessories- glittery gold embossing powder, heat tool, magazine page, Inkworx Spritzer, ribbon, Stickles, adhesive pearls.

4×6 Photo Storage/Display Box

Do you have photos to give to family or friends and need a way to present them?  Have photos that you’ve printed or received and don’t want to shove them in a drawer, never to be seen again?  My project today may be the solution.  I’ve used my Scor-Pal and Scor-Tape to create decorative boxes that hold 4×6 photos.  Display them on a shelf or give as a gift…they would suit any occasion.  (a box of new baby photos would be adorable!)  Since we have wedding pics here, I made this set in black & white.  It’s very easy and I designed this box to be made from one 8 1/2 x 11 piece of paper.

Supplies: 8 1/2 x 11 cardstock or heavy patterned paper (white, DCWV used here), Scor-Pal, Scor-Tape, photo or printer, and any additional embellishments as desired (Stickles and pearls used here).

First choose a photograph for the front of your box.  I didn’t want my photo to be glossy, but rather seem to be a part of the box itself.  So I printed my photo onto white cardstock and cut it out.  Before printing, I added some text to the photo.

Next choose some coordinating paper or cardstock.  Starting with an 8 1/2 x 11 piece, score the 11″ side @ 1, 1 3/4, 6, and 6 3/4.

Turn the paper 90 degrees.  Align the left edge to the 1/8″ groove.  Now score the 8 1/2″ side @ 1/2, 1 1/4, 7 1/2 and 8 1/4.

Using the following diagram, cut and fold the box.  Remove shaded areas.  (click on diagram for larger pic.  Right click on it to save to your computer).

It should now look like this:

Before assembling the box, attach your photo. Then apply Scor-Tape as shown.

Assemble the box.  Trim the corners of the tabs if necessary when folding and inserting the ends.  Decorate as desired.

When using for display, making 3 coordinating boxes looks nice.  For special occasions or new baby, add names, dates, etc. to the sides.


props, decor, etc.

Lots of pics today…hope I’m not boring you with them!  I’ll be back to making cards real soon…promise!  Here’s a mish-mash of wedding  projects.  I’ll try to limit the chit chat.

A good friend loaned me a birdcage from her daughter’s wedding and I decorated it to hold the cards at the reception.

I diecut the sign with Heart Nestabilities and stamped them with Stampin’ Up!’s retired set called Carte Postale.

I typed, diecut, and added bling to these signs for the head table. (Labels 8 Nestabilities)

Wrote on some gourds…

I placed an old window onto an easel and attached string to hold the table cards (diecut with Labels 8 Nestabilities).  I didn’t get a pic at the reception.  We placed some straw, a pumpkin, a basket of gourds, and a pitcher with flowers by the window.

I made simple tags for the bridesmaid’s gift bags with the Magnolia Romantic Tag Doohickey die…and we glued a flower for their hair to a hairclip, then added some sparkle to the centers.

Altered flip flops for dancing at the reception…we made ribbon flowers with a pearl brad in the center and stitched them in place.

Altered some mason jars to hold the bridesmaid bouquets at the head table…

We also had a photo area at the reception with props to take silly pics.  Here’s a few that we made.  I found the sign on the internet.  We just printed it and placed it in a frame.

The bride and groom signs were printed from here.  I diecut them with Grand Labels Eleven Nestabilities.

We also made a big polaroid frame…

We used years for the table numbers and had photos of the bride and groom at that age…the last few years had pics of them together.

There are a few other projects that I didn’t get pics of.  I actually didn’t take any pics on the big day.  I wonder why.  lol.  I do have one other thing to share though…the cake!  I was anxious to see it and our baker did a wonderful job!

Here’s DH and I with our daughter and new son.

I can’t believe it’s over already.  Now to clean and pack things back up!  Have a great weekend!

candle favors and candy buffet

When it comes to making favors, there are so many ideas to choose from!  DD decided that she wanted little candles so we stamped on tealights and placed them in little tins that I had left  from when I was making these ornaments.

These are so easy to make!  Just place a piece of tissue paper between 2 pieces of copy paper and punch it out with a 1 3/8″ circle punch.  (The copy paper aids in punching out the tissue) Then stamp your design onto the circle of tissue paper.  We used the same birds that were used on the invitations.  Then I used a piercer to poke a hole in the center.  Lay the tissue over the candle, pushing the wick through the hole.  Then apply heat with a heat gun and the tissue melts right into the top of the candle.  We finished off the tins with some ribbons and placed their names & date on the bottom.

As part of their favors, we also put together a candy buffet.  That was a lot of fun!  We shopped for glassware and tried to keep the candy in fall colors…mostly orange and brown for the colors of the wedding.

In the jar on the top left, we colored the letters “HE” and “SHE” on the Hershey snack size bars with an orange Sharpie marker.

In the large jar in the back, below, my MIL found white coated pretzels, drizzled with orange and brown…perfect!  And the Lifesavers mints (with the Whirly pop on top) are my new favorite…orange flavored!  I could only find them at CVS.

I like the look of the giant orange gumballs too.

A last minute project was to make a banner to hang over the table…

I also made a sign for the table…

…and decorated some glassine lined bags for the guests to fill…

Those giant lollipops in the photo above were actually a Halloween candy I found…and they SPIN just like a pinwheel!  I bought enough to fill the whole display box so I could take that home too.  lol.  I pulled the styrofoam base out and wrapped it with ribbon.  Here’s what it originally looked like.

And after it was altered…

One little boy was so fun to watch, licking away at his spinning pop!

That’s all for today but check back…still more projects to come!

Tea Light candles: stamp- SU! Love You Much; ink- Memento Rich Cocoa, SU! Dusty Durango; accessories- tin, tissue paper, heat gun, 1 3/8″ circle punch, ribbons, glue dots, tea light candles.

Candy Buffet sign: paper- Choc. Chip, white; accessories- Scor-Pal, Scor-Tape, Spellbinders Grand Labels Eleven, The Paper Studio flower, adhesive rhinestones.

Treat Bags: stamps- SU! Valentine Defined and Love You Much, Studio G sentiment; paper- Tangerine Tango; ink- Stazon Timber Brown, SU! Tangerine Tango; accessories- SU! heart punch, glassine lined bags, Scor-Pal, mini clothespins, ribbon.

Sweets Banner: paper- white, Tangerine, Choc. Chip, Groovy Guava dsp; accessories- Spellbinders Grand Labels Eleven, Cuttlebug Meadow Lark folder, Heart Nestabilities, Cricut Storybook, gemstones, ribbon.

wedding is over!

On Saturday our daughter was married and we gained a son!  A whole year of planning was over in a matter of hours.  lol.  The weather was calling for rain in the morning but it cleared up for the wedding…yay!  At the end of the ceremony, the sun came out…at the exact moment when they were pronounced husband and wife!  How cool is that?  God is good!

I have lots of crafty projects to share so I will post a few each day.  I didn’t get photos of everything but maybe what I did take photos of will help spark an idea if you are planning a wedding too.  It was tons of fun!

I’m not sure what to upload first, so how about if I start with the invitations and the projects for the ceremony?  The colors DD chose are brown and orange.  She found some invite kits at Michael’s that were perfect…we just altered them a bit!

I added a brown base to them and rounded the corners.  It looked much better and covered up the copyright that was printed on the backs…I didn’t like that there!  We left some room above our text to stamp the love birds and “wire” with hearts.  A tiny gemstone was also added to the flourish.

A whole year of preparations flew by in a hurry!  We had fun with each & every project…well…except maybe the veil.  LOL.  Yes, we made her veil!  What should have taken a half hour ended up being a 6 or 7 hour project.  ha ha!  I guess we won’t forget that one!  It started with a little Russian Tulle, needle, and thread…

…and finally we ended up with a beautiful birdcage veil!  (Sorry for a blurry pic)

I forgot to take a pic earlier, but here’s the veil as she walked down the aisle.

Speaking of the aisle… DD didn’t want bows on the ends of the pews.  So I made some paper cones.  Super easy with the Scor-Pal!

Here’s a close up…

I used the tutorial for the paper cones on the Scor-Pal site and just altered the measurements for my needs.  I started with a 6 x 6 cardstock and marked 3″ on 2 adjacent sides.  Then score between those points and follow the directions given.  My Big Shot Pro came in handy to emboss them since they were too wide to run through the regular machine.    This was one of my favorite projects!

Another favorite was the wooden sign we made for the ringbearer to carry.  DD wrote the words and I added the bling and flowers.

One last project that I’ll share today is the water bottle labels I made to put in the welcome bags for the out-of-town hotel guests.  I found the free printable here…they’re very easy to change the color and customize.

Keep checking back…more to come!

Invites: stamps- SU! Valentine Defined and Love You Much; paper- Choc. Chip; ink- Stazon Timber Brown; accessories- Anna Griffin invites, rhinestones, Crop-A-Dile.

paper cones: paper- textured white; accessories- Cuttlebug Emily’s Bouquet, QuicKutz Retro Diamonds, White Opal Liquid Pearls, SU! Scallop Trim punch, dimensionals, white eyelets, ribbon.

for the bride

Hope you’re not tired of the wedding cards.  LOL.  I found one last pic of a shower card that I forgot about.  DD wrapped her gift in some pretty foil paper and I hated to throw away the scrap that was left…so I cut a piece to make a matching card.

The two cards pictured above are actually one and the same.  The foil had a nice shine and looked different as the card was turned in the light.  Just another quick & easy card.

stamp- Cookie Crumbs- Special Day; paper- Baja Breeze, Pink Pirouette, foil wrapping paper; ink- Memento London Fog; accessories- Cuttlebug D’vine Swirl folder, ribbon, heart punch.


a simple thank you

Earlier this week I made a stack of thank you cards for DD to send for the bridal shower gifts she received.  Since I needed quite a few, I once again opted for the clean & simple style.

I kept with the butterfly theme for one last project and here’s what I made…

Hope you had a fun Friday!  Have a great weekend!

stamps- AmyR Thank You Sentiments; paper- white notecards, brown, Pool Party, My Mind’s Eye- Flowery Fields, The Paper Studio- Orange w/white Polka Dots; ink- Memento Rich Cocoa; accessories- square punch, SU! Elegant Butterfly punch.

more bridal shower pics

If you popped in yesterday, you saw that the theme of our bridal shower was butterflies.  If not, be sure to scroll down and check out the projects I made.

We had a luncheon and you know I love food…lol…so let’s start with the cupcakes!  (I won’t bore you with the nutritious stuff.)  :0)  We found some very pretty EDIBLE butterflies to top them off…you can find the lady who makes them or Amazon or Etsy.  I was very happy with her service…she goes by Sugar Robot.  My neice (teenage) piped the frosting on and did a great job!

Here’s a close up…

All around the room we hung butterflies and chinese lanterns from the ceiling…

We played 2 games.  One was something new & different…Bridal Shower Family Feud!  Here are the hosts and a few “contestants”.  I think everyone had fun…

Every game needs prizes, right?  For the Family Feud game we needed lots so I made some little purses to fill with the SU! purse die.  Here’s a few…

And one last pic…here’s the bride-to-be opening gifts.  We are so blessed to have wonderful family and friends!

Thanks for popping in!  Have a great day!

a butterfly bridal shower

This weekend we had a bridal shower for my DD.  A few weeks ago when we started planning the shower, I thought it might be nice to have a butterfly theme.  It really worked out quite well and we had such a nice time with family and friends!  Today I’ll share some pics of the projects and decorations I made.  Then I’ll be back tomorrow with some more pics to share.

First we needed an invitation!  Since I needed multiples, I wanted to make a CAS (clean & simple) card.  I figured a white on white card would be elegant and a pop of color with a butterfly should be fun.  Here’s the invite…

Next I worked on the table favors.  We had “whisked away” heart whisks which I attached a punched butterfly to, and I also made some butterfly houses filled with chocolates.  Here’s a few of the many houses I made in different colors.

A few years ago we made these as bird houses…with a round opening in the front and a bird attached.  I just used the SU! Word Window punch instead and turned it into a butterfly house.  The base is the milk carton die and the roof is a Spellbinders die…held on with a binder clip so you can access the candy inside.  A piece of acetate lines the front slot.

I didn’t get a real good photo of the favors on the tables but here’s one I did get.

For the centerpieces I made some tags, each in a different color to match the center flower, with quotes on love and marriage that I printed out and diecut.

All lined up…

And one more pic for today.  When my girls were little, I took a pic of them playing dress up with my wedding gown.  I am SO glad I did that!!

I’ll be back tomorrow with more pics.  Have a great day!

Invite- stamps- SU! Inviting and Papillon Potpourri; paper- white; ink- Tangerine Tango, Memento Rich Cocoa; accessories- Spellbinders Fleur De Lis Squares, QuicKutz Springtime folder, SU! Elegant Butterfly punch.

Quote Tags: paper- Limeade, Daffodil, Tangerine, Bermuda Bay, Lavendar Lace, Choc. Chip, white; accessories- Labels 9 Nestabilities, SU! Two Tags die, Magnolia Romantic Lace Border die, gemstones, ribbons.

Butterfly Houses: stamps- SU! Weathered, CHF Polka Dots; paper- white, various cardstock and patterned papers; ink- Crumb Cake, Pumpkin; accessories- binder clips, Spellbinders scalloped long rectangle Nestabilities, SU! milk carton die, clear acetate, SU! Word Window punch, SU! Elegant butterfly punch, Stickles, Scor-Tape.


a DTGD Wednesday challenge

Have you been playing along with the DTGD challenges on SCS?  Today I have a challenge…check it out and play along!  All the fun starts here.

I made 2 sample cards for my challenge…this is the first card I made.  Love the rosette ribbon!  You can get it from the Stamp Simply Ribbon Store.

And here’s the second card I made.  This one is for my DD’s bridal shower.  The patterned paper is actually a piece of the envelope lining from her wedding invites.  I don’t remember where the main image is from but I’ve always loved this stamp and I’m so glad I finally used it!  lol.

It’s hard to see but I added a bit of Stickles to the veil and the heart.

Have a great day…hope you play along!

Rosettes card: stamps- Stampendous Happy Couple, SU! Petite Pairs; paper- white, Pink Pirouette; ink- Memento Tuxedo Black; accessories- SU! oval punches, Cuttlebug Once Upon A Princess emb. folder, ribbon rosettes from the Stamp Simply Ribbon Store, Scor-Tape, Copics, gemstones, Spellbinders Squares and Lacey Squares.

Veil & Tophat card: stamps- unknown image, sentiment from retired Cookie Crumbs- Special Day; paper- shimmery white, Pumpkin Pie, Chocolate Chip, dp from the envelope lining of the wedding invite; ink- Memento Rich Cocoa; accessories- corner rounder, Cuttlebug Love Language folder, Labels 1 Nestabilities, gemstones, Stickles.