Category Archives: shrink plastic

Wine Divas card and wine glass charm

Hello friends and happy Thursday!

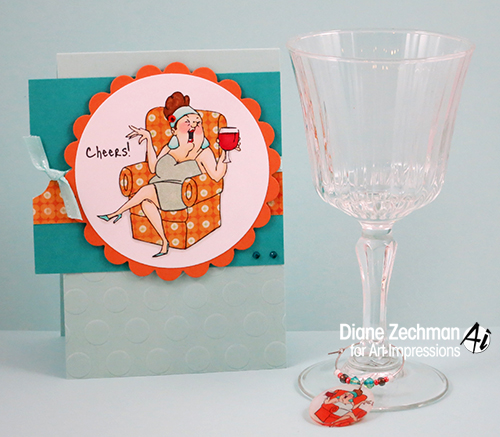
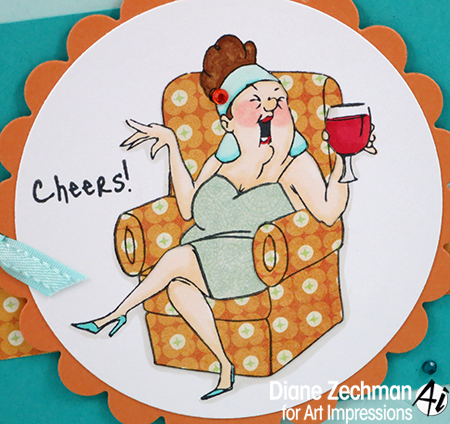
Have you checked out the Ai stamp sets in your local Michael’s store?  Today I used the Wine Divas to create a card and a few wine glass charms.

wine diva card & wine glass charm 1 diane zechman

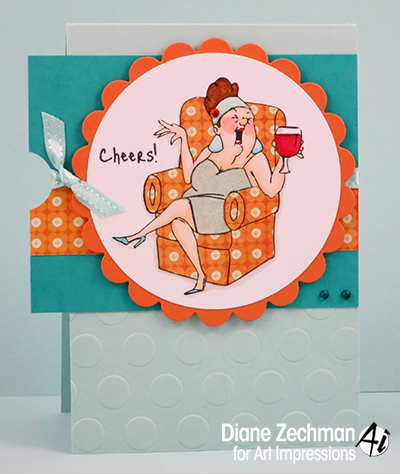
I made my card base a little narrower than usual (3 3/4″ wide) so my blue panel could hang over the edge a bit, then punched a half circle and tied some ribbon around it.

wine diva card & wine glass charm 2 diane zechman

This diva’s dress and chair were paper pieced and she has an orange rhinestone in her hair.

wine diva card & wine glass charm 3 diane zechman

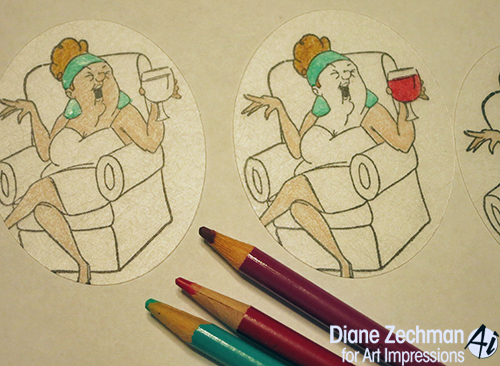
To make the wine charms, I first die cut a few ovals from Shrinky Dink Rough & Ready shrink plastic.  Then I stamped the image with Stazon Black ink and colored with regular colored pencils (Crayola work fine).   I apologize for the quality of this pic… my camera was on the wrong setting!

wine diva card & wine glass charm 4 diane zechman

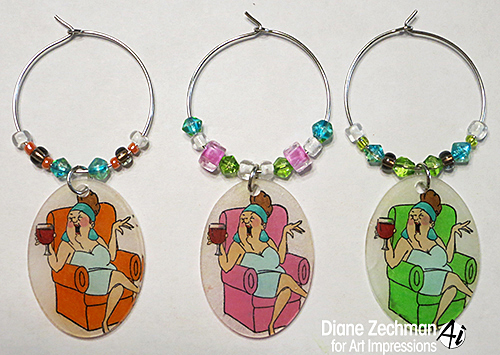
The charms were heated & shrunk in my toaster oven.  Be sure to punch the hole at the top before shrinking!  For info & tips on using shrink plastic, see this post on my blog.

wine diva card & wine glass charm 5 diane zechman

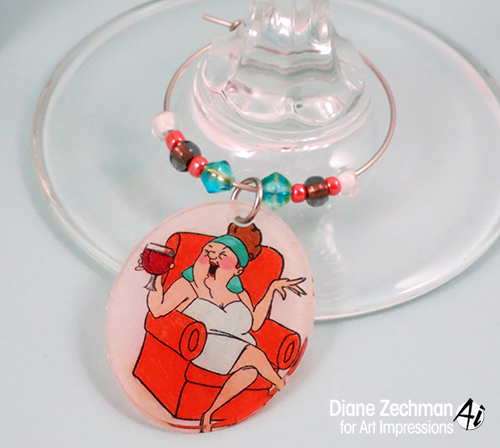
I added a jump ring to my charms and strung them on a Beverage ID hoop with some beads.  Then bend the end of the wire hoop with pliers to keep the beads on and hook it through the loop on the other end.

wine diva card & wine glass charm 6 diane zechman

Thanks for popping in…have a great day!

Diane Signature Medium size

card: stamps- Art Impressions Wine Divas (Michael’s exclusive); paper- white, SU! Pool Party, Bermuda Bay, and Peach Parfait, MME Mabel; ink- Memento Tuxedo Black; accessories- Circle and Scalloped Circle Nestabilities, 3/4″ circle punch, QuiKutz Polka Dots embossing folder, ribbon, foam dots, rhinestones.

wine charms: stamps- Art Impressions Wine Divas (Michael’s exclusive); ink- Stazon Black; accessories- Oval Nestabilities, 1/4″ hole punch, Shrinky Dink Rough & Ready shrink plastic, Beverage ID Hoops, jump rings, beads, needle nosed pliers, colored pencils.

Stamping with Shrink Plastic

♥ Happy Valentine’s Day! ♥

I don’t have a valentine to share today but I have something else fun. I’ve been stamping on shrink plastic again…it’s been a little while since I played with it.  I wish I could find the charms I made years ago but apparently I tucked them away pretty safely because I can’t seem to locate them.  lol.  The first charms I made were 10 years ago and I will add the pics I found at the end.  Here’s some more projects I’ve done.  And this week I made a few water bottle charms…
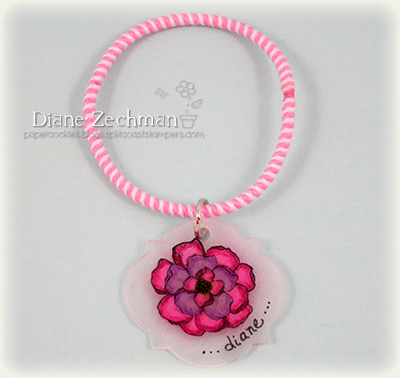
There seemed to be a lot of interest in the charm I made last week so I typed up some tips on using the shrink plastic.  I hope you try it…it’s a lot of fun!  (and easy too!)  Hopefully this will help:

Stamping With Shrink Plastic

Shrink plastic comes in white, almond, brown, black, clear, frosted (Rough & Ready), and Ink Jet (printable). I have had good results with the Shrinky Dink brand. Other brands may have additional colors but I have read reviews that they do not shrink as evenly/consistently.  I bought my plastic at Michael’s.

For best results the side of the shrink plastic you work on should be slightly roughened or sanded. Some shrink plastic comes with one side already roughened. Use a fine sanding block or rubbing two pieces together will also lightly sand it. The rough surface gives it some “tooth” to grab color from the pencils and it is difficult to get some inks to set on the shiny side.

Die cut, punch or cut shrink plastic with scissors to desired shape.  If fussy cutting the image after stamping, be careful not to smear the ink if it’s not dry.

When choosing your rubber stamp, consider the size and style of the image. Don’t choose an image too small or detailed as it may not turn out well after it is shrunk. The plastic will shrink up to about 1/3 of its original size.

Stamp the image on the shrinkable plastic. StazOn is perfect, but other inks such as Brilliance will also work if they are heat set.  If you don’t plan to color the image, you can set it and shrink it at the same time! You may need to experiment with various inks. Some will not dry even if you shrink the plastic.  Acrylic paints are also supposed to work well, although I’ve never tried them.

Color the image with regular colored pencils (even Crayola work fine). Keep in mind that colors become deeper and more saturated when the shrink plastic has been shrunk. Use a shade or two lighter than desired. StazOn and Copic inks or Sharpies cannot be used together. However, if you use clear shrink plastic, you can stamp on one side and color on the other. That way, your inks never touch. Keep in mind that you cannot blend Copics on the plastic like you can on paper. Trying to blend them may smear, puddle and remove the ink.

Remember to punch any desired holes before baking!  Use a 1/4″ hole punch for charms.

Shrink the image in the oven according to the manufacturer’s instructions or use a heat tool to shrink the image. When the plastic shrinks, it will curl. Make sure to heat the image completely… the piece of plastic will return to a flat shape. Shrink plastic is very light so when using a heat tool, it is a good idea to shrink it inside a shallow box lined with foil or use a stylus tool inside a punched hole to keep the hot air from blowing the pieces away.

When it is completely shrunk I like to press down on the plastic with a wood block or other flat object to flatten it even more as it cools.  It will cool quickly!

Attach shrink charms to an “Ouchless” elastic hair band or a wine glass charm ring (found in craft and jewelry supply stores) with a jump ring to create Water Bottle Charms or Wine Glass Charms. Write names on them with ultra fine point permanent markers before shrinking. Add beads to wine glass charm rings.

Use a Krylon pen on the edges if desired to finish your embellishments beautifully.

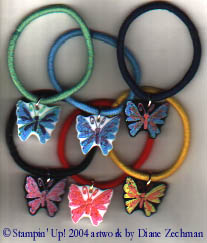
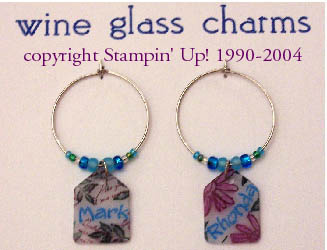
As I mentioned, I couldn’t find a lot of the pieces I made years ago but here’s a few pics from 2004.  Sorry for the poor quality photos!  The first two are water bottle charms.

Thanks for visiting and let me know if you try them!

Today’s pic: stamps- SU! Secret Garden; ink- Stazon black, ultra fine point Sharpie; accessories- SU! Window Frames dies, hole punch, colored pencils, jump ring, pliers, “ouchless” hair band.

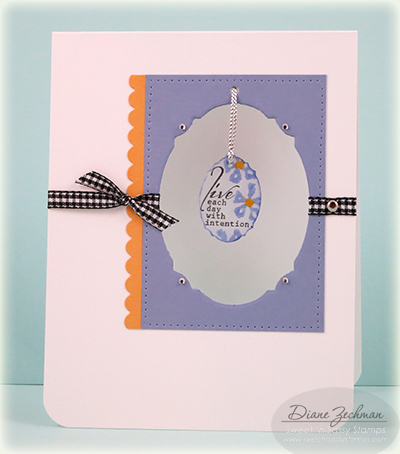
live charm

Welcome to day 3 of the Sweet ‘n Sassy February release Blog Hops!

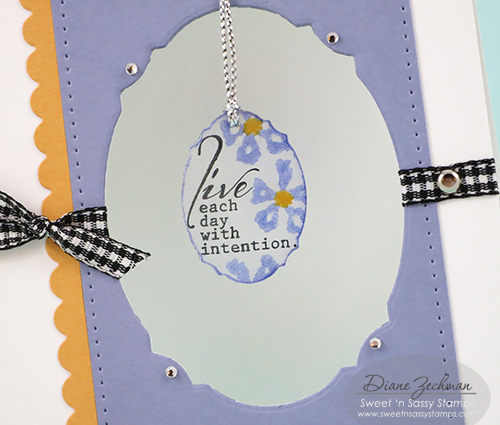
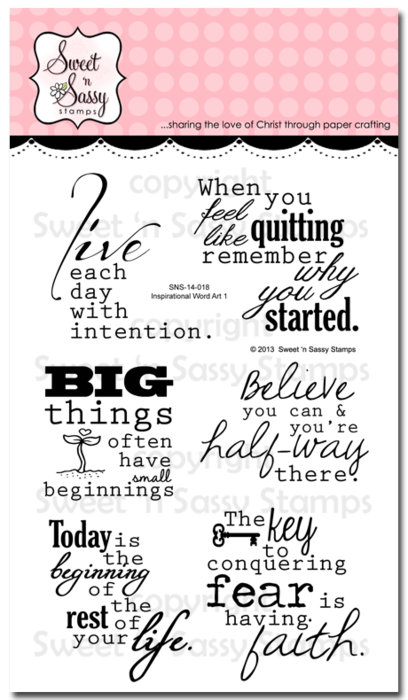
Today we’re featuring the new Inspirational Word Art 1 stamp set.  This is a 4″x6″ set of sentiments, the first of a series.  I love it and can’t wait to see what Korin comes up with next!  The sentiment I used was shrunk down on my shrink plastic charm that hangs in a cutout window.  (EDIT…I have tips on using shrink plastic HERE).

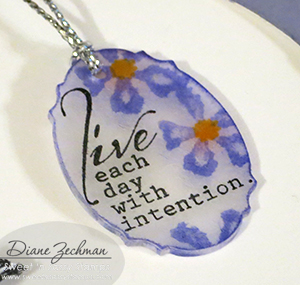
I used the same die from the Decorative Plaque dies to cut the window and also diecut the charm.  You can see how much the charm shrank after heating it.

I also stamped some flowers on it from the new Bloom & Grow stamp set.

It has been a while since I used shrink plastic but it still remains to be one of my favorite techniques.  These sentiments are perfect to use with it!

Check out more samples made by our DT in the links on the Sweet ‘n Sassy blog.

Be sure to leave a comment on each of the blogs along your journey because YOU could be a lucky winner!  Sweet ‘n Sassy is giving away (2) $20 gift codes to the store! 

Don’t miss these other opportunities to win:

(1) $20 gift code drawn from all comments on Friday’s release blog post
(1) $20 gift code drawn from all comments on full reveals in our SCS forum
(1) $20 gift code drawn from all participants in our release challenge hosted on blog

The deadline to comment for a chance to win is midnight EST Friday, February 14th.  The list of winners will be announced on our blog Monday, February 17th.

Thanks so much for joining us!  Enjoy the hop!

stamps- Sweet ‘n Sassy Inspirational Word Art 1 and Bloom & Grow; paper- white, yellow, SU! Wisteria Wonder; ink- Stazon Black, Mustard and Violet; accessories- Sweet ‘n Sassy Decorative Plaque dies and Bookmarks & More dies, Rough & Ready Shrinky Dink shrink plastic, Crop-A-Dile, ribbon, brad, corner rounder, tracing wheel, silver cording, rhinestones.

butterfly tin

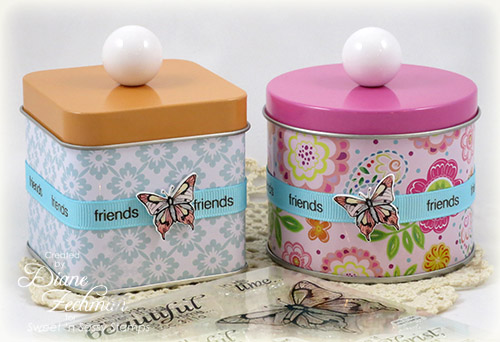
Have you seen the Friday Feature set on the Sweet ‘n Sassy blog?  This week only the New Creature stamp set is on sale!  I just happened to be playing with this stamp set last night and made some quick & easy embellishments to add to some tins that I purchased at Michael’s.

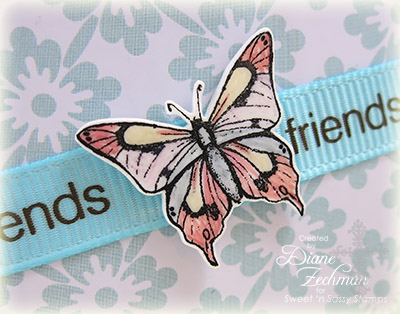
It’s been a while since I stamped on shrink plastic so these little charms were fun to make.  I stamped the butterfly on white shrink plastic with Stazon ink.  You can see the size of the butterfly stamp in the photo.  Then I colored it in with colored pencils.  You may not see all the color very well but it will intensify and show up more after shrinking.  When using colored pencils, it also helps to lightly rub a piece of paper or fine sandpaper over the plastic to give it some “tooth” to pick up the pencil color.  Cut your image out and punch a hole at this point if you want to hang it from something.  Then I shrink it in my toaster oven.  A heat tool will work too but use a stylus or something to hold it and keep it from blowing away.  Here’s a close up…

I added the ribbon and charm with some Scor-Tape to hold them in place.

stamp- Sweet ‘n Sassy- New Creature; ink- Stazon Black; accessories- white shrink plastic, colored pencils, toaster oven, ribbon, Scor-Tape.

an ornament and a recipe

soft-summer-ornament-diane-zechman.jpgDon’t ask me what these two things have in common.  Nothing really.  They are just two projects left from the gatherings I recently attended that I haven’t shared yet.

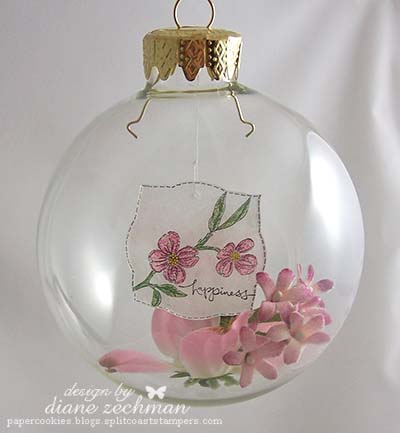
This first one was a tutorial on Splitcoast a few weeks ago.  It is rare that I try a tutorial right away, but I thought this was cool and tried it the day the newsletter went out!  You can find the directions here

I didn’t use markers on my project, though.  I never seemed to have good luck with regular markers on shrink plastic.  Instead, I stamped the outline with Stazon ink and colored the image with colored pencils.  This way it doesn’t smear when you roll it up to insert it into the glass ball.  This was a fun project to try and it is kinda cool to see it shrink inside the ball.  

The shrink plastic was cut with my Nestabilities and then I outlined the edges with faux stitches using a fine point permanent marker.

stamps- Warm Words, Soft Summer; ink- Stazon Black; accessories- colored pencils, thread, glue dots, hole punch, shrink plastic, Labels 3 Nestabilities, clear glass ornament. 

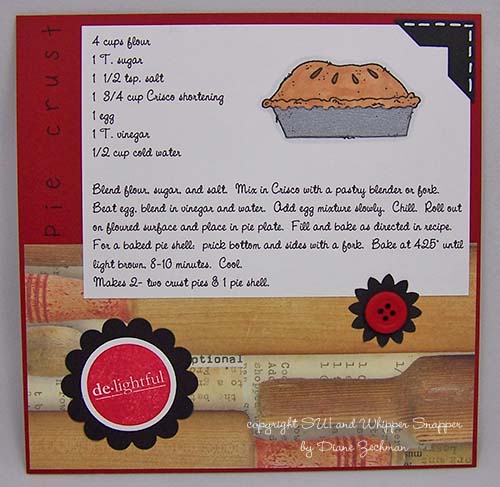
6x6-pie-crust-diane-zechman.jpgThe second project is another 6×6 recipe card.  This time I decided to scrap the pie crust recipe my MIL used to make.  It makes the best pie crust, IMO!
This is a very simple page but I was short on time (and mojo!) LOL.  I love the decorative paper, though, with the rolling pins on it!

The Whipper Snapper pie was stamped twice…once on the recipe layer and again on a piece of silver cardstock.  Then the pie pan was cut out of the silver paper and paper pieced on the first one. 

stamps- Whipper Snapper Homemade Pie, SU! It’s All Good, Karen Foster Snap Stamps; paper- Red, White, Black, Silver, dp- Creative Imaginations; ink- Memento Black, Real Red; accessories- Copic markers, Photo Corner punch, Scallop Circle punch, Flower punch, button. 

Have a great day!

shrinky chicky

shrinky-chicky-diane-zechman.jpg

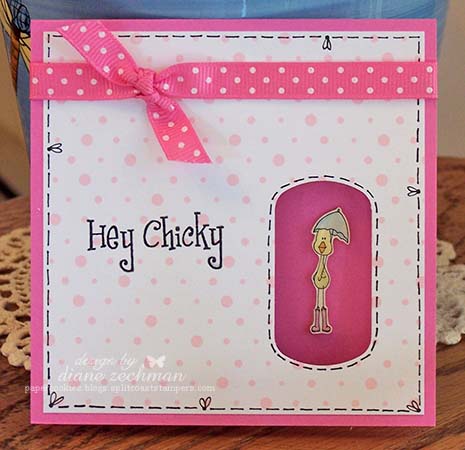
I thought this chick image by C.C. Designs was just too cute with her boots and umbrella but she is even cuter 1 3/8″ tall!  🙂  I stamped the chick onto shrink plastic with black Stazon, colored her with colored pencils and cut her out.  Then she went into the toaster oven to shrink.  note: I always lightly sand the shrink plastic to give it some “tooth” to grab color from the pencils.  If you don’t have anything handy to lightly sand with, just rub two pieces of shrink plastic together…it works just as great! 

I started with a 4 1/4″ square card and attached a 4″ piece of SU! Berry Bliss paper.  Then I punched an opening in the cardfront with the SU! Key Tag punch and stuck the chick to the inside of the card with mini glue dots.  I added the words, some doodling and ribbon.  This makes a quick & cute card!

stamps- Hey Chicky- C.C. Designs

paper- Pixie, Berry Bliss dp

ink- Stazon

accessories- shrink plastic, colored pencils, glue dots, Key Tag punch, ribbon