Category Archives: recipes

6×6 Pina Colada Dip

Happy Monday! Just popping in to share a sale…and a recipe. 🙂 Creative Worship Stamps (Sweet ‘n Sassy Stamps) is having a 50% off sale so if you haven’t checked it out yet, be sure you do. I used one of the retiring sets, Summer Vibes, to create a 6×6 recipe card for a swap.

A few months ago, I was looking for my fruit dip recipe and stumbled upon this Pina Colada version. It’s my new favorite…so yummy!

I figured as long as this was my recipe card swap, I might as well take it as my food item to share too. I placed it on my charcuterie board and added some fun straws and drink umbrellas. 🙂

I’d love to hear if you try it! Have a great day!

2023 Stamp & Swap projects

Last month we had our 8th annual NEPA (Northeast PA) Stamp & Swap and today I’m finally sharing the projects that I made for it. Be sure to read all the way to the end for a really cool project we did!

The first one I made was for our 6×6 Recipe Swap. I used Angie Blom’s Coolest Chicks Ever digital images, which are also available as physical stamps through Unity Stamp Co.

For the ATC swap, I wanted to create a shaped ATC. This retired MFT Milk Carton Die was the perfect size. I also used Lawn Fawn’s Cerealsly Awesome set & Dies, which was a cerealsly awesome gift from a friend! 🙂 How cute! I couldn’t decide what color to make the bowl, so I did several and let the participants choose.

Several weeks prior, I found the event theme in a sentiment set of scrabble tile letters at Hobby Lobby. They already had an adhesive backing, so I just formed them in the shape of a tree and added brads for the trunk & star. I embossed the background and added a frame and ribbon.

The Mini Slimline Swap was one of the most popular. I made mine a gatefold card using my favorite Christmas plaid paper from Hobby Lobby and SU! Snow Wonder Bundle. My base is 3 x 12, scored @ 3 and 9.

For my shoebox card, I used the retired Spellbinders Sharyn Sowell Winter Friends die set, Simon Says Stamp Pine Landscape embossing folder and die set, and SnSS Christmas Sentiments. The large bunny and sentiment circle are popped up with foam tape.

A new swap that I came up with for this year’s event was a Sketch & Card Front Swap. I used the SU! Penguin Place Bundle and coordinating papers on the card here. Below is my sketch that I started with. Participants swapped both of these together…the card front & it’s coordinating sketch.

The last project that I’m sharing is the favor that we made for everyone who attended the swap. We decided this year to make the tools to use on the MISTI or other stamping platforms, but to also PERSONALIZE them. Someone from our committee (I can’t remember who) named them our NEPA tool. 🙂

We purchased mini candles from the Dollar Tree and used the glass tops, making sure to pick out the ones with a large clear space in the center of the lid. My friend, Lou Ann, and I had several hours LOL trying to get our swap words in a circle with each name inside but when we were finished, it was so worth the effort (Don’t ask me how we did it lol)! They were then printed onto colored copy papers and punched out with a circle punch. Lou Ann’s husband cut wood circles for us to place on the bottom of the glass for stability, and then we covered the base with felt. So, there’s the glass candle lid (with a plastic covering on the bottom of it), then a wood circle which we painted white, and two layers of felt circles. Each attendee was asked their favorite colors without knowing what we were making.

We used several glues and adhesives with trial & error until we figured out the right combination! Lou Ann used her Xyron sticker maker with the punched circles, so they had adhesive on top. Then I carefully adhered them in place inside the lid using tweezers to get them inside. Our committee got together and working quickly, Mod Podge was applied inside the entire lid and chunky glitter was dumped inside. Next, a fine glitter was added to fill in the empty spaces. It’s hard to capture the glitter in the photos below! When dry, E6000 glue was used to adhere the wood circle to the candle lid. Again, they were left to sit as the glue dries. Aleene’s Felt and Foam Tacky Glue worked great to adhere two felt die cut circles to the base. We finished them off by adding some ribbons with Scor-Tape. Whew! It was a lot of work but so fun!

Thanks for reading all the way through! LOL. Have a great day!

6×6 Honey Bun Cake

Here’s a 6×6 recipe card that I made for a swap this past weekend. It’s a very moist cake with the added sour cream and slow bake! I used the Sweet ‘n Sassy Stamps Bee Sweet Bundle.

The border die is Simon Says Stamp Scallop Stitches dies and the yellow strip was embossed with SU! Honeycomb embossing folder.

Have a great day!

Stamp & Swap 2022

Today I am sharing the projects that I made for our annual Stamp & Swap, an all-day stamping event. Our theme this year was Gnome for the Holidays.

I had a bunch of Christmas Gnomes patterned paper from Hobby Lobby to use on some of my projects. The first one is a 6×6 recipe card. The gnome with mixer is a digital image by Last Minute Manda that I colored to coordinate with the background paper. The faint snowflakes were stamped with Sweet ‘n Sassy’s Cheerful Snowmen set.

We try to keep our shoebox cards simple so everyone can either complete them or make a kit to complete at home. The left side of my shoebox card with the plaid paper is glued shut and only the right portion with the gnomes opens. The sentiment is from Sweet ‘n Sassy’s Christmas Gnomes.

I made a simple interactive card for my ATC trade using a Unity itty bitty stamp set called Change is a Good Thing. This mini card has a top portion that is glued shut and the bottom opens up. 🙂

Next, I made a mini slim card with a tent topper using Stampin’ Up Hand-Penned Petals, Pierced Blooms Dies, and Friendly Hello. The paper is Colorbok- Beach House.

My last project was for a gift swap. I found a Pioneer Woman Christmas frame (first photo) on clearance last year at Walmart. The second photo shows how I decorated it with ribbons, gnomes, felt snowflakes, and Aleene’s True Snow. The gnomes are from Simon Says Stamp dies- Gnome, Pocket Gnome, and Li’l Gnome. As you can see in the last photo… it lights up!

Have a great week!

Stamp & Swap projects

Today I’m sharing some projects that I made for our recent Stamp & Swap gathering, an all-day stamping event with friends. It’s always a fun time to get together with friends!

The first one is a card I made for my “shoebox”. Everyone prepared supplies for all of the attendees to make their project. I used the Spellbinders Sharyn Sowell Tree Picking die with some Paper Studio Christmas Plaid paper from Hobby Lobby to create a Double Z-Fold card. I also used the Cuttlebug Winter House embossing folder and the sentiment is from the retired Sweet ‘n Sassy Stamps Wondrous Miracle.

The base of the card is 4 1/4 x 11 and the front strip is 7/8 x 11. Both were scored @ 2 3/4 and 5 1/2. The plaid layers are 2 1/2 x 4 and 4 x 5 1/4. The black is 2 1/2 x 4, and the white embossed piece is 2 3/8 x 3 7/8.

The red die cut was just a bit too long for the card front, so I cut the cat off the end and adhered it under the tree as I saw in another card sample (unknown).

I participated in 2 swaps…the first is the 6×6 recipe swap. For this one I used some old wood mounted Cambell’s kid and soup can stamps (1997 Stamp Affair- J1860, L1867) . The oval in the center was computer generated.

The other swap I participated in is the ATC Coin swap. Here I used Rubber Stampede Charlie Brown XMAS Tree, SNSS Christmas Wordfetti and Cheerful Snowmen (snowflakes).

My last project is a stamped note cube. These are not sticky notes, just a stack of paper glued on one side. I have some of these left from many years ago so I don’t have a source but you can search for blank note cube. The SU! Poinsettia Petals set was used with Real Red, Mossy Meadow, Old Olive, Tip Top Taupe, and Hello Honey inks. Some Wink of Stella was applied to the flowers. When finished, I wrapped it up in a cello bag.

Thanks for looking!

sweet treats

Good morning! Today I am sharing two projects using the new Sweet ‘n Sassy Stamps Sweet Treats Stamp & Die Bundle (also available separately). The dies weren’t available when I made these cards so I fussy cut my samples. I am anxious to get the dies! First I made a birthday card and decorated the cake with one of the small images. I stamped the cake a second time onto a post-it note and cut out the center to create a mask.

My second project is a 6×6 recipe card. I started making the recipe cards in 2006…15 years ago! They are a great way to share recipes with friends (in a swap) and hand them down to our daughters. I paper pieced the apron from the background paper.

I hope you’ve been inspired. Have a great day!

stamps- Sweet ‘n Sassy Sweet Treats Stamp & Die Bundle; paper- white, black, navy, SU! Ruby Red, The Paper Studio- The Pink Navy, KaiserCraft Bon Appetit; ink- Memento Tuxedo Black; accessories- MISTI, Scor-Pal, Gemini Jr., Copics, foam tape, MFT Cross Stitch Squares, rhinestones.

recent cards

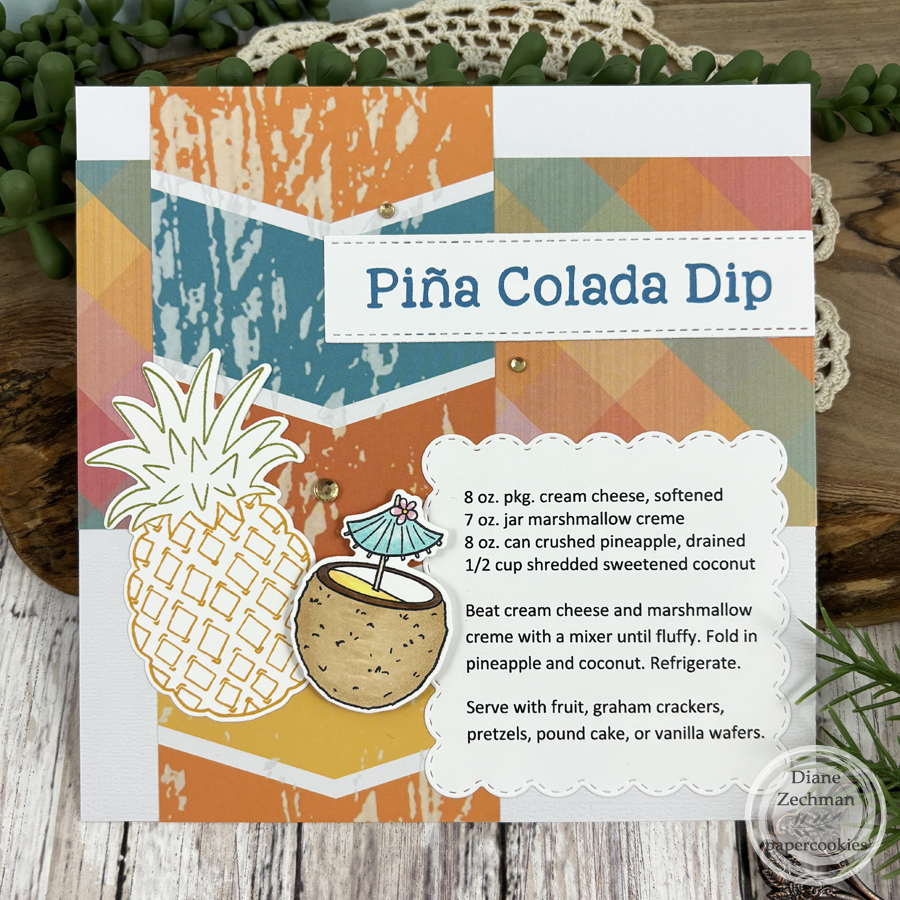
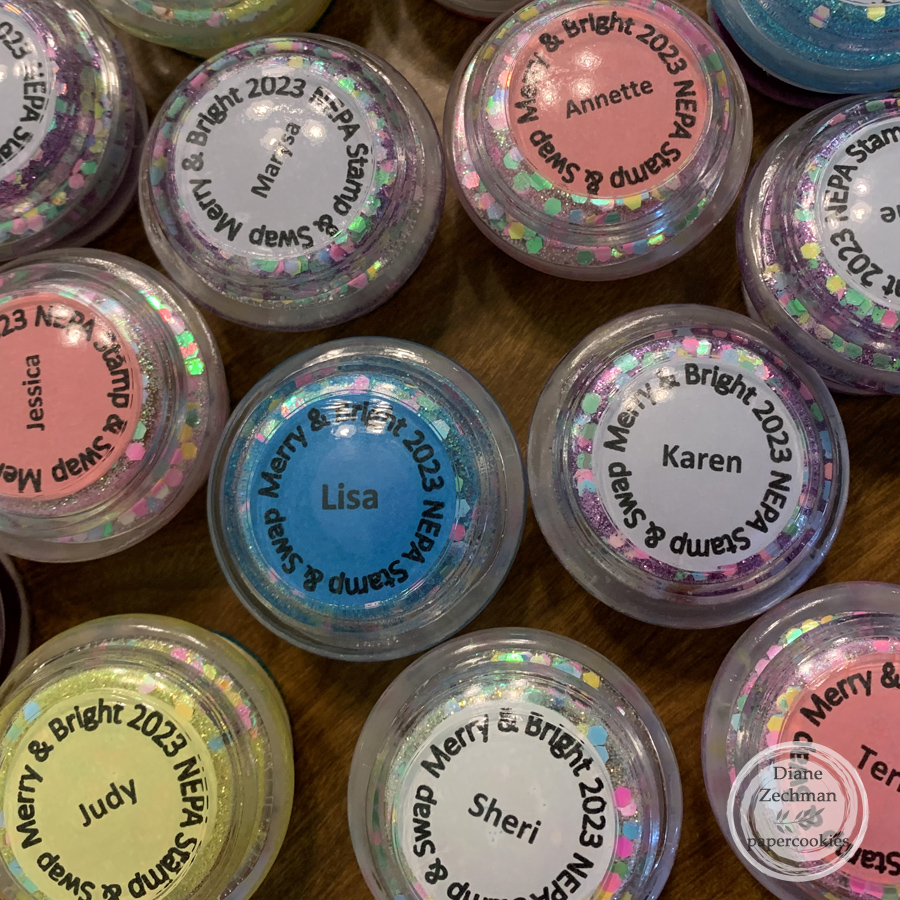
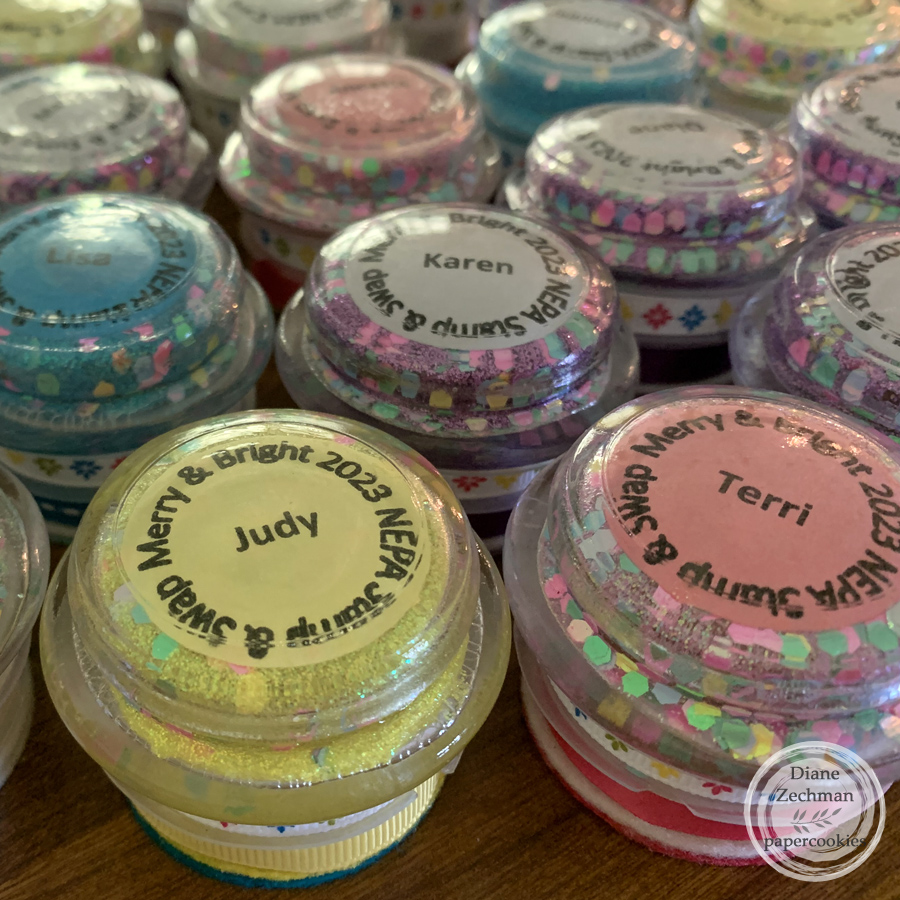
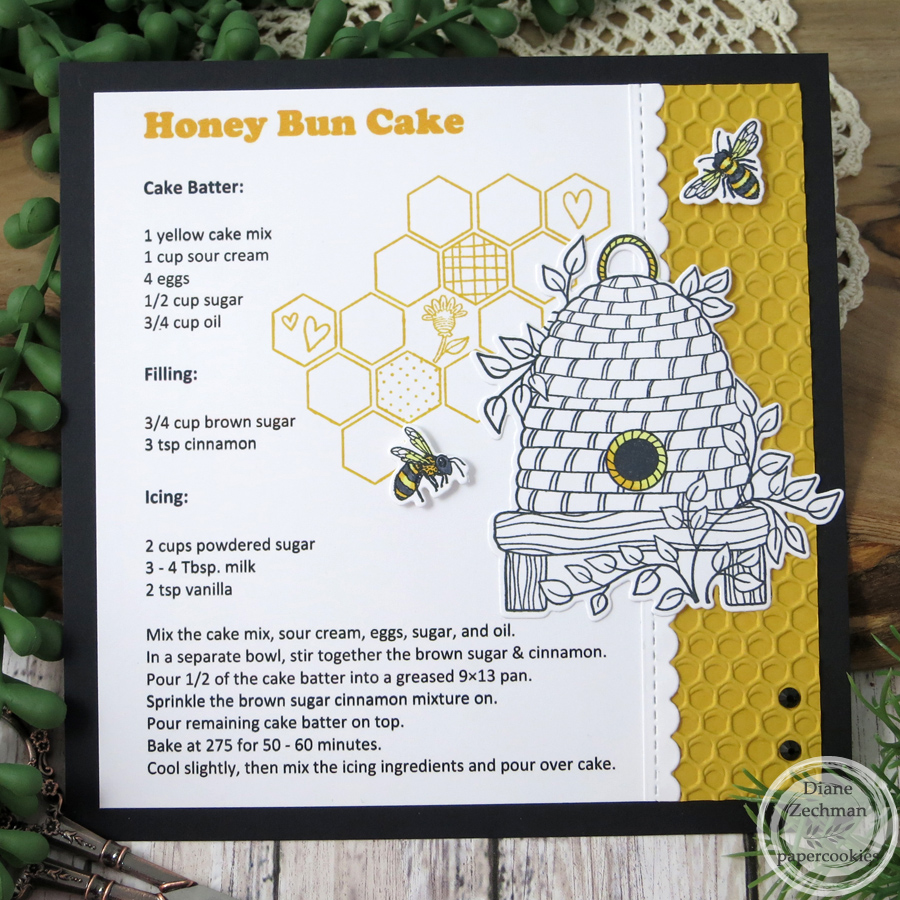
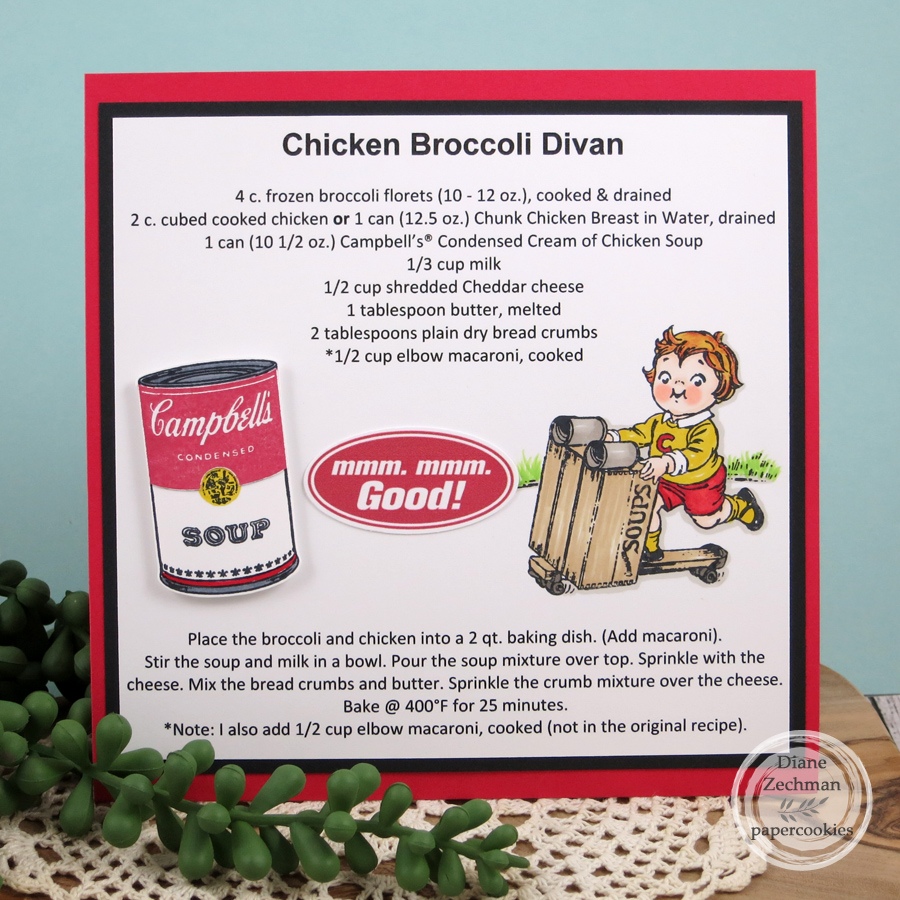
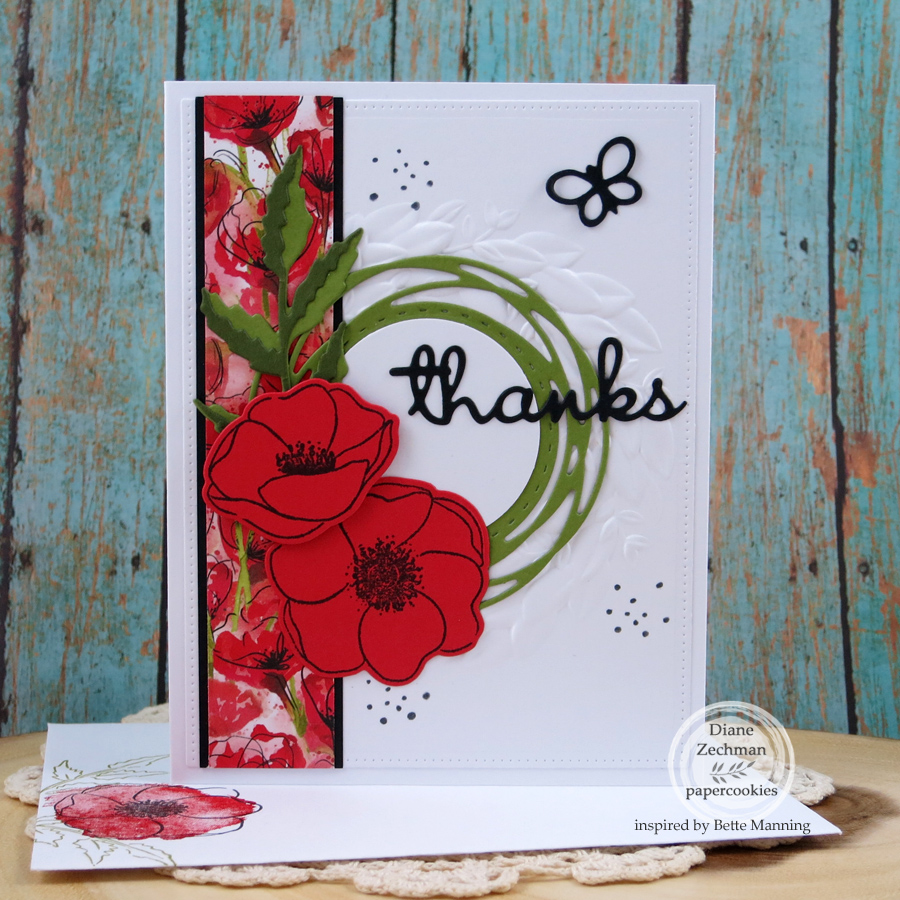
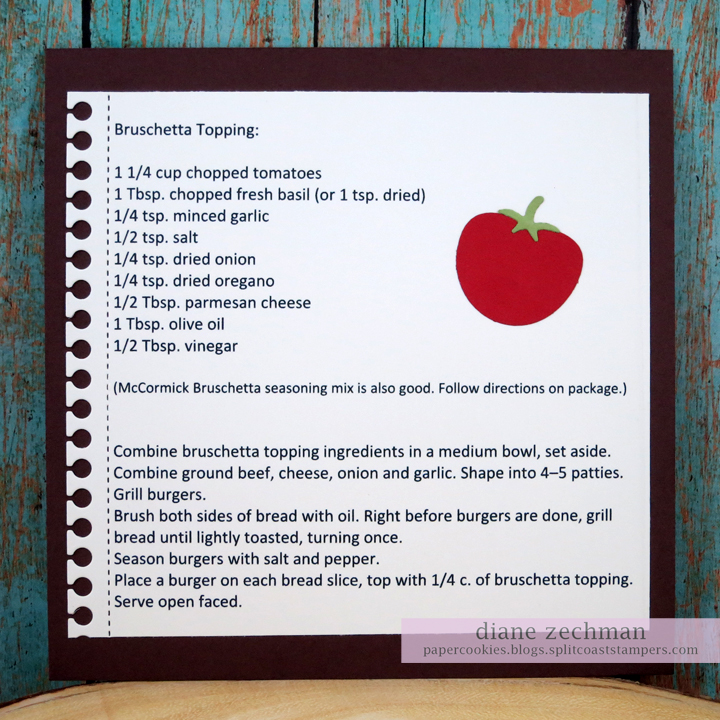
Good morning! Today I have a bunch of various cards to share. The first one is a 6×6 recipe card that I made for a swap with friends this week. I made this delicious cake for the first time this year and when I got the SU! Touch of Ink stamp set, I knew it would be perfect for the recipe card.

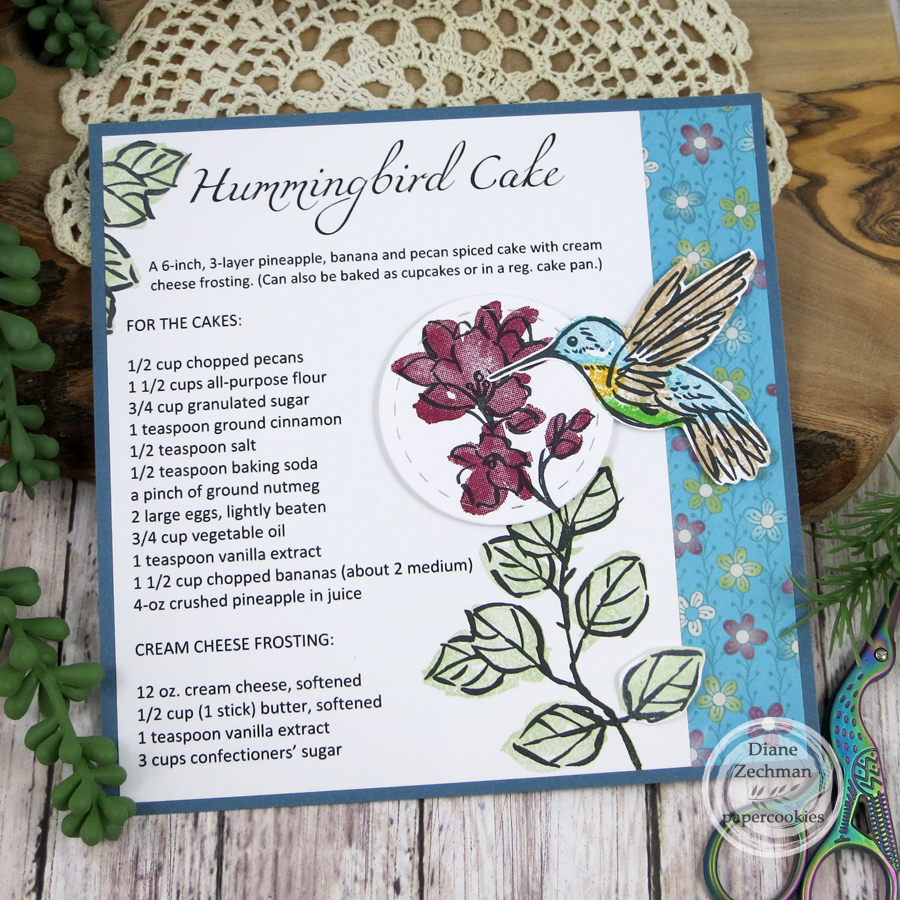
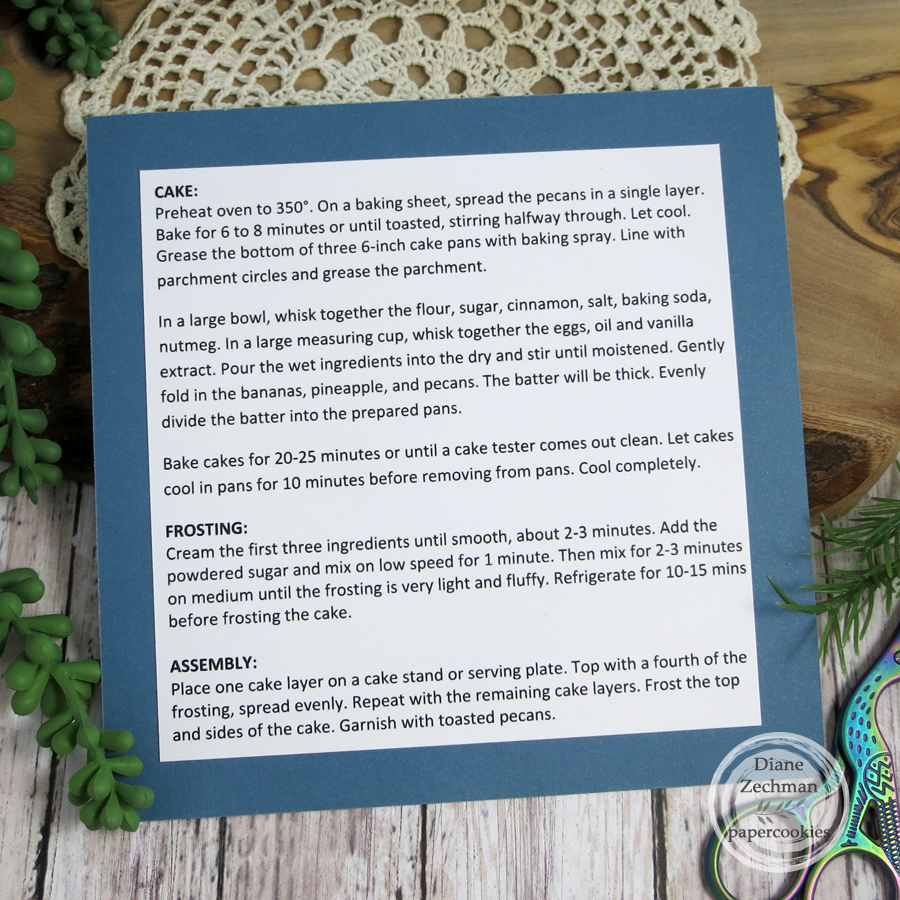
I searched for a hummingbird font to type the title. The patterned paper strip is from an old pack by Kaisercraft called Utopia. The hummingbird was inked with markers and then stamped. Colors used: SU! Summer Sun, Green Galore, Taken With Teal, Creamy Caramel, Berry Burst, Soft Seafoam, and Memento Tuxedo Black. I also used Gina Marie Stitched Circles and foam dimensionals. Directions are on the back…
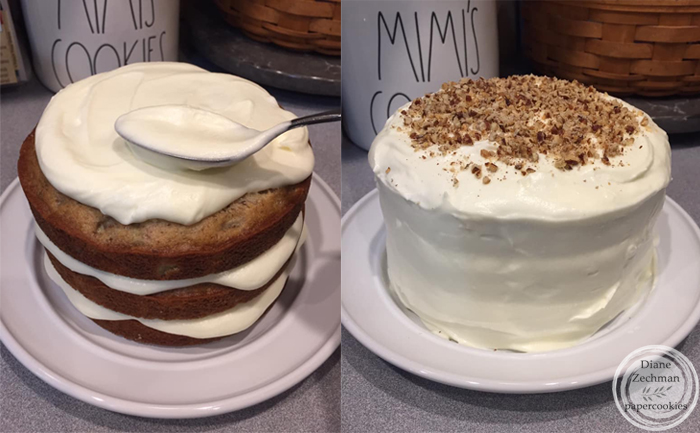
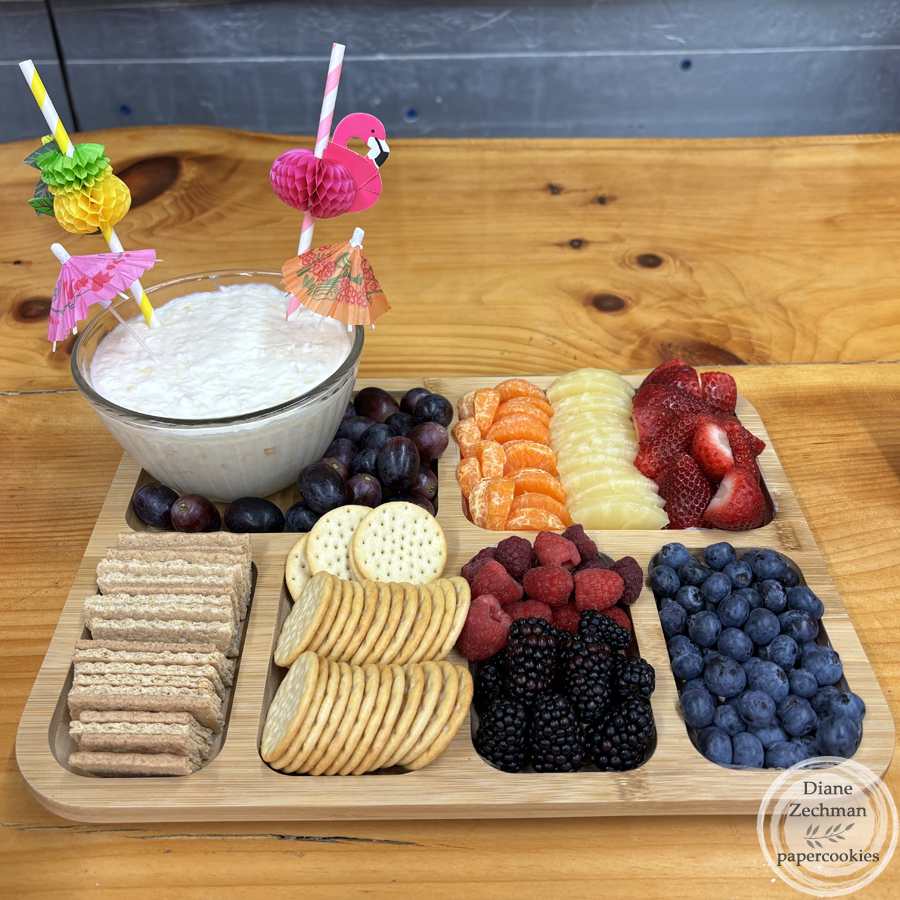
So yummy!

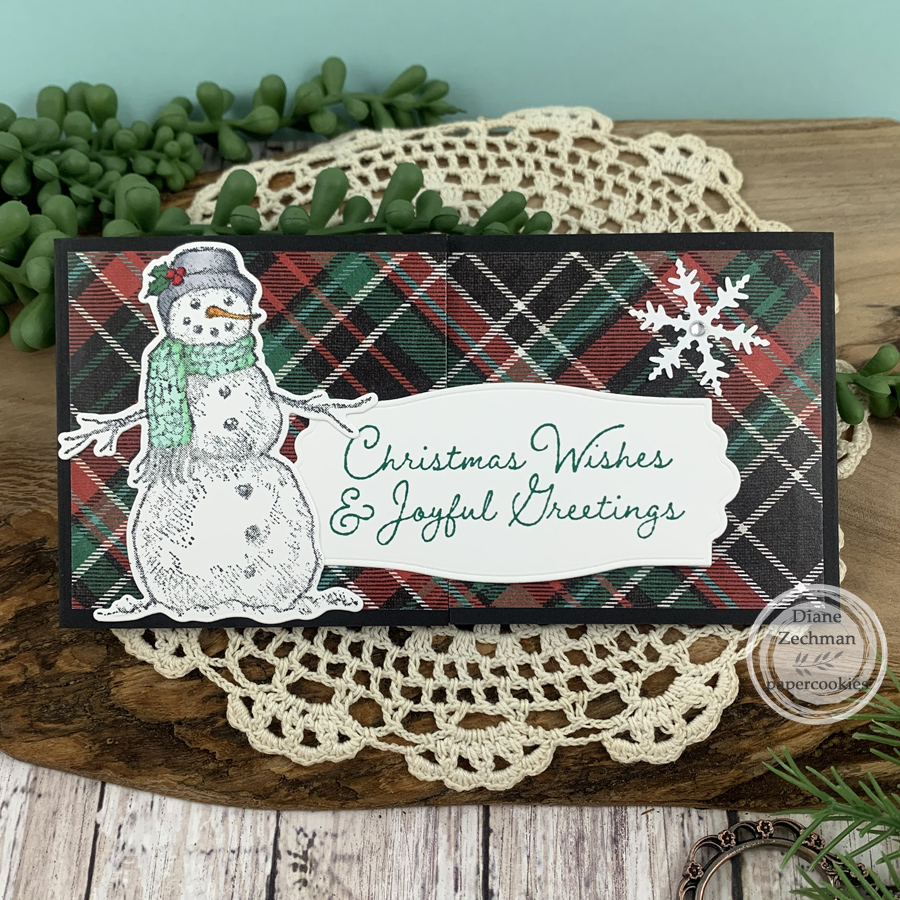
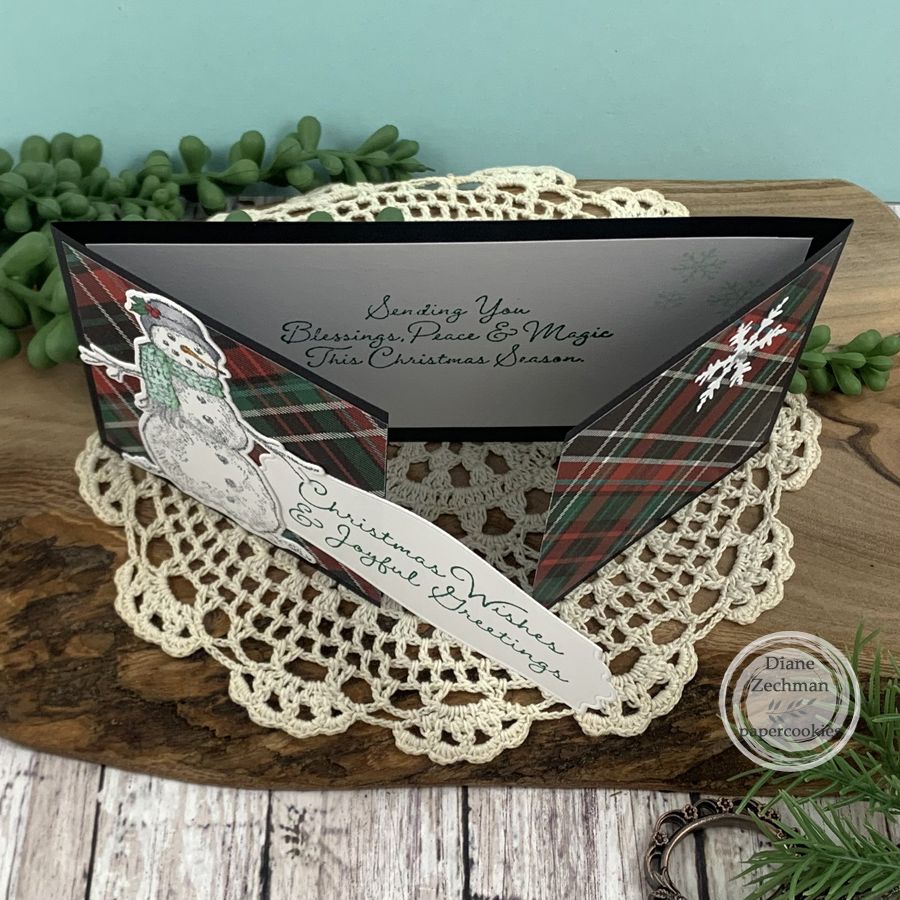
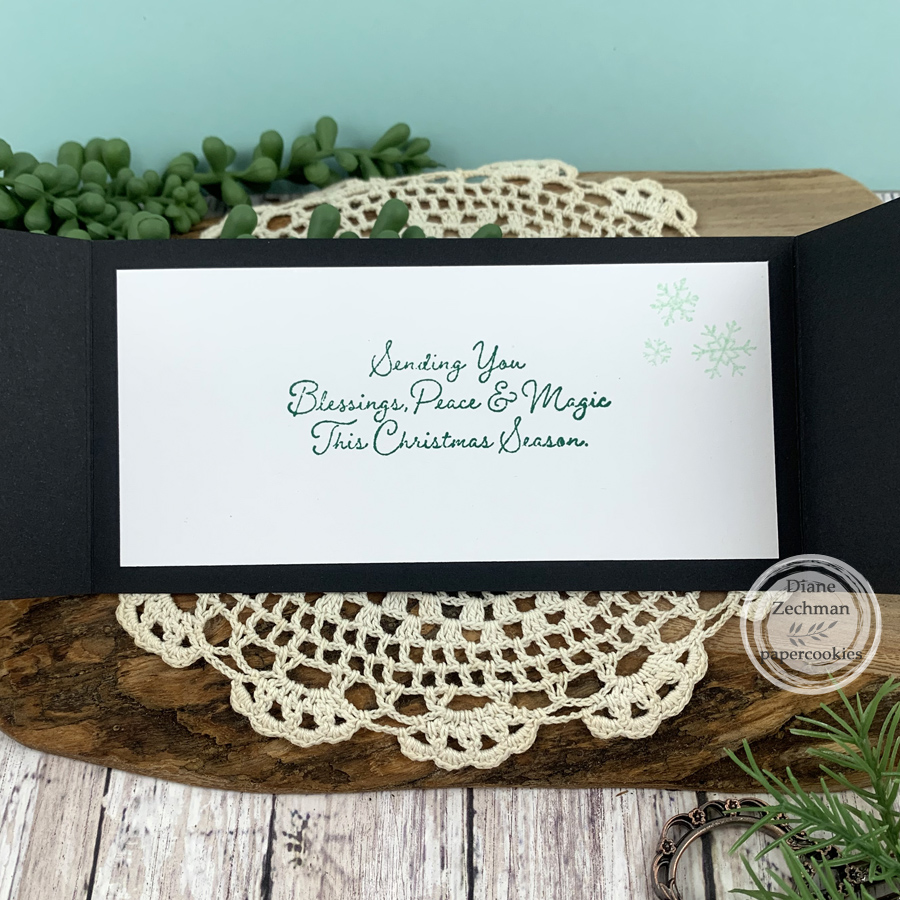
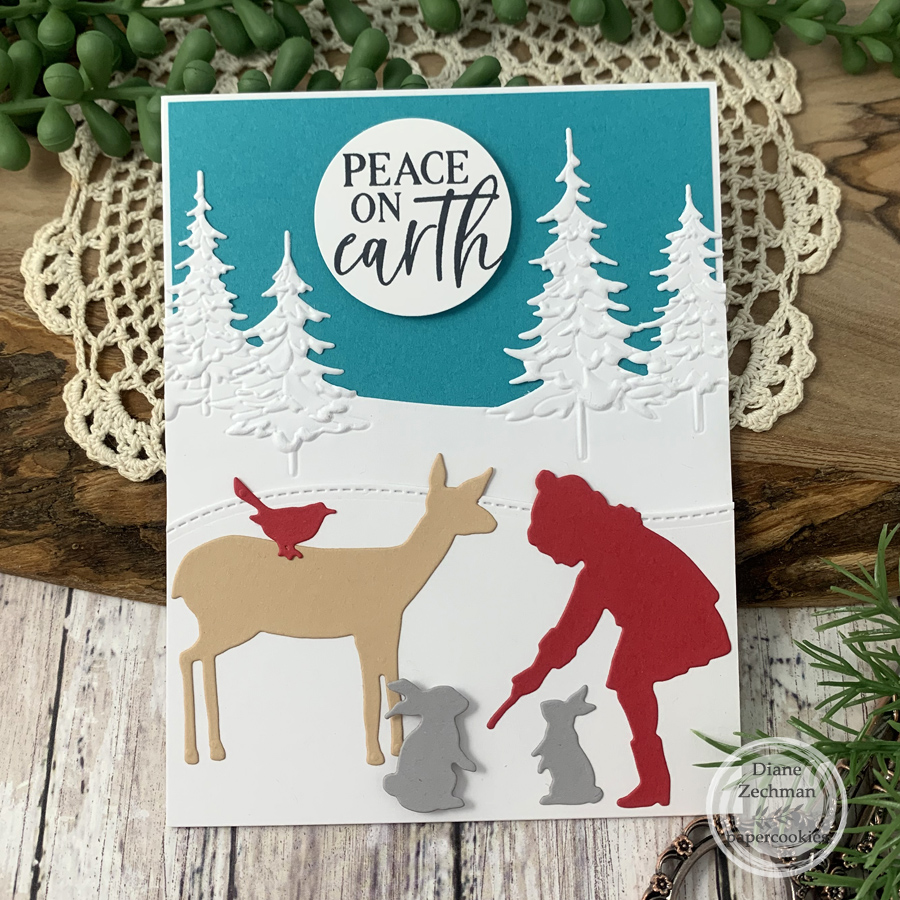
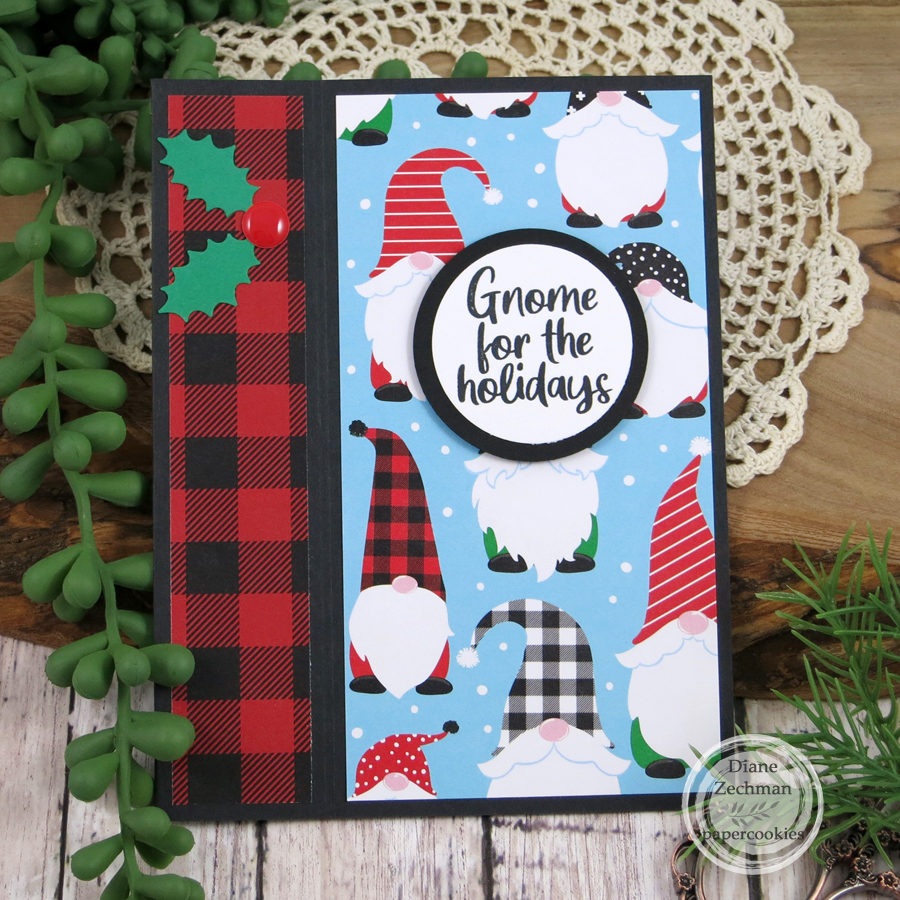
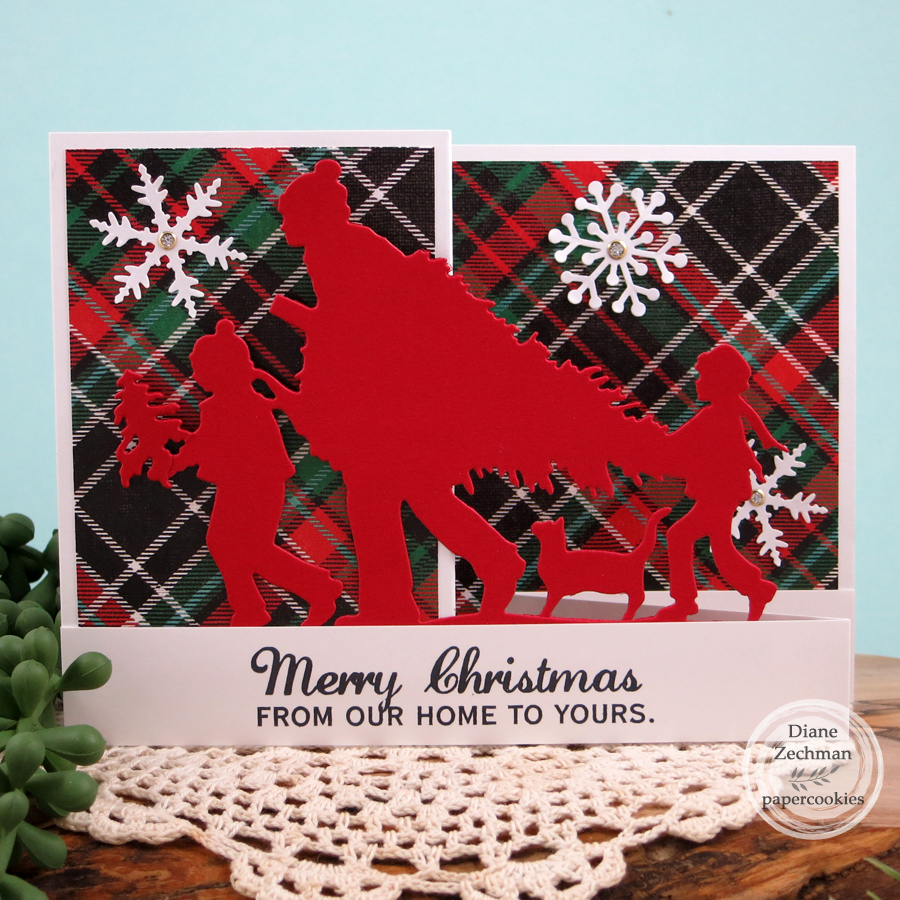
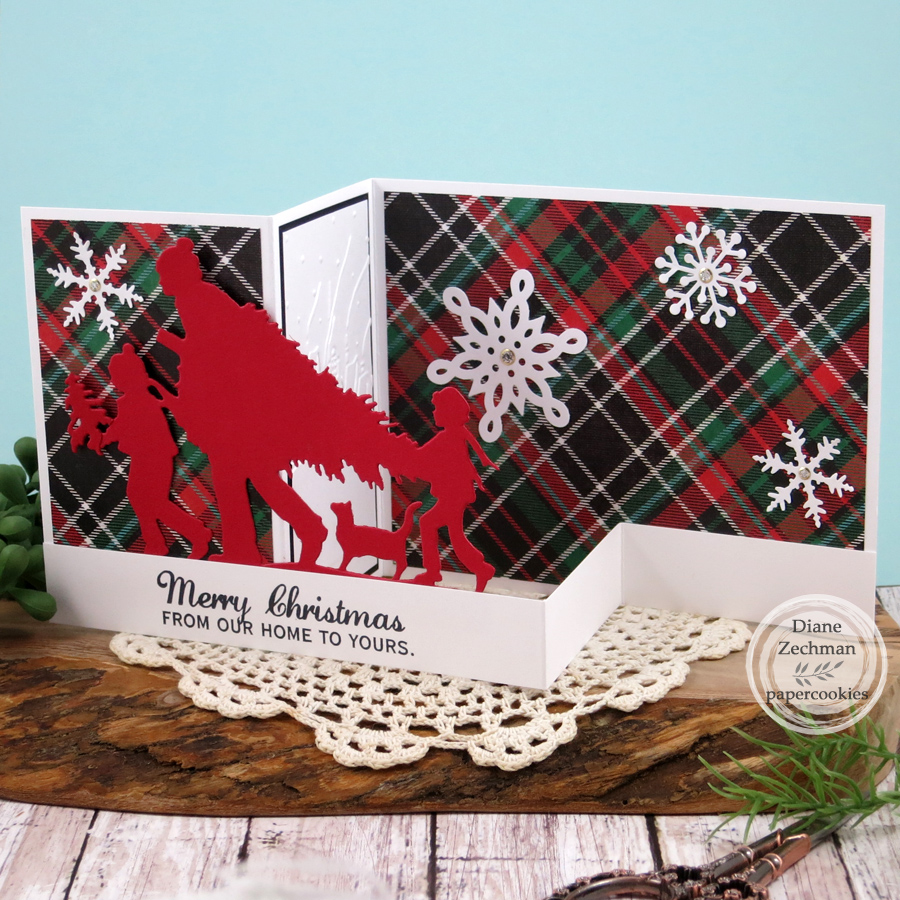
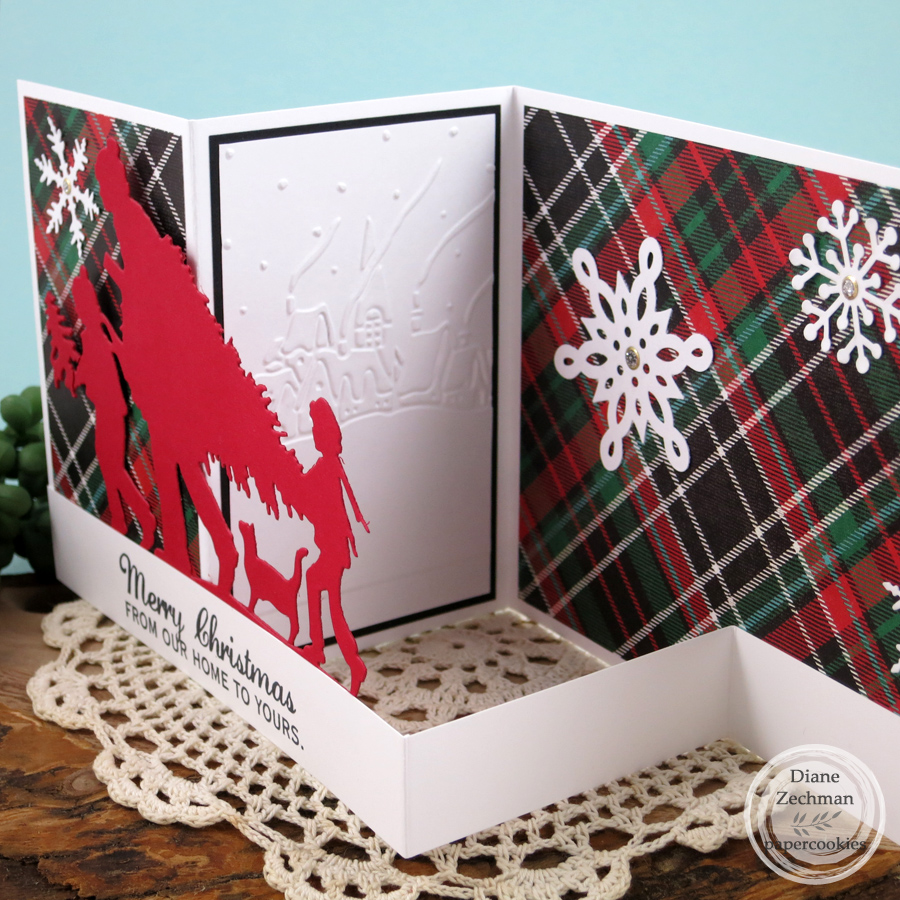
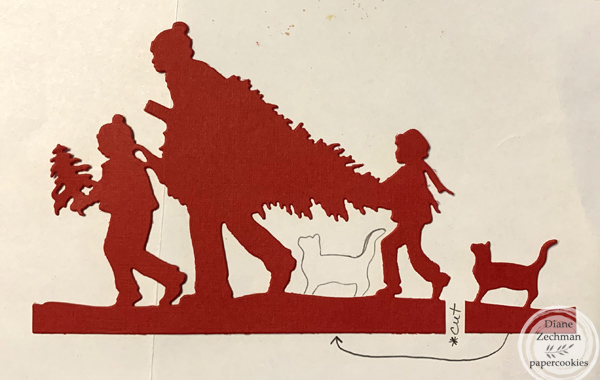
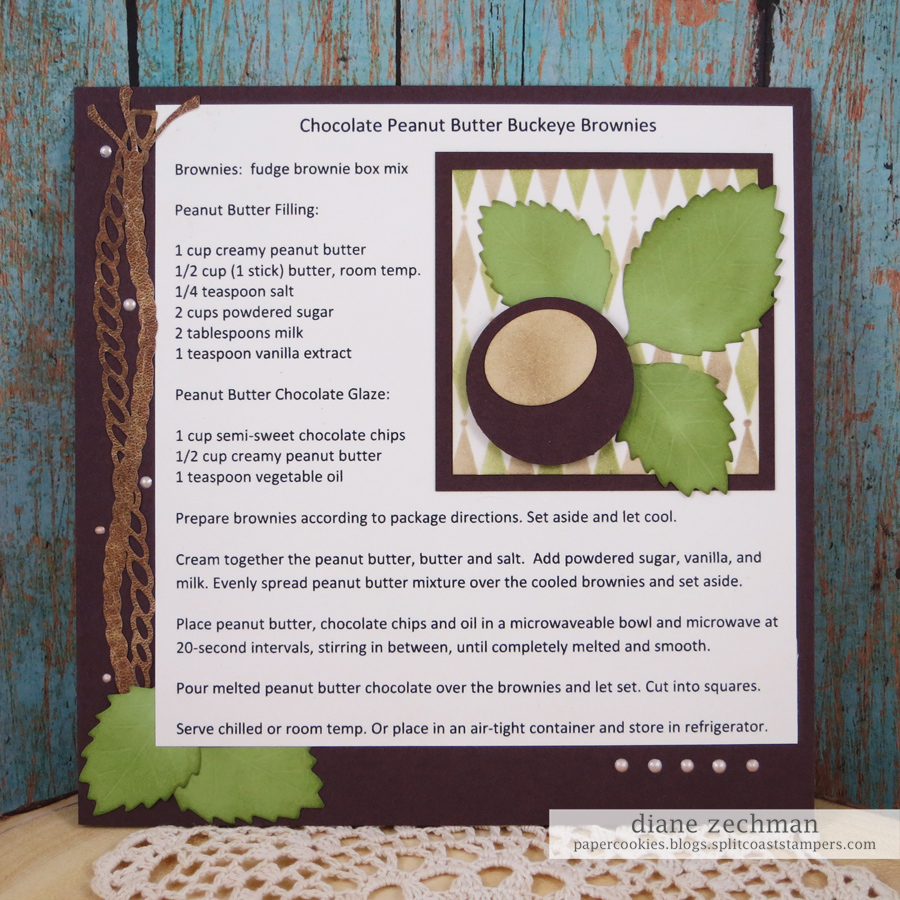
The next two are Christmas cards and this one I actually cased and sent to a few friends in December. I am thinking about making a few more for next Christmas! SU! Nature’s Beauty, Subtle embossing folder, tag and leaf punches, plus Gina Marie Stitched Rectangles.

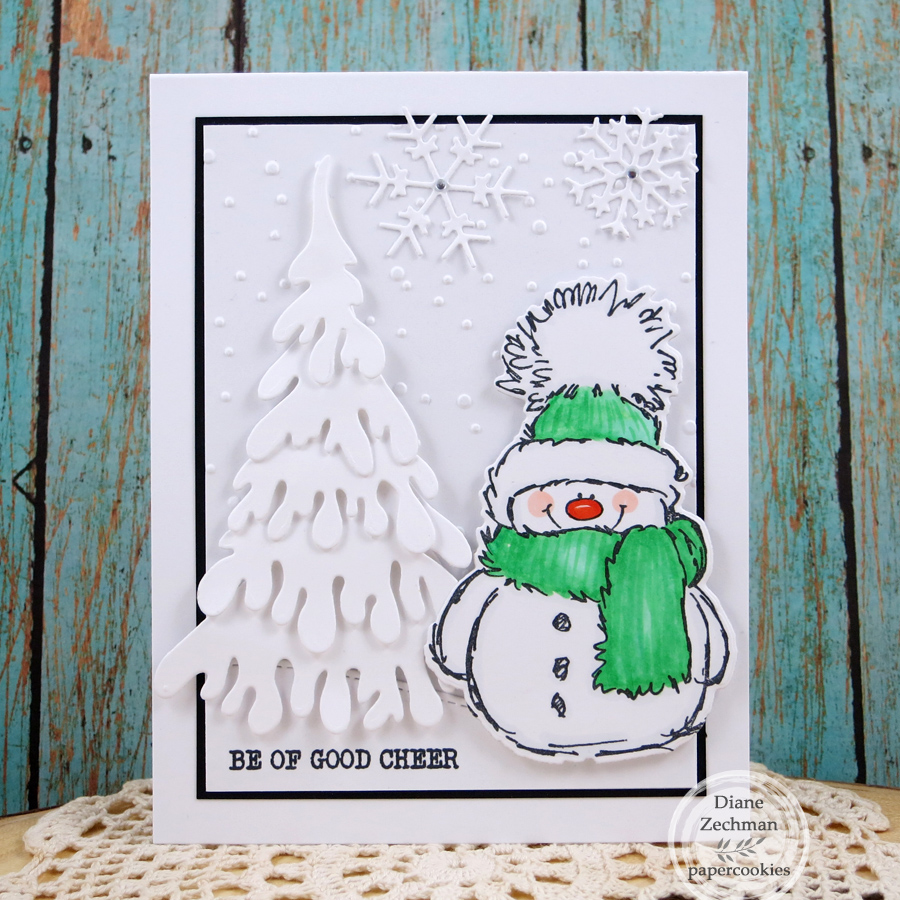
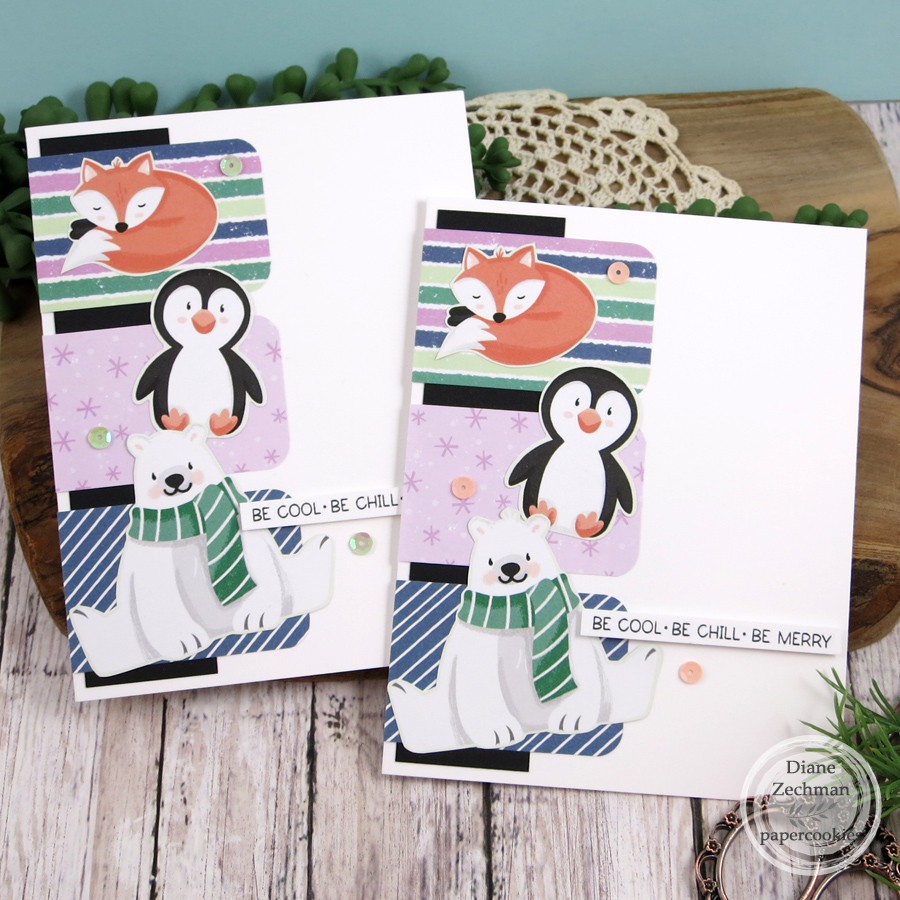
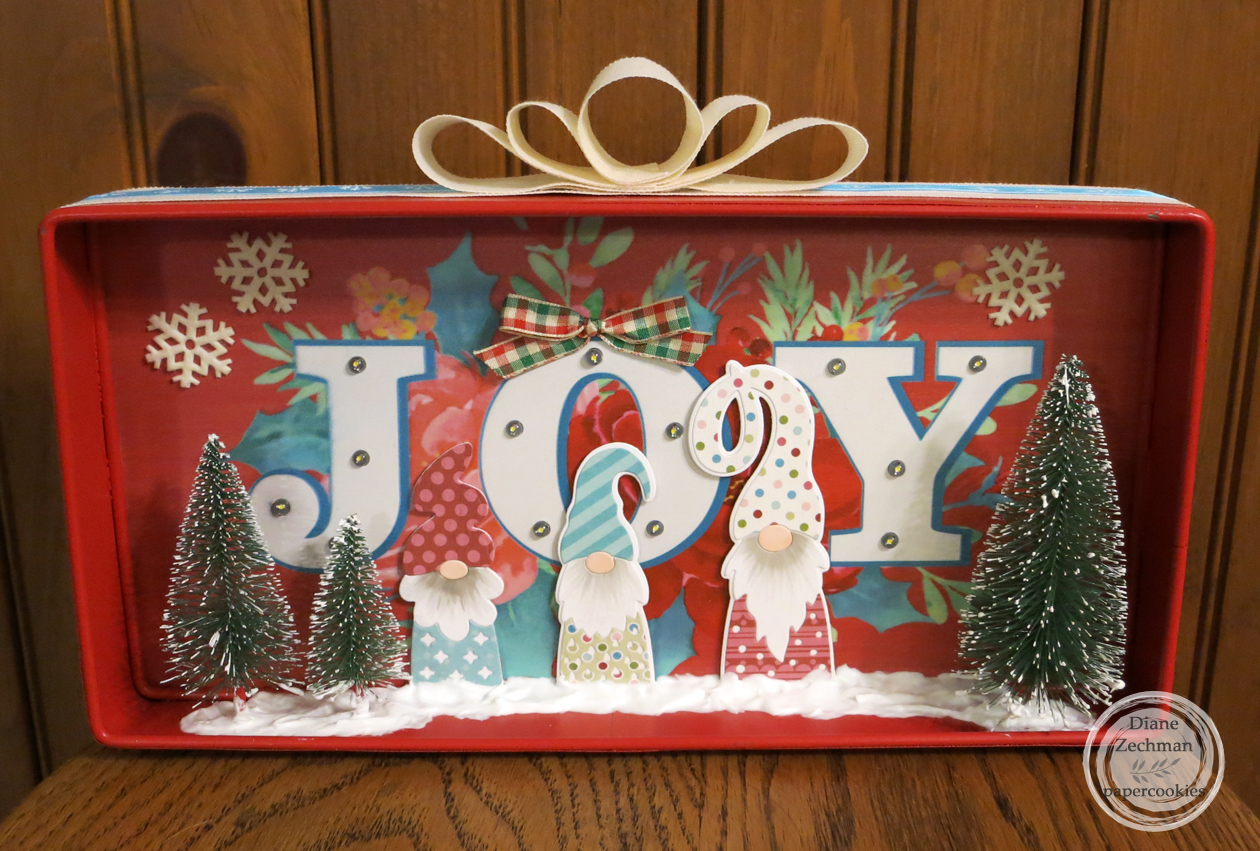
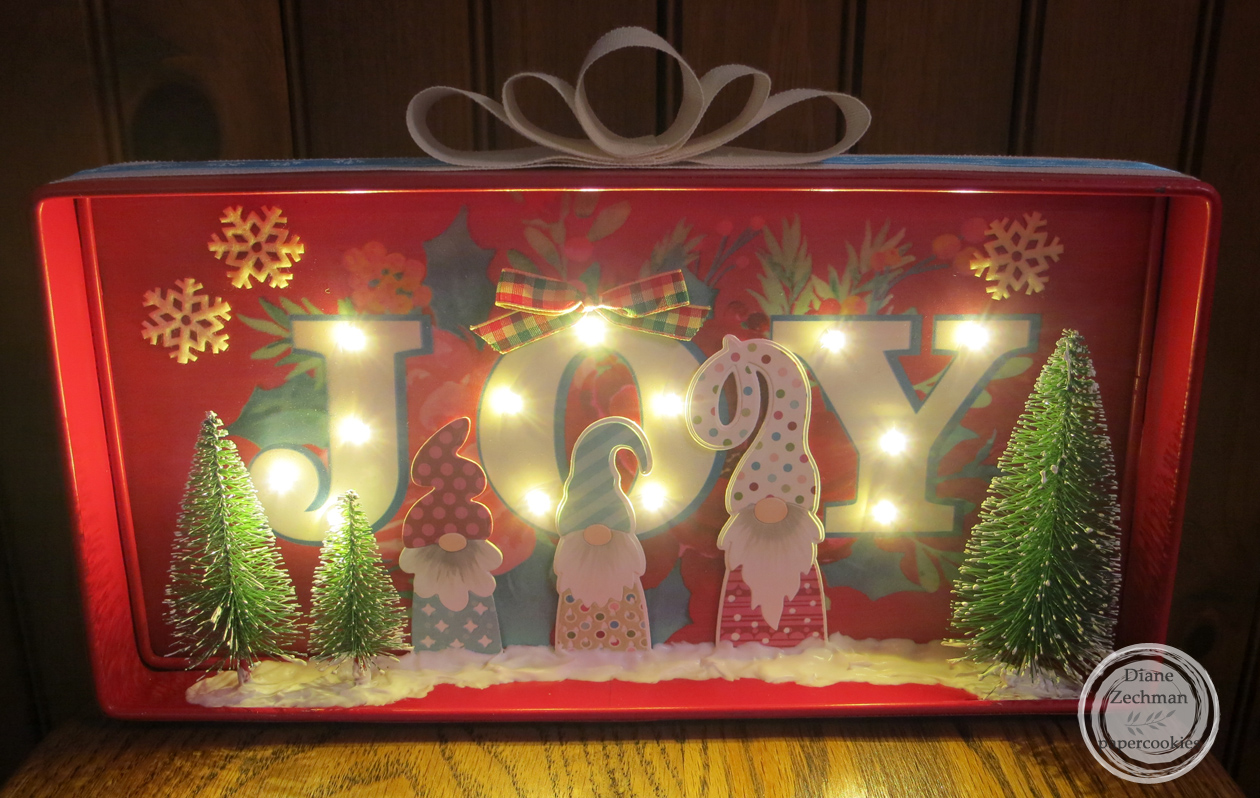
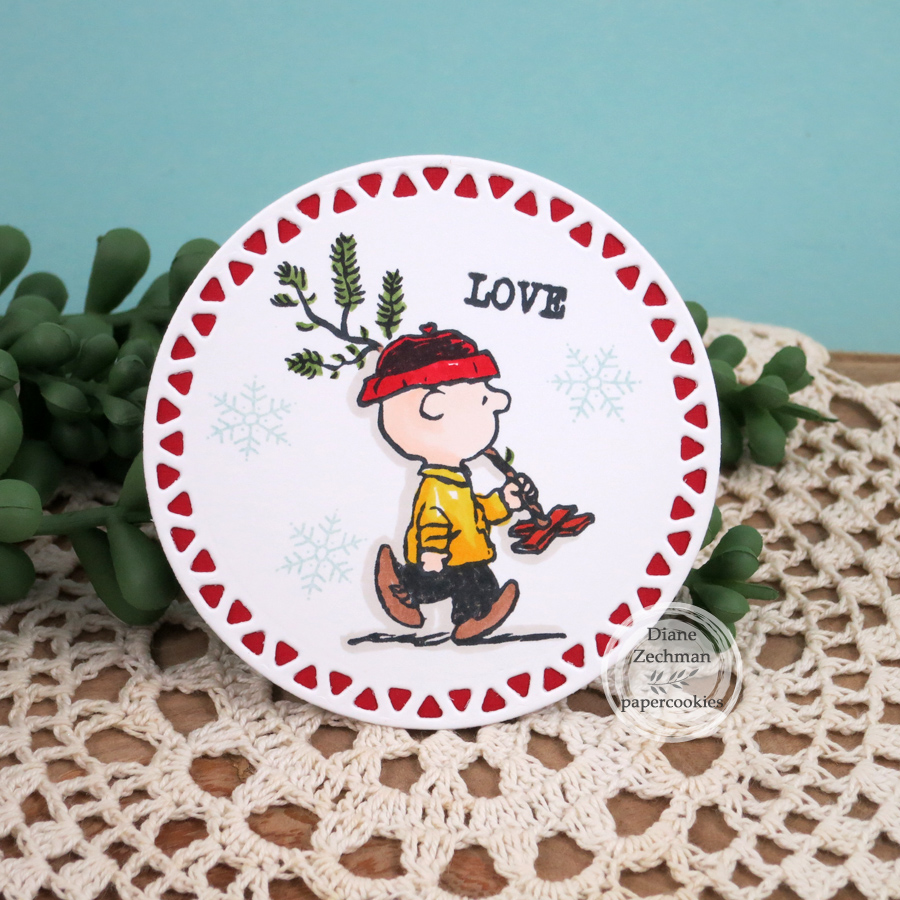
Lots of cuteness in the next one… Penny Black Snowy & dies, Sweet ‘n Sassy Christmas Wordfetti, Dee’s Distinctively- Large Snow Covered Stacker Tree, MFT Die-Namics Stitched Basic Edges 2, Kars Snowflake embossing folder. Copics- YR07, E93, C-0, G00, G02, G05.

I love how stamping allows us to customize cards for the recipient’s likes and interests. This was for a Dino loving girl who likes blue & purple. SU! Dino Days & Dies, Dinoroar dsp, Cuttlebug Red Tag Sale dies for the number. Colors- Old Olive, Pool Party, Highland Heather, Gorgeous Grape, Soft Suede, Island Indigo.

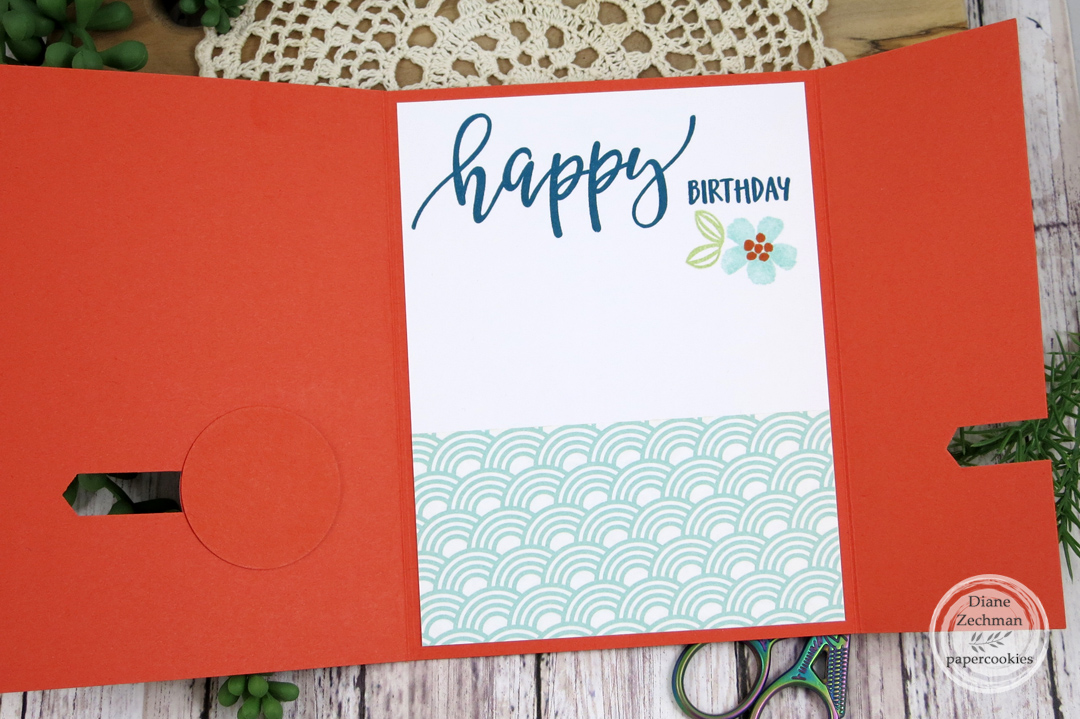
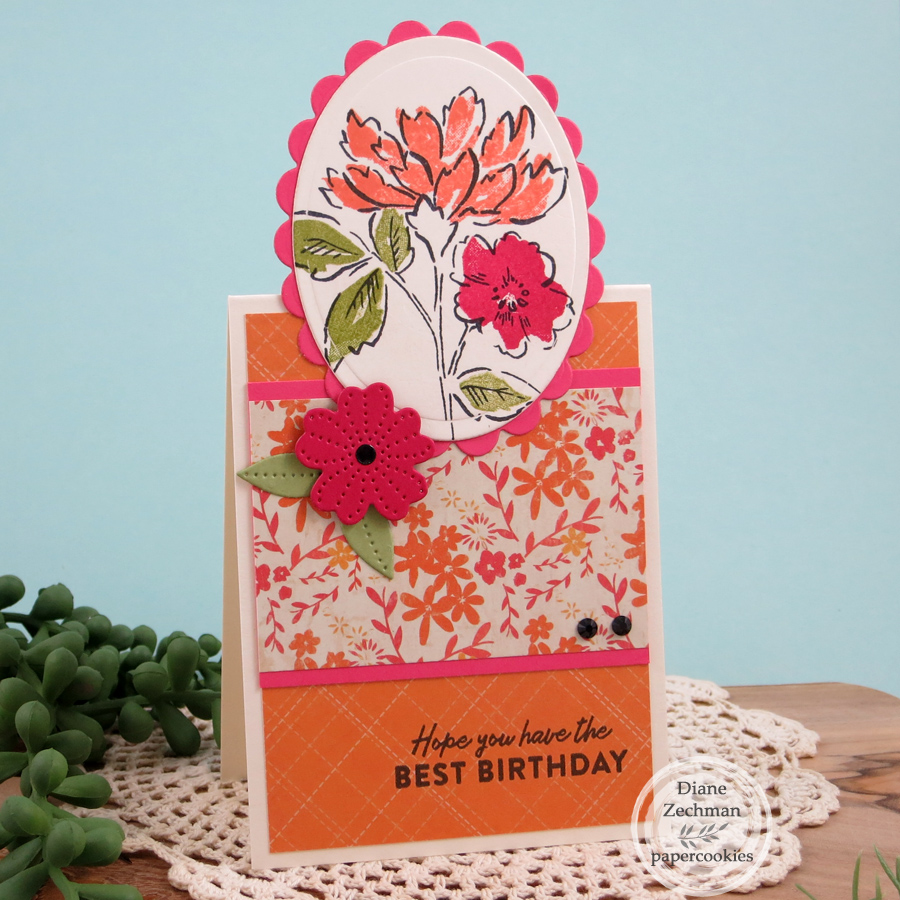
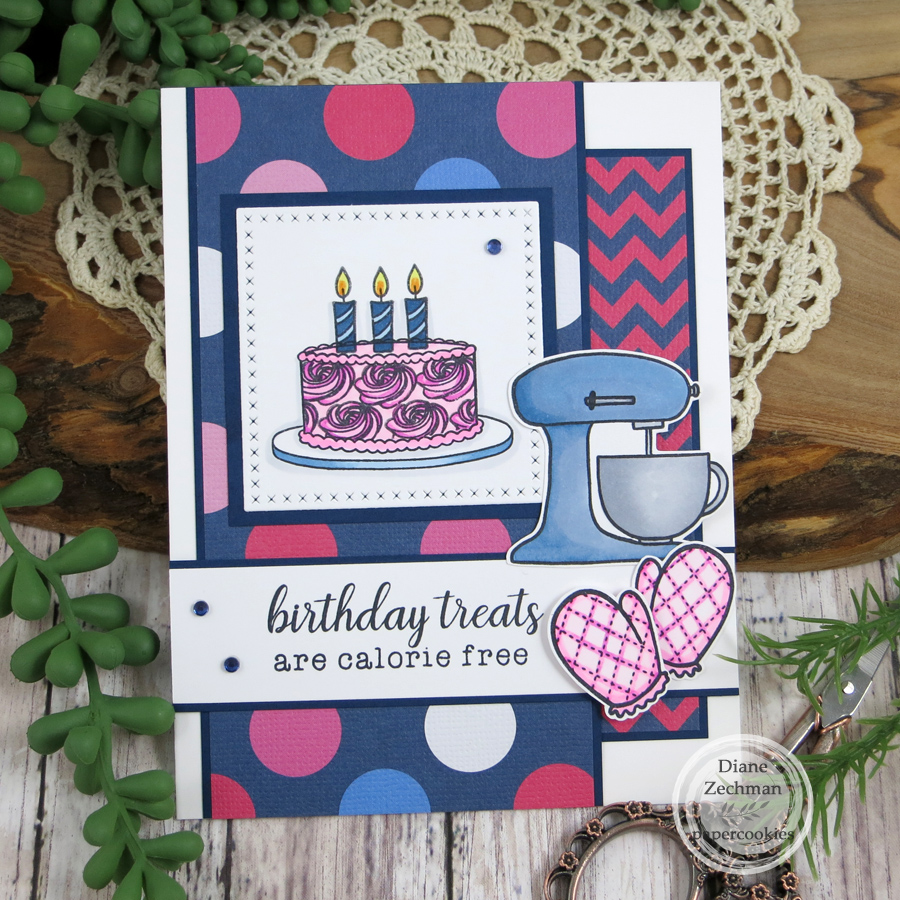
I made a few quick birthday cards with the SU! Pretty Perennials set & dies but I mailed several before taking a photo. This one also has a sentiment from Sweet ‘n Sassy Bold Birthdays.

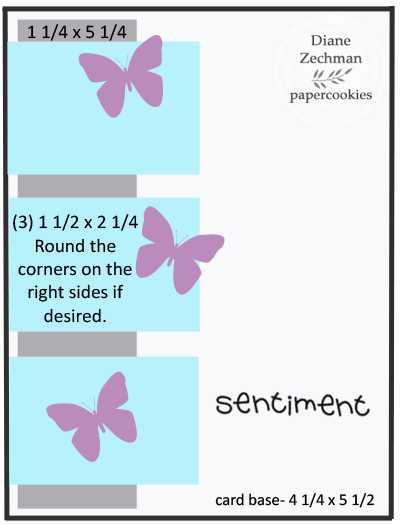
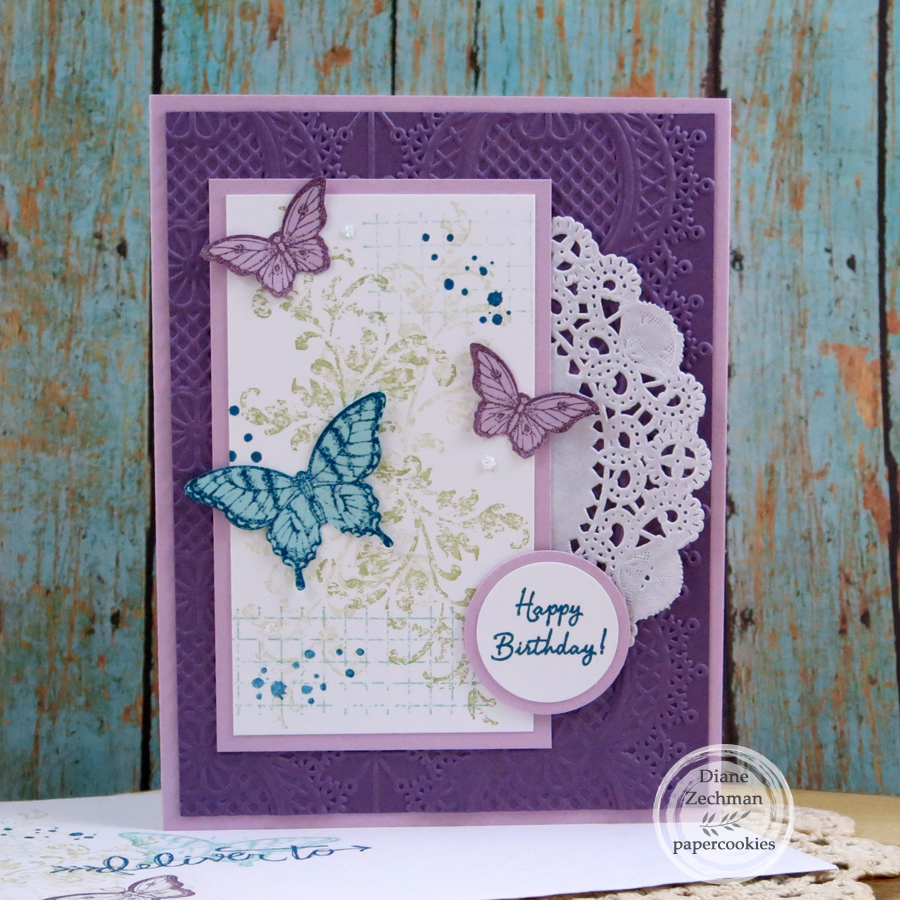
Next, I used the SU! Pretty Perennials set again with some older dsp to make a Sliding Lock Fold Card. I used Tangerine Tango, Pool Party, Island Indigo, and Sycamore Street dsp. Punches- 1 1/4 and 1 1/2 circle, Classic Label, and Elegant Butterfly.

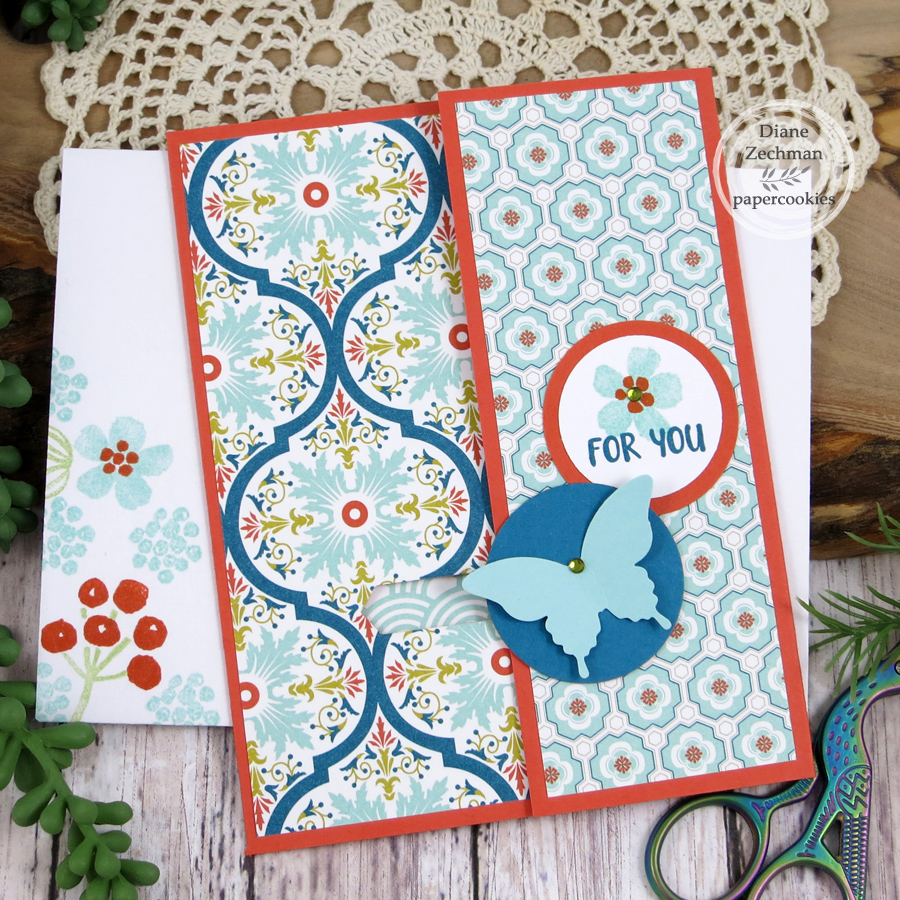
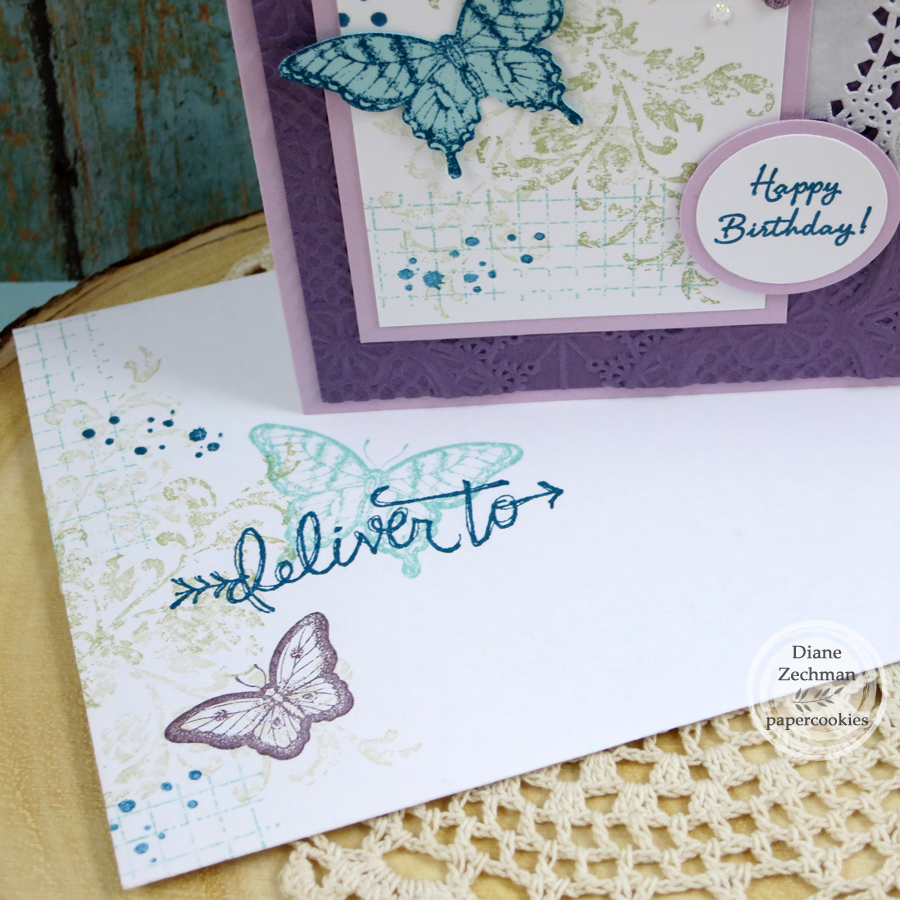
The butterfly circle slides to the left to open the card.

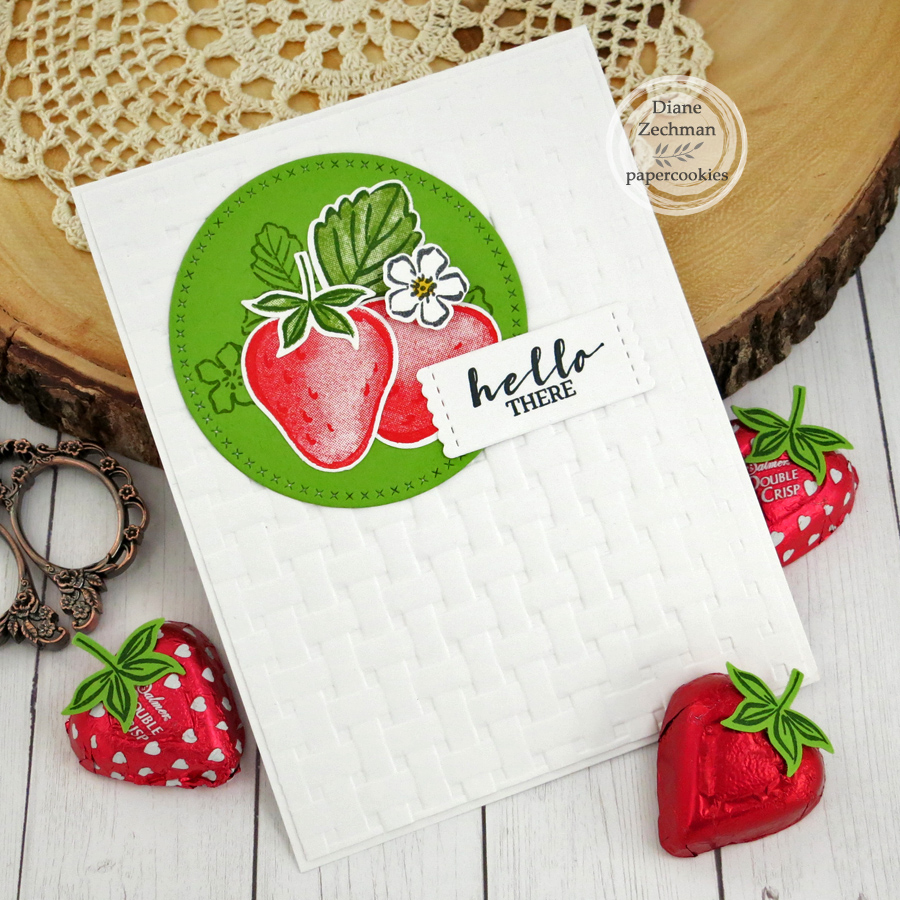
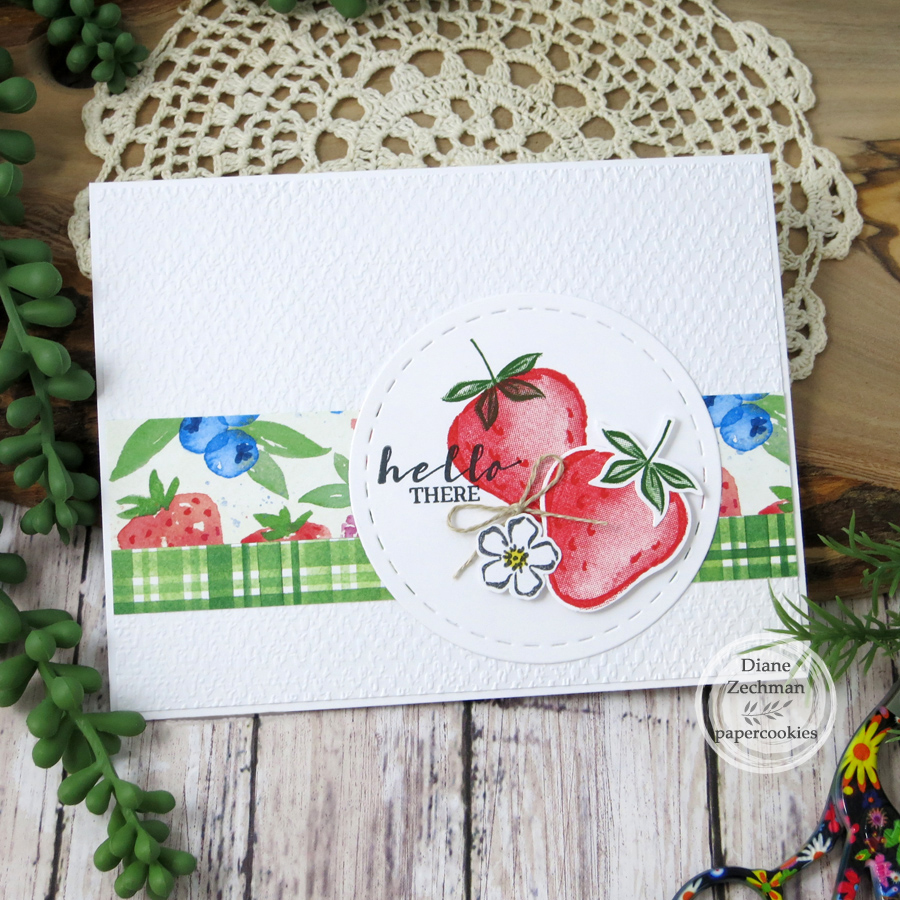
The next two cards use the SU! Sweet Strawberry set and Strawberry Builder punch. I love this set. The chocolate wrapped “strawberries” are chocolate hearts…a fun idea that I cased. I also used the SU! Basket Weave and Tasteful Textile embossing folders. Inks- Poppy Parade, Granny Apple Green, and Garden Green.

My last cards today were from a previous Paper Pumpkin kit for some milestone birthday cards.

Have a great weekend!

mish mash

Hello! Today I am catching up again with a “mish mash” of various cards I haven’t shared. The first two are from 2018 using the Lawn Fawn Critter Concert stamps and dies. The black edge on the first card was made with an old Martha Stewart Cornice Edge punch. The background was masked and sponged.

I used Spellbinders Heart Circles dies on the second card. My sentiment was done on the computer.

The next card is one of my favorite masculine cards and it gets a prize for hanging around without being photographed for so long. lol. I made this in at least 2015! Stamps are SU! By the Tide and Hardwood. The sentiment is an old Sweet ‘n Sassy set, Rhubarb’s Birthday Wish. The tag is watercolor paper. The inks used are Pool Party, Island Indigo, Summer Starfruit, and Soft Suede. I really need to use that burlap ribbon again!

Here’s another masculine card I recently made with another SU! set…Moon Lake. The sentiment is from Sweet ‘n Sassy’s Keep in Touch, Too. Papers are black, Smoky Slate, and Lost Lagoon. Ink is SU! Basic Gray. I also used the SU! Seaside embossing folder, MISTI, 2″ circle punch, and Die-Namics Cross-Stitch Circles.

I started with 5 1/2 x 8 1/2 and scored at 2 1/2 and 6 1/2 so it overlaps. The inside…

My next card was for a challenge a few of my friends and I did to use the SU! stamp set Papillon Potpourri. I also used SU! Timeless Textures and SNSS Birthday Greetings. Colors are SU! Mellow Moss, Pool Party, Island Indigo, Perfect Plum and Pale Plum. Others…SU! Lace 3D embossing folder, paper doily, SU! Elegant Butterfly and Bitty Butterfly punches, circle punches.

I also decorated the envelope! The “deliver to” is a wood mount stamp by Printworks (I think it’s from Hobby Lobby).

The poppy thanks card is inspired by one that Bette Manning created. I just changed a few things. The poppies are from the current SU! mini catalog. I loved how she used them with the wreath embossing folder! I also decorated the envelope again.

And my last one today is a 6×6 recipe card. If you never made Buckeye Brownies, you seriously need to!

Have a great day and stay well!


6×6 German Apple Puff Pancakes

Back in the beginning of October I filled in to teach a class on making a 6×6 recipe card. Over the summer we stayed at a B&B in Amish country and were treated to some delicious breakfasts. One was some peach puff pancakes. The B&Bs in the area put out a few cookbooks and I purchased the current one. It didn’t have the peach version but this delicious apple one with craisins and pecans. We love it!

6x6 german apple puff pancakes diane zechman

I decided to use the cute apple paper but didn’t want to cover it all up so I made a triangular pocket with it to tuck the recipe inside. I stamped the Concord & 9th plaid background with black ink onto red cardstock and die cut the letters with Altenew’s Bold Alphabet. I also used a tiny apple die from my stash to cut from the plaid. To finish it off, I added the cute SNSS An Apple For Cocoa digital image and a few black enamel dots.

Have a great day!

6×6 Bruschetta Burgers

Hello! Just popping in quick with a 6×6 recipe card I made. This was for a recipe card class that I taught last night at my friend’s store, The Craft Shack. My husband and I enjoy these burgers which are served open-faced and I thought it would be good for a summer recipe class.

I used my Altenew Bold Alphabet for the word burger (love that alpha!). My friend, Lisa, had the super cute die set for the cow in her store and she had some suede paper to create him which totally added to the cuteness factor. lol. Instead of die cutting his eyes, I used some teeny tiny 1/8″ googlie eyes.

6x6 bruschetta burgers diane zechman

The original recipe only had 3 ingredients for the bruschetta which I figured would taste very bland so I threw a bunch of extra ingredients in there and came up with my own!

6x6 bruschetta burgers back diane zechman

Enjoy!