Category Archives: Scor-Pal

2023 Stamp & Swap projects

Last month we had our 8th annual NEPA (Northeast PA) Stamp & Swap and today I’m finally sharing the projects that I made for it. Be sure to read all the way to the end for a really cool project we did!

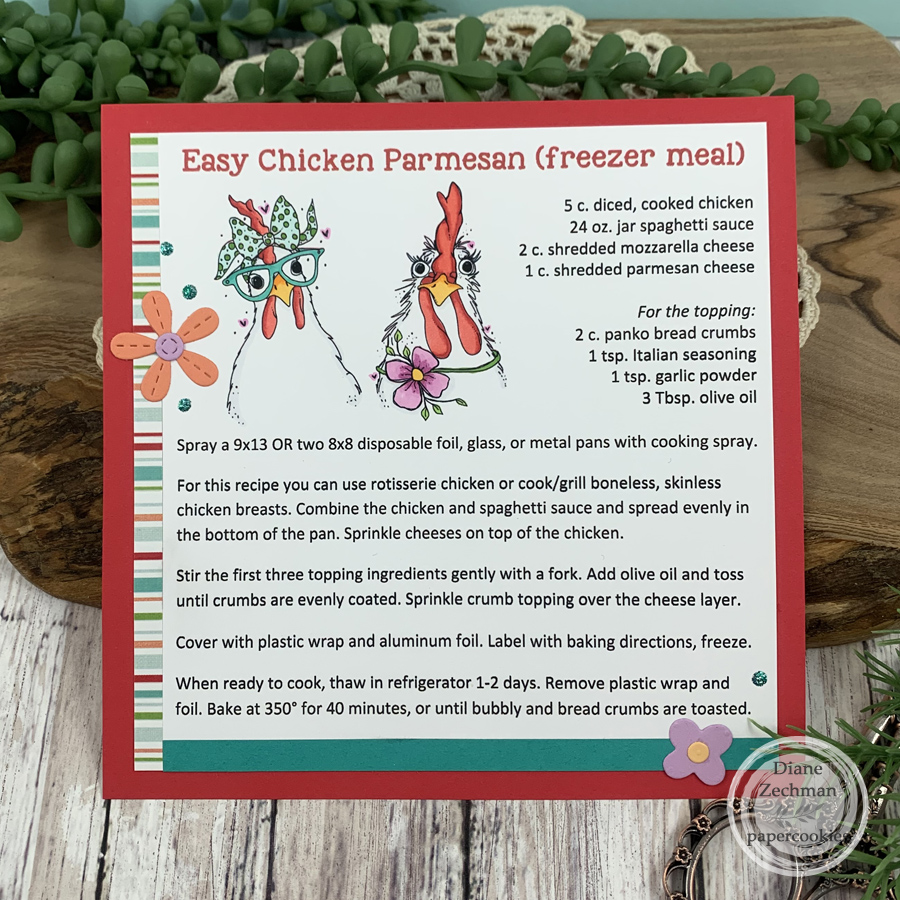
The first one I made was for our 6×6 Recipe Swap. I used Angie Blom’s Coolest Chicks Ever digital images, which are also available as physical stamps through Unity Stamp Co.

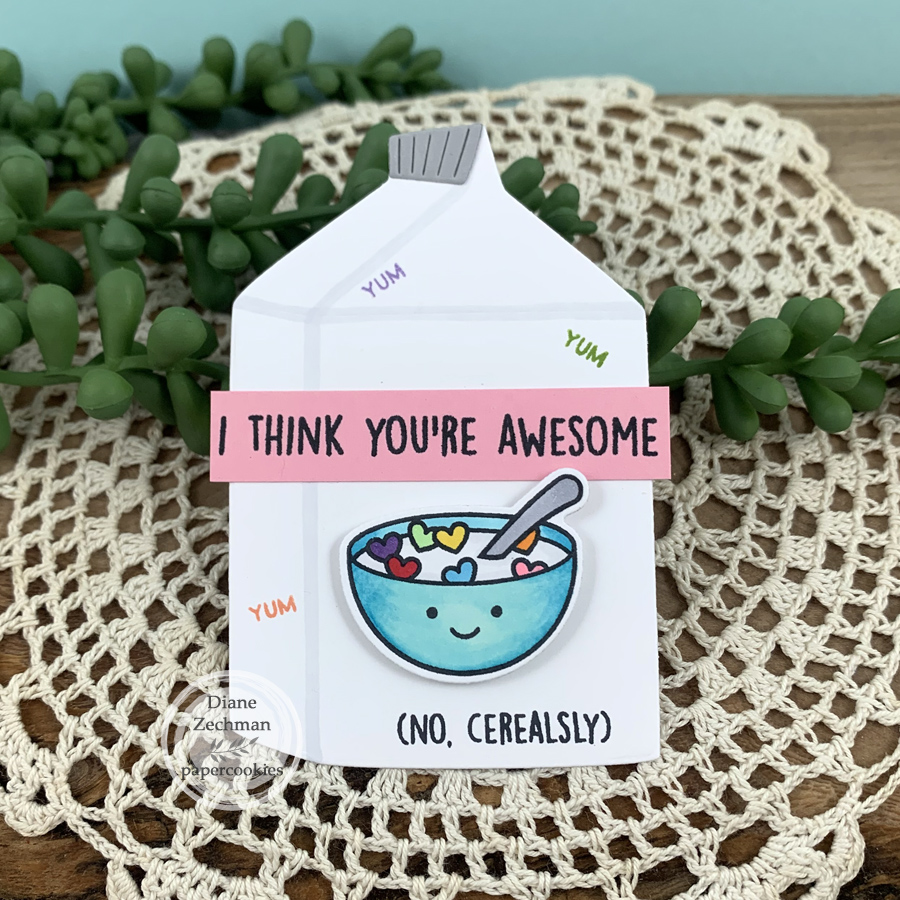
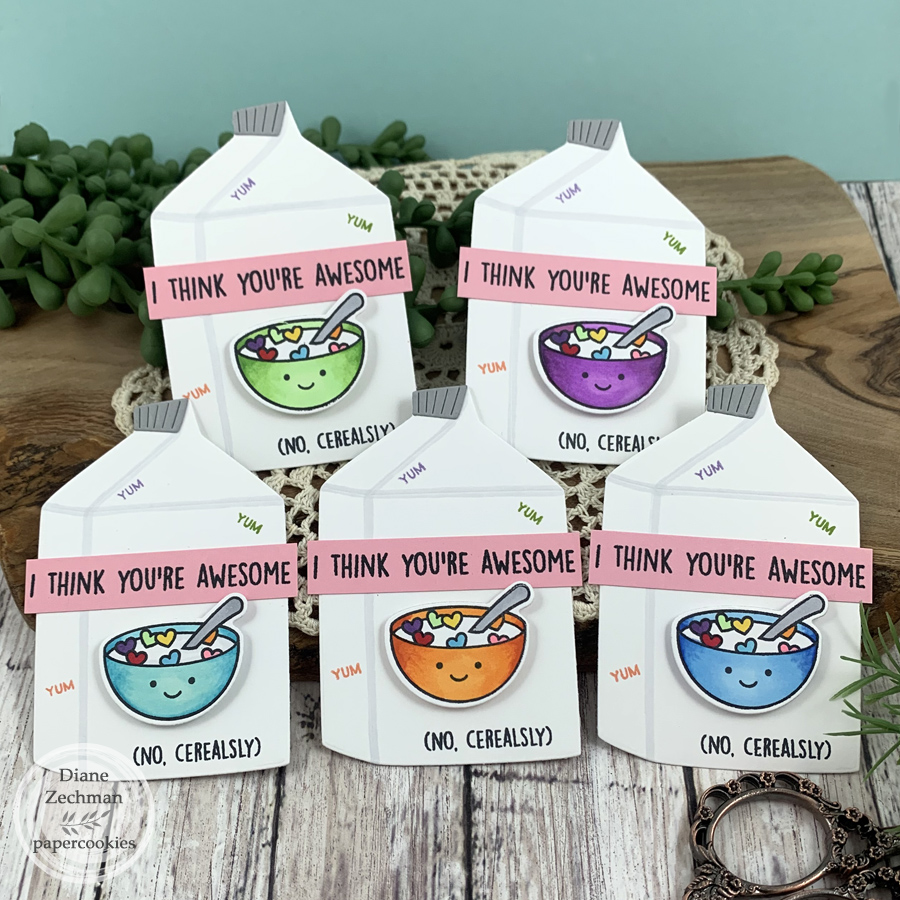
For the ATC swap, I wanted to create a shaped ATC. This retired MFT Milk Carton Die was the perfect size. I also used Lawn Fawn’s Cerealsly Awesome set & Dies, which was a cerealsly awesome gift from a friend! 🙂 How cute! I couldn’t decide what color to make the bowl, so I did several and let the participants choose.

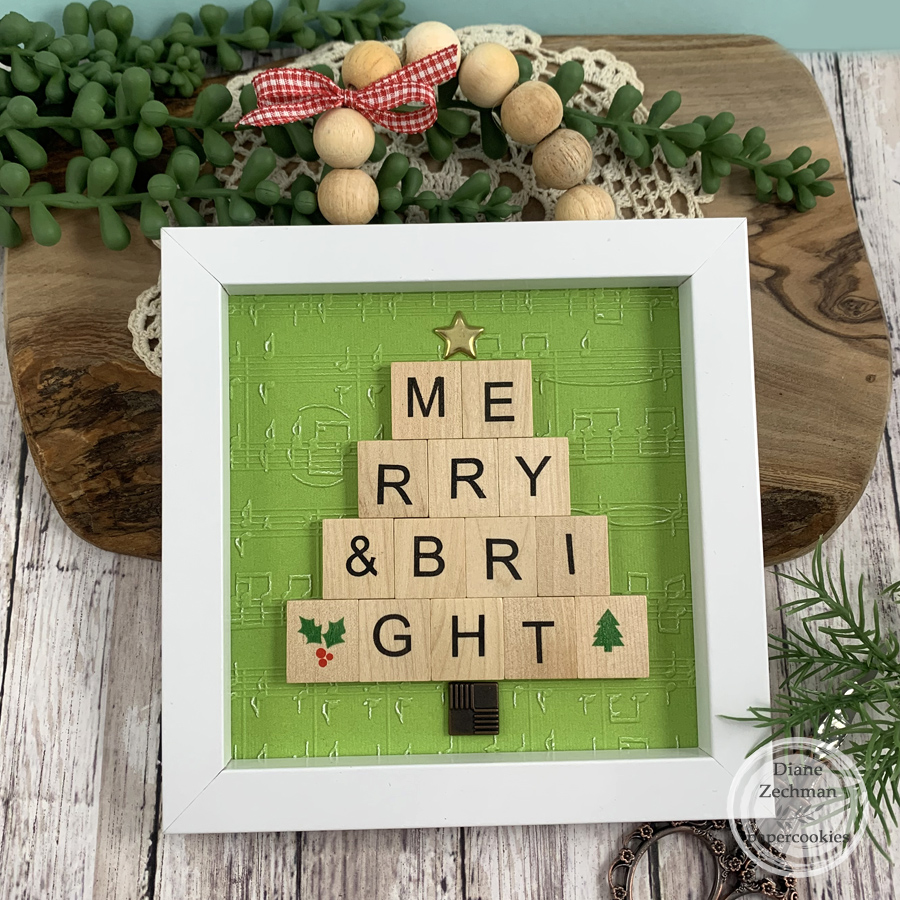
Several weeks prior, I found the event theme in a sentiment set of scrabble tile letters at Hobby Lobby. They already had an adhesive backing, so I just formed them in the shape of a tree and added brads for the trunk & star. I embossed the background and added a frame and ribbon.

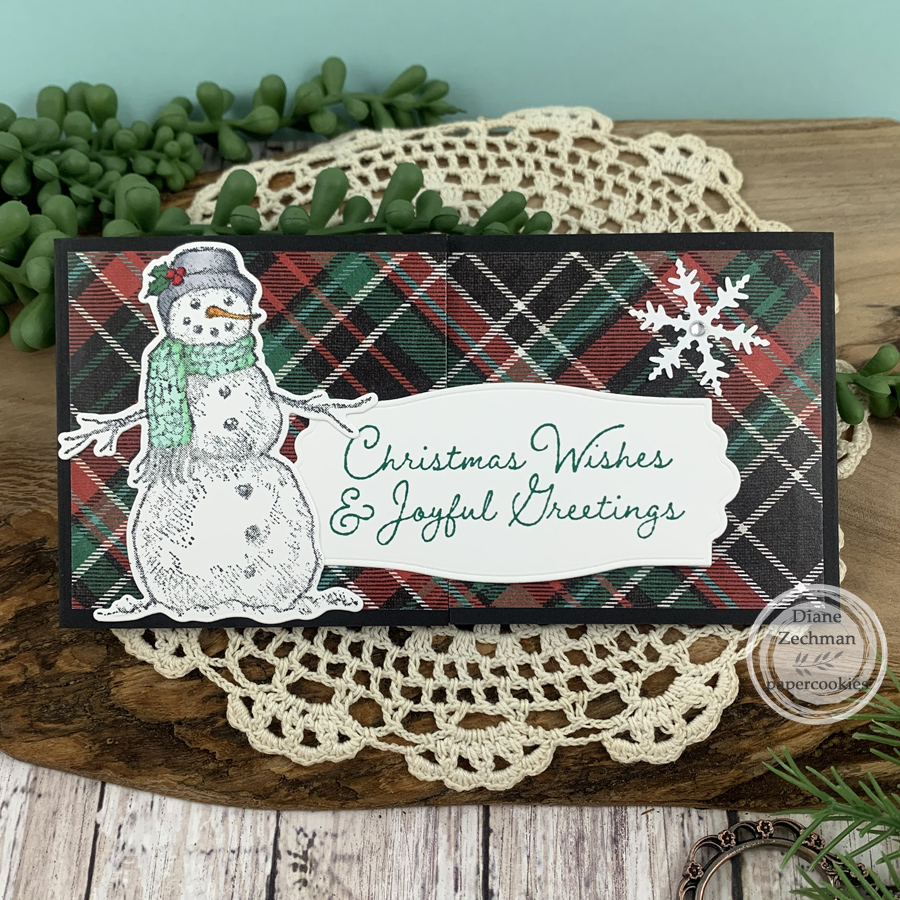
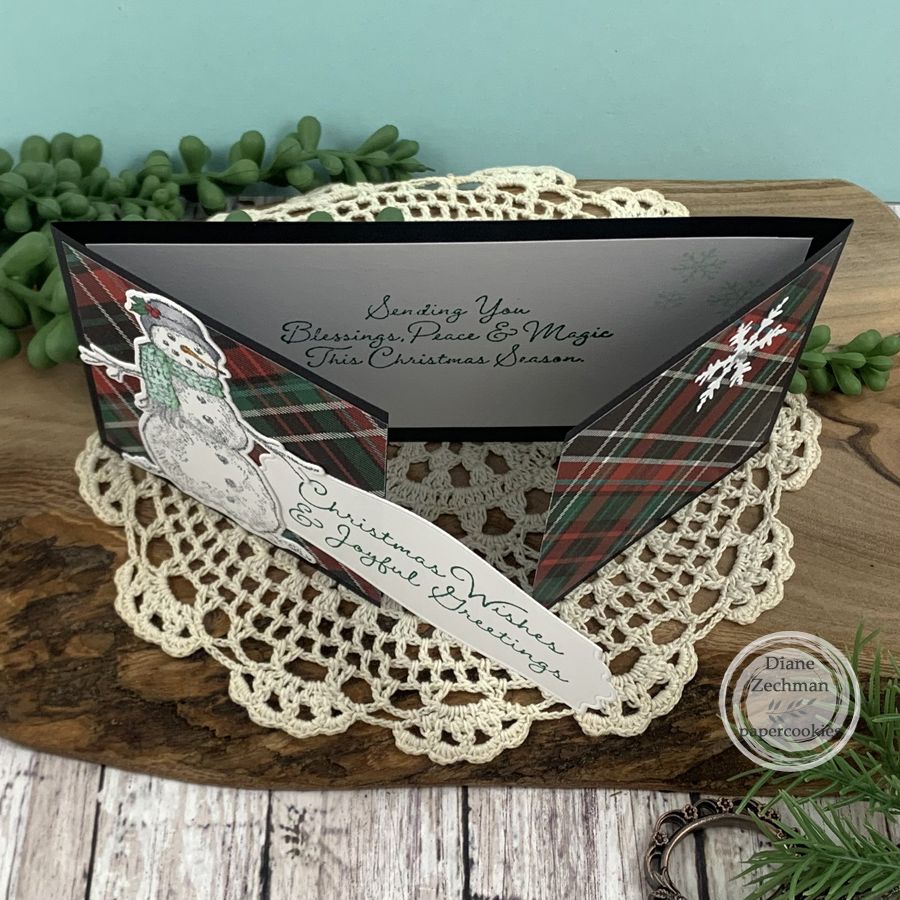
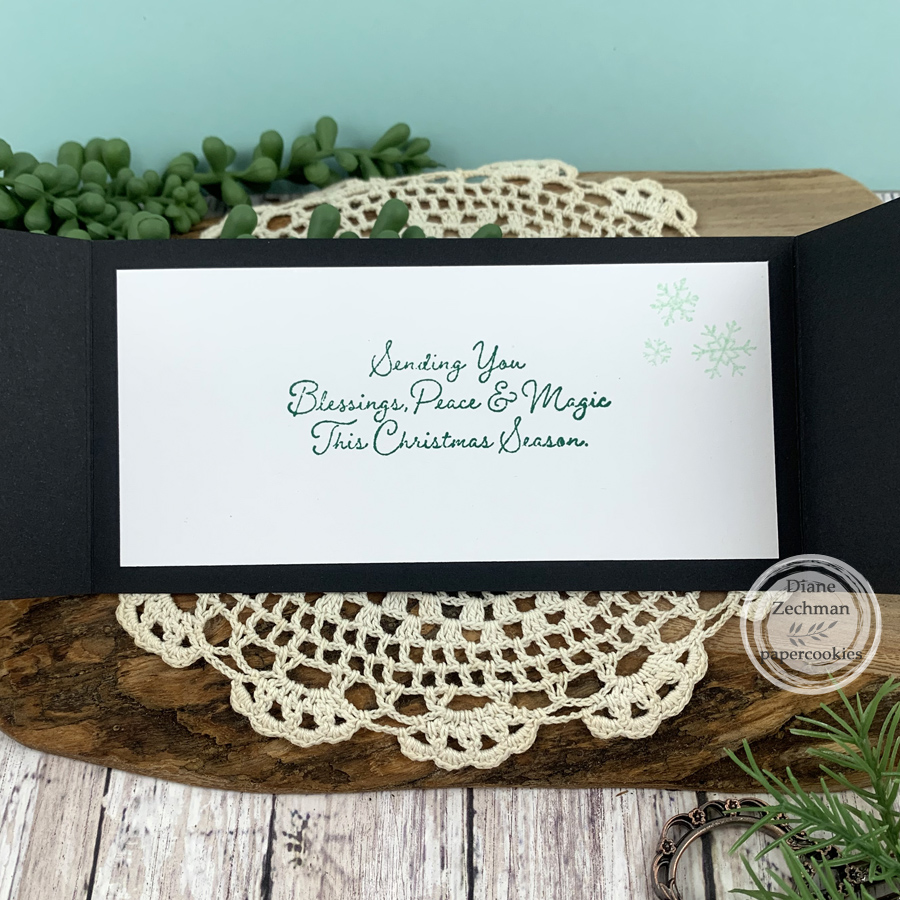
The Mini Slimline Swap was one of the most popular. I made mine a gatefold card using my favorite Christmas plaid paper from Hobby Lobby and SU! Snow Wonder Bundle. My base is 3 x 12, scored @ 3 and 9.

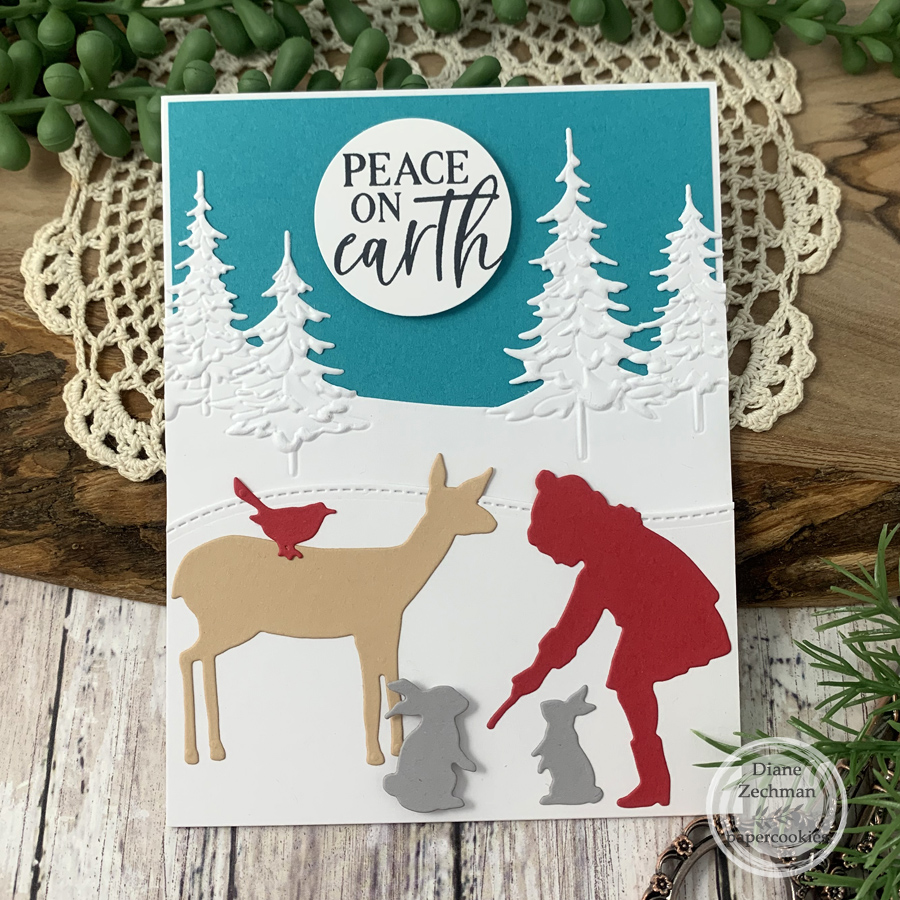
For my shoebox card, I used the retired Spellbinders Sharyn Sowell Winter Friends die set, Simon Says Stamp Pine Landscape embossing folder and die set, and SnSS Christmas Sentiments. The large bunny and sentiment circle are popped up with foam tape.

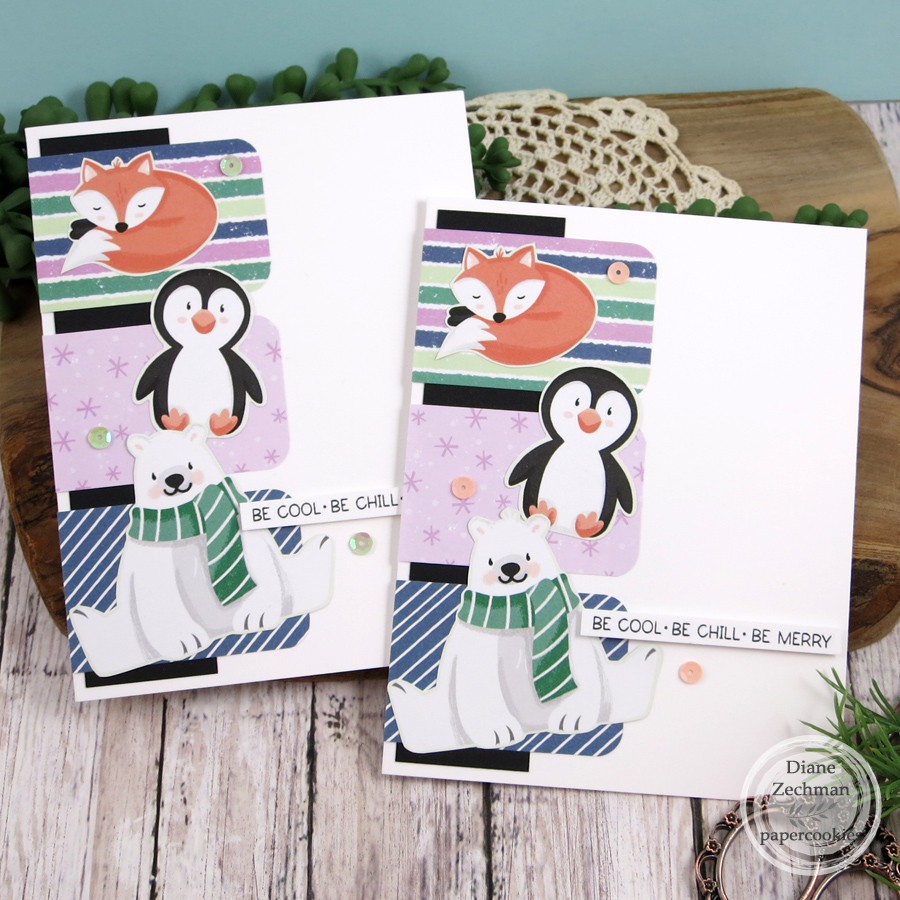
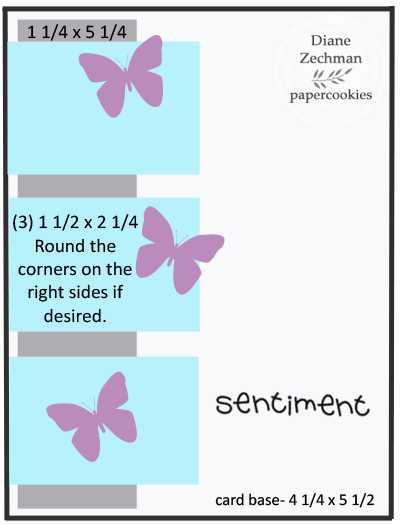
A new swap that I came up with for this year’s event was a Sketch & Card Front Swap. I used the SU! Penguin Place Bundle and coordinating papers on the card here. Below is my sketch that I started with. Participants swapped both of these together…the card front & it’s coordinating sketch.

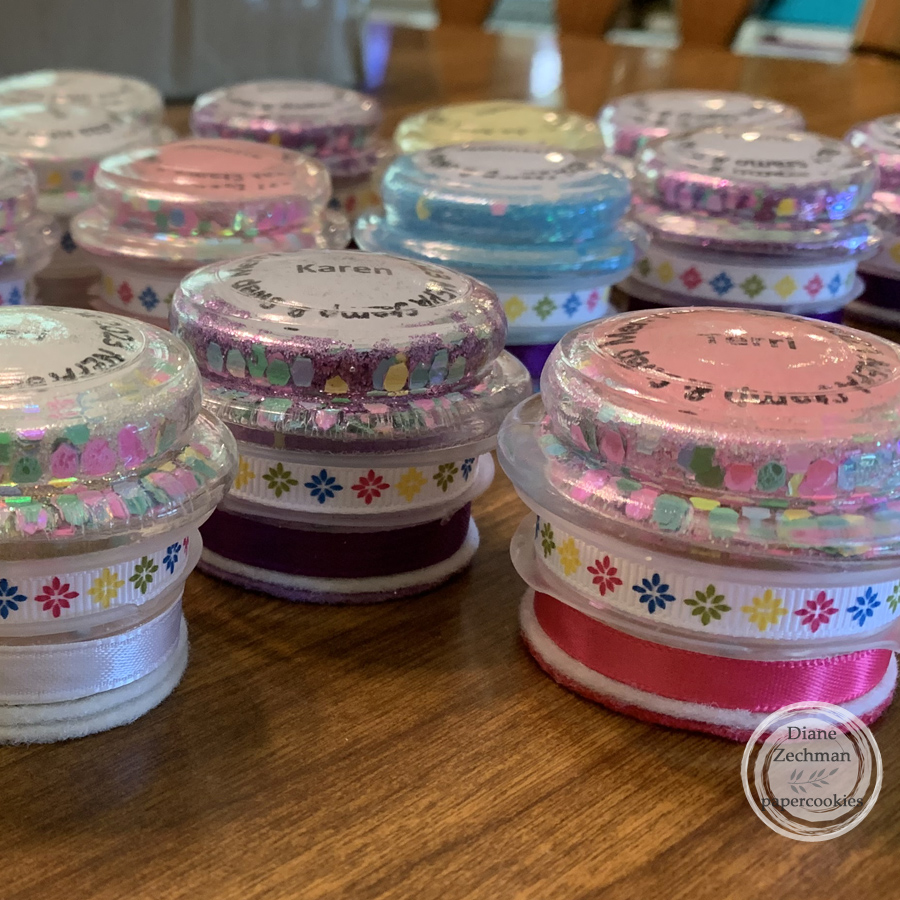
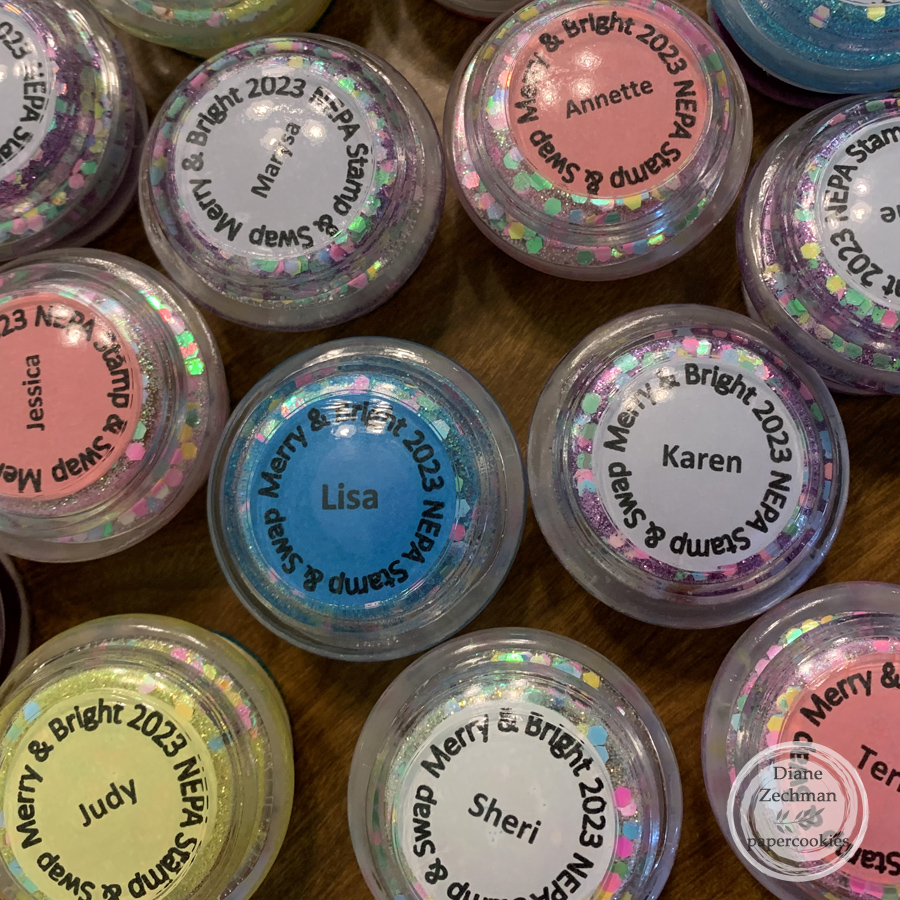
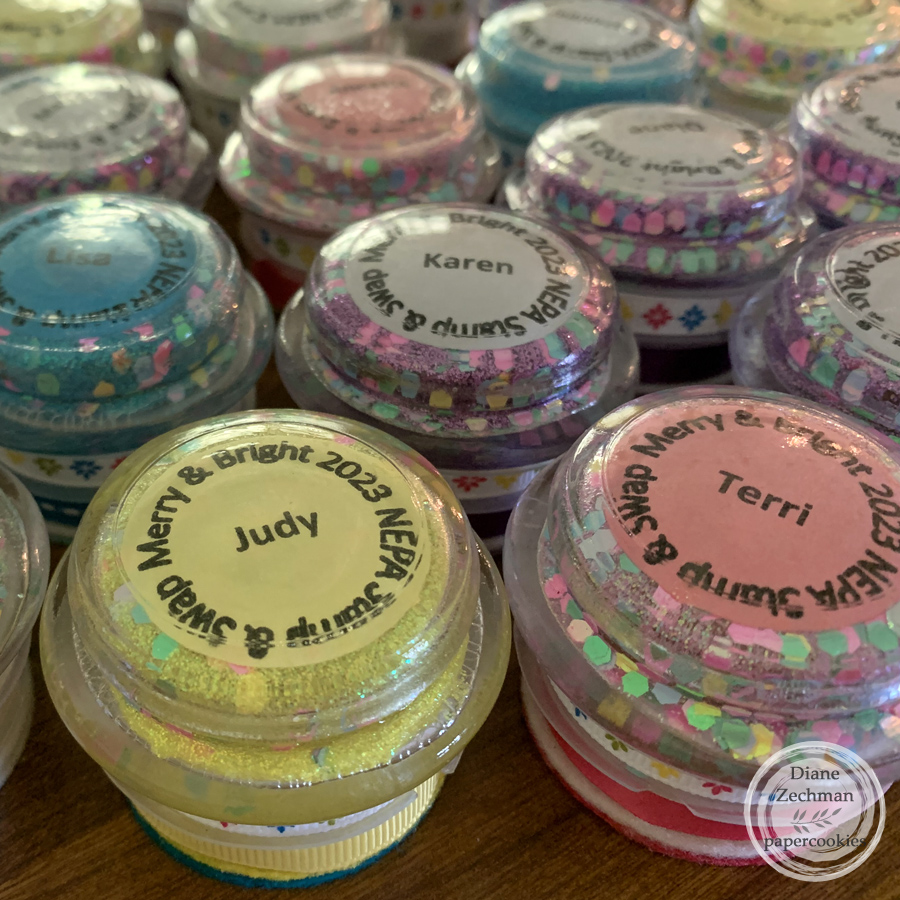
The last project that I’m sharing is the favor that we made for everyone who attended the swap. We decided this year to make the tools to use on the MISTI or other stamping platforms, but to also PERSONALIZE them. Someone from our committee (I can’t remember who) named them our NEPA tool. 🙂

We purchased mini candles from the Dollar Tree and used the glass tops, making sure to pick out the ones with a large clear space in the center of the lid. My friend, Lou Ann, and I had several hours LOL trying to get our swap words in a circle with each name inside but when we were finished, it was so worth the effort (Don’t ask me how we did it lol)! They were then printed onto colored copy papers and punched out with a circle punch. Lou Ann’s husband cut wood circles for us to place on the bottom of the glass for stability, and then we covered the base with felt. So, there’s the glass candle lid (with a plastic covering on the bottom of it), then a wood circle which we painted white, and two layers of felt circles. Each attendee was asked their favorite colors without knowing what we were making.

We used several glues and adhesives with trial & error until we figured out the right combination! Lou Ann used her Xyron sticker maker with the punched circles, so they had adhesive on top. Then I carefully adhered them in place inside the lid using tweezers to get them inside. Our committee got together and working quickly, Mod Podge was applied inside the entire lid and chunky glitter was dumped inside. Next, a fine glitter was added to fill in the empty spaces. It’s hard to capture the glitter in the photos below! When dry, E6000 glue was used to adhere the wood circle to the candle lid. Again, they were left to sit as the glue dries. Aleene’s Felt and Foam Tacky Glue worked great to adhere two felt die cut circles to the base. We finished them off by adding some ribbons with Scor-Tape. Whew! It was a lot of work but so fun!

Thanks for reading all the way through! LOL. Have a great day!

’tis the season trifold

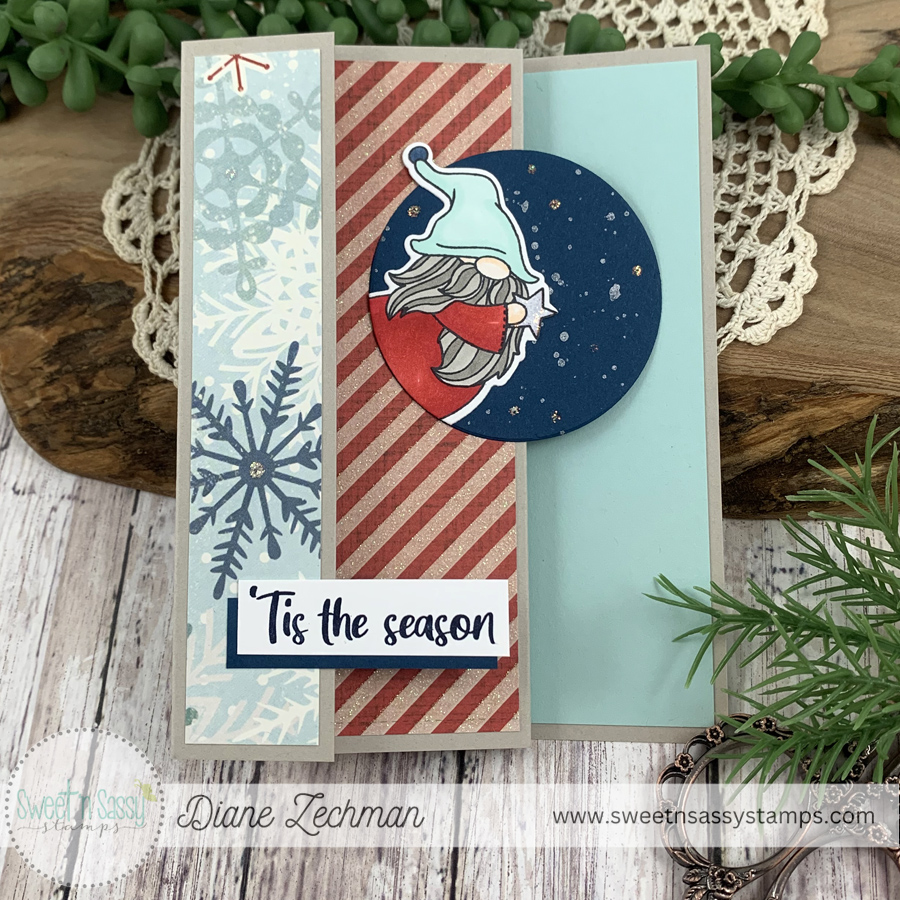
Hello! Today I used a partial image of one of the SnSS Christmas Gnomes to make a Christmas trifold card.

Products used: Christmas Gnomes Stamp & Die Bundle and Circles Dies

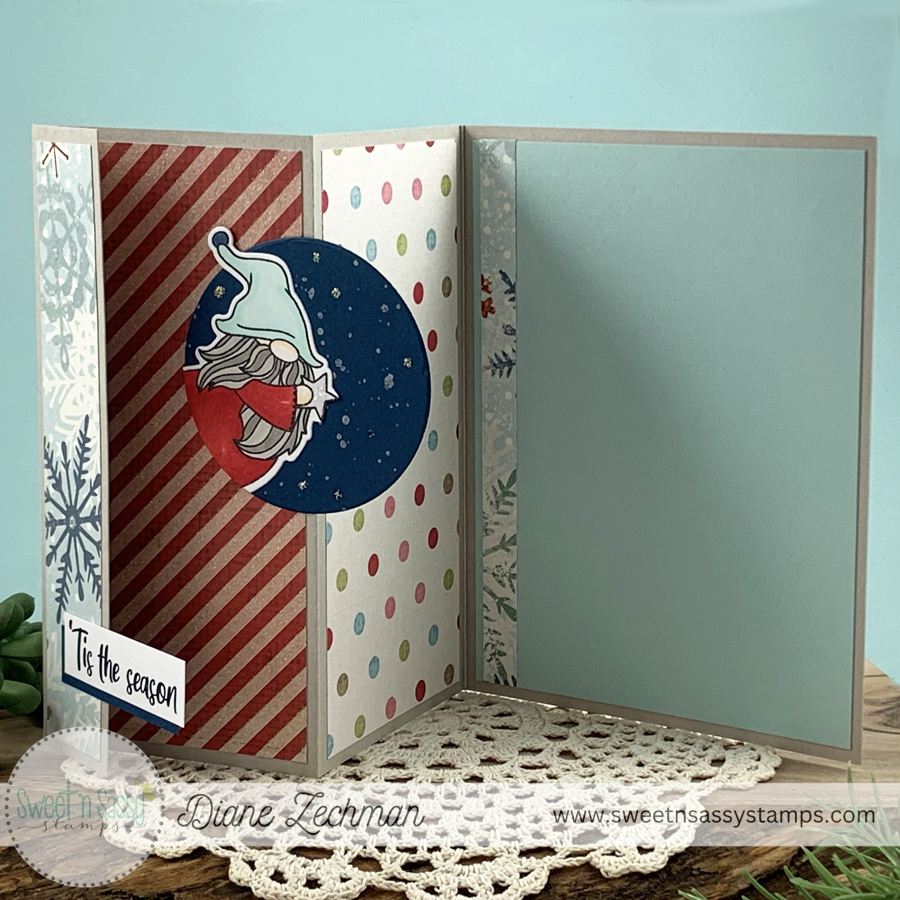
This gnome is actually putting a star on top of his tree, but I cut the tree off and only used the top portion of the gnome. He was placed on a circle die-cut in which I added some shimmer splatters and a few dots of Stickles. Only the left side of the circle image and the sentiment are glued to the card. The right sides are hanging over the edges of the folds. I started with a 5 1/2 x 11 cardstock base and scored it at 1 1/4, 4, and 6 3/4. Then valley/mountain/valley fold and add various coordinating patterned paper layers. Very easy!

Have a great day!
sew thankful pocket card with tags

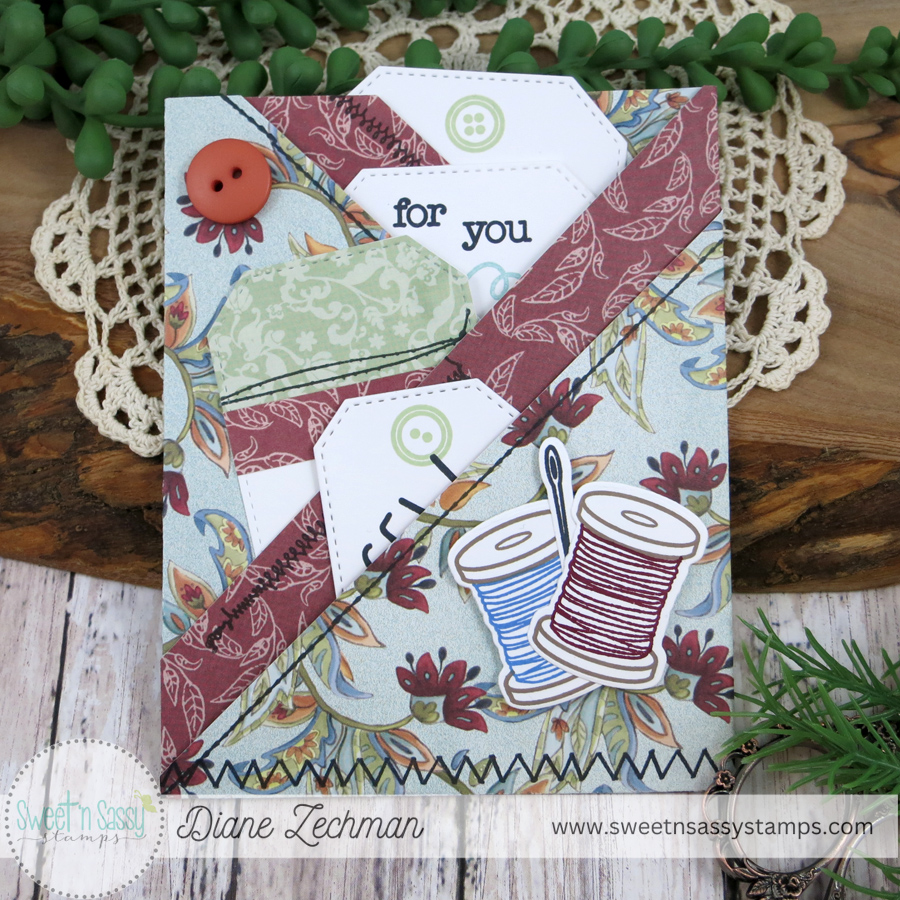
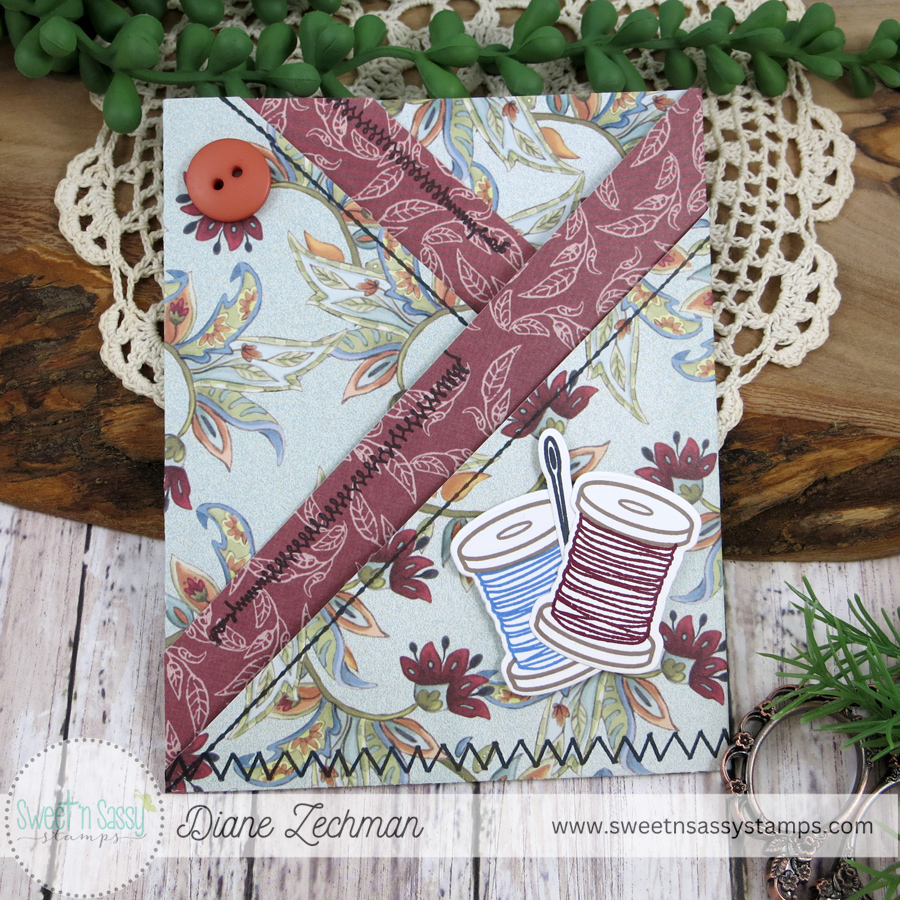
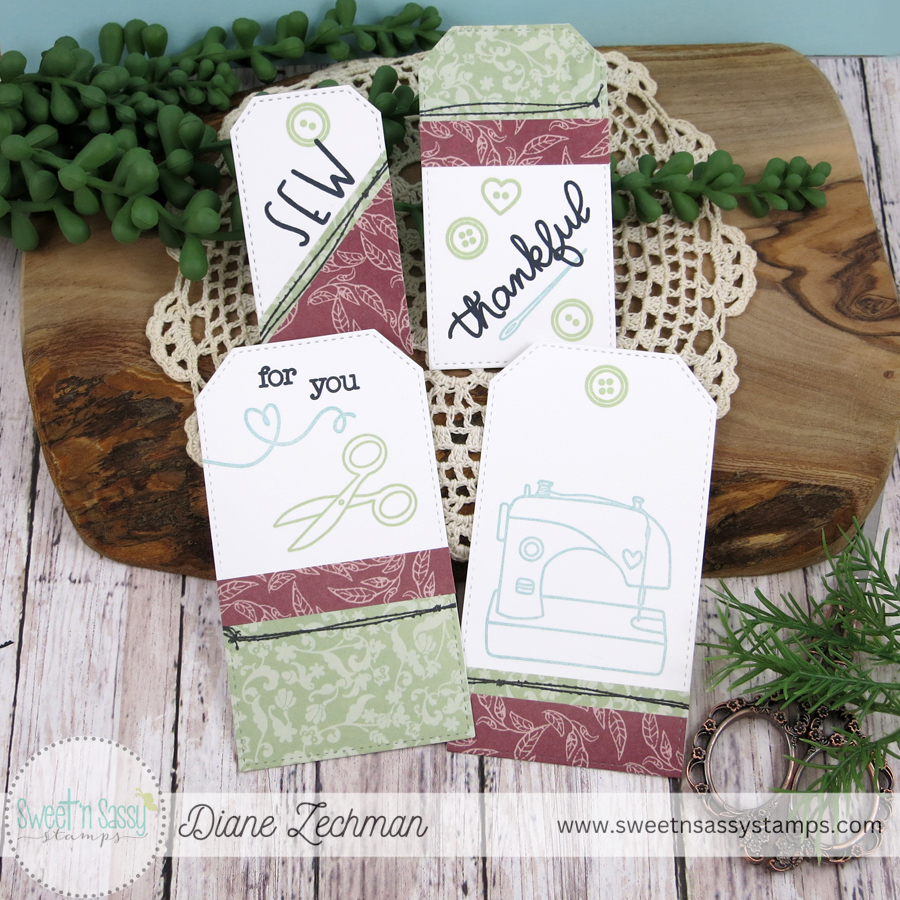
Hello! Today I have a pocket card to share using the Sew Happy Stamp & Die Bundle and Sew Many Stitches stamp set by Sweet ‘n Sassy Stamps.

The pocket card was created by scoring and folding a piece of double-sided patterned paper, then trimming off the extra. It was inspired by one I saw on this Instagram post but mine didn’t turn out exactly the same. lol. I don’t know what size paper she started with. I used 12 x 12 and just “winged it”. I’m certain that I won’t be able to recreate mine exactly. haha! The bottom was adhered with Scor-Tape.

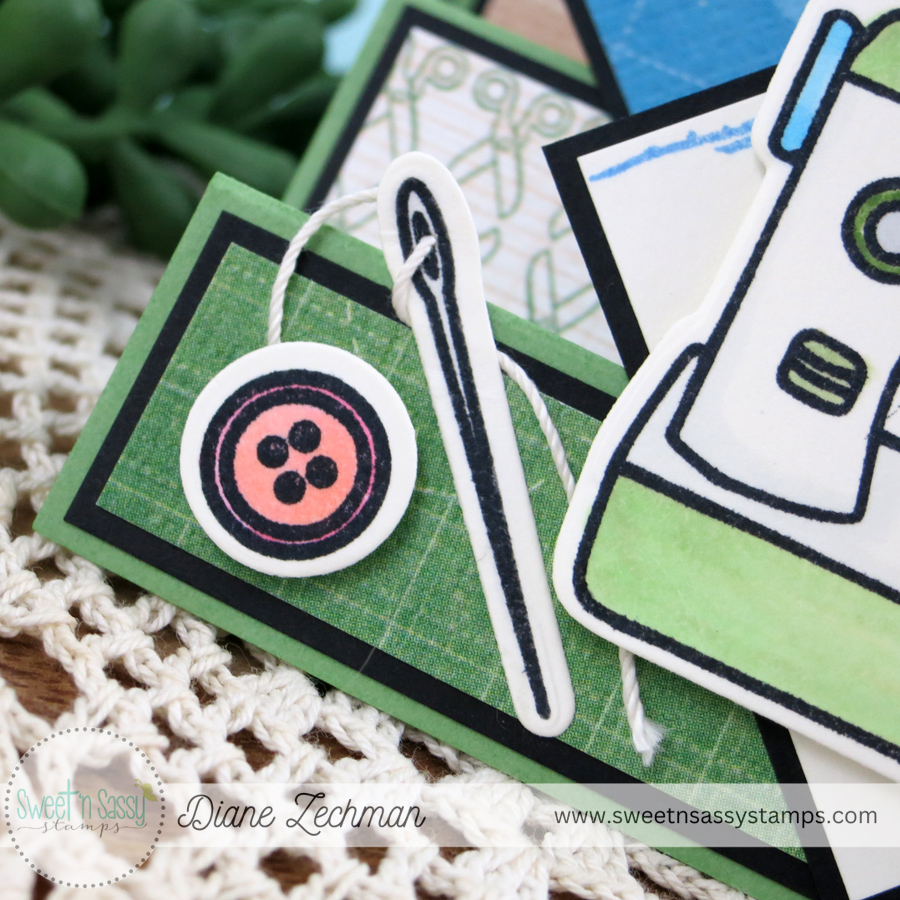
After the pockets were made, I stamped the stitches and added the stamped/diecut spools and a real button.

I cut some tags in various sizes and stamped the words of my sentiment onto each one, leaving space on the largest tag to handwrite a note.

Hope you are having a great Monday!

sew happy it’s your birthday

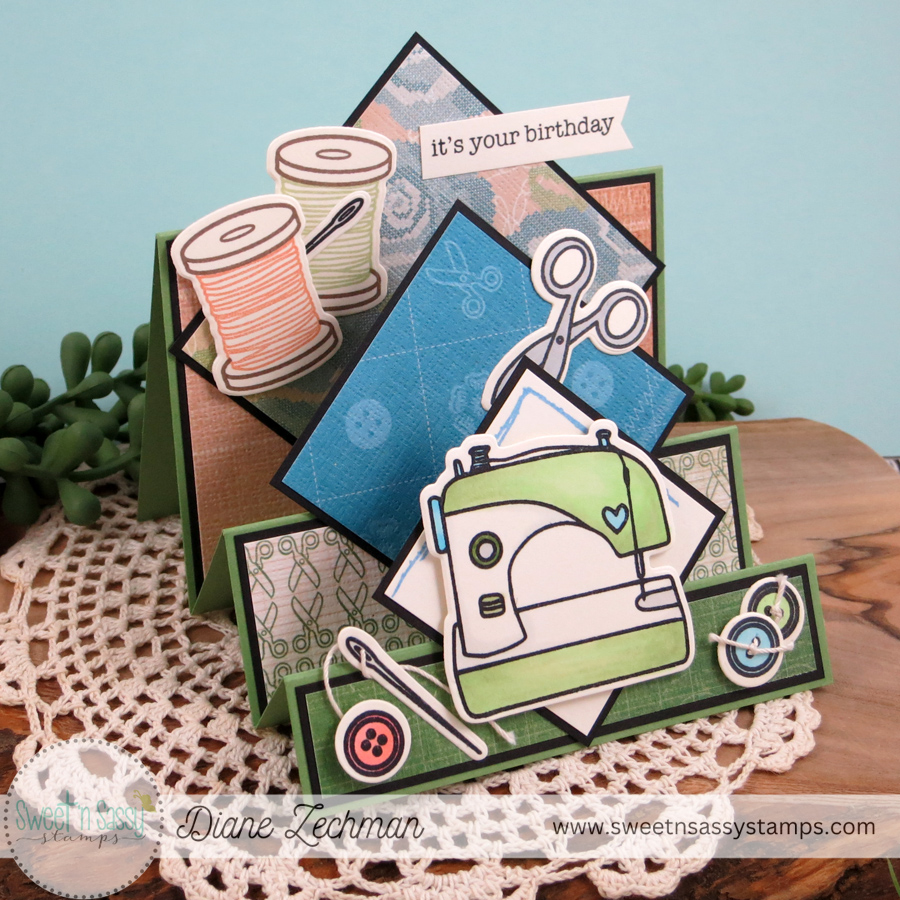
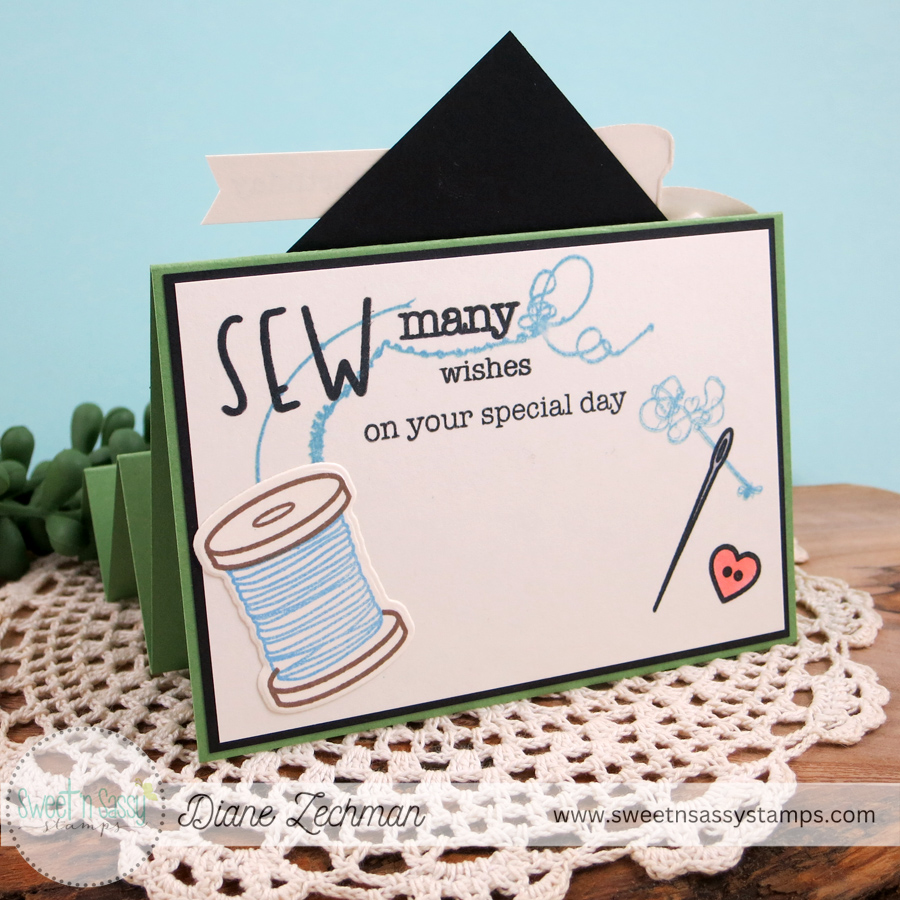
Good morning! Today I have a fun fold card using some new stamps from this month’s Sweet ‘n Sassy Stamps release. This fold is called a Diamond Triple Step Card. I used Sew Happy Stamp & Die Bundle, Birthday Wordfetti, and Sew Many Stitches.

I found some old and fun crafty/sewing theme papers in my stash to use on my card and then colored the images to coordinate.

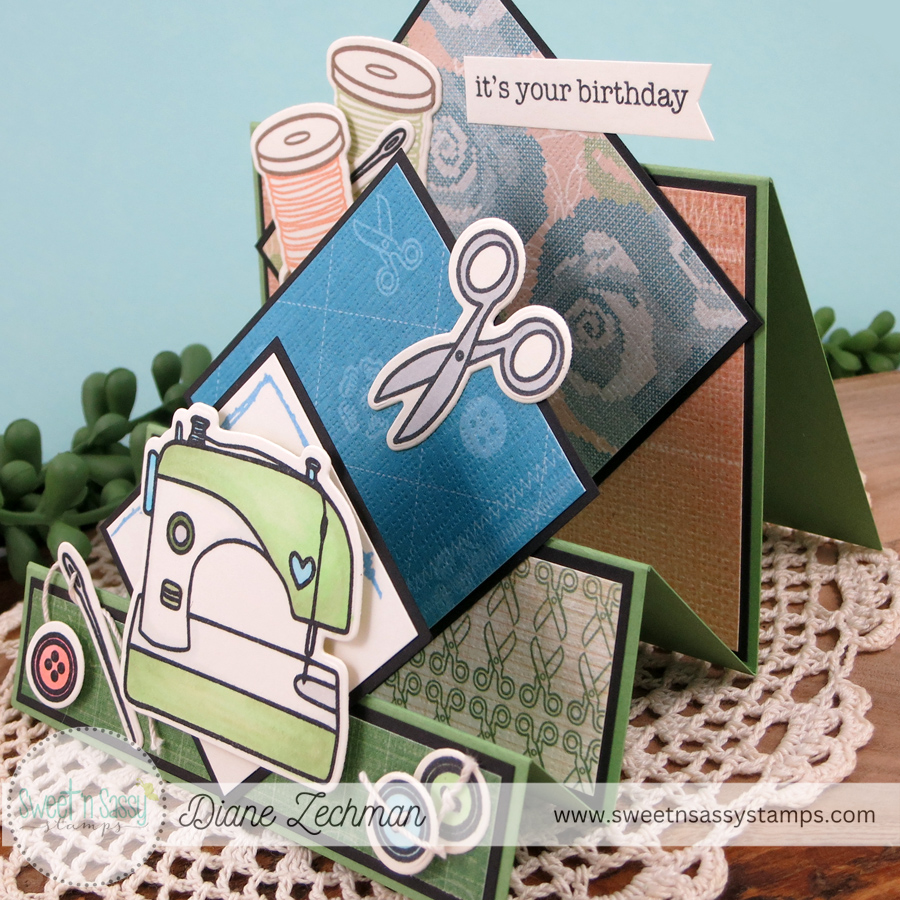
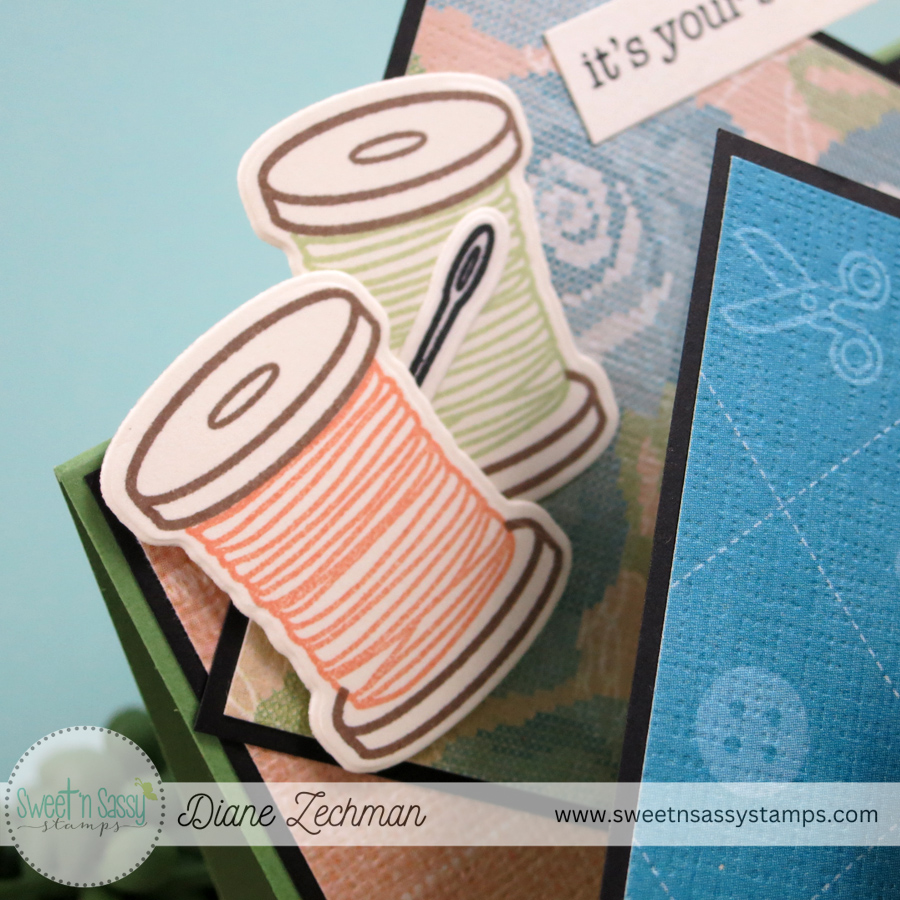
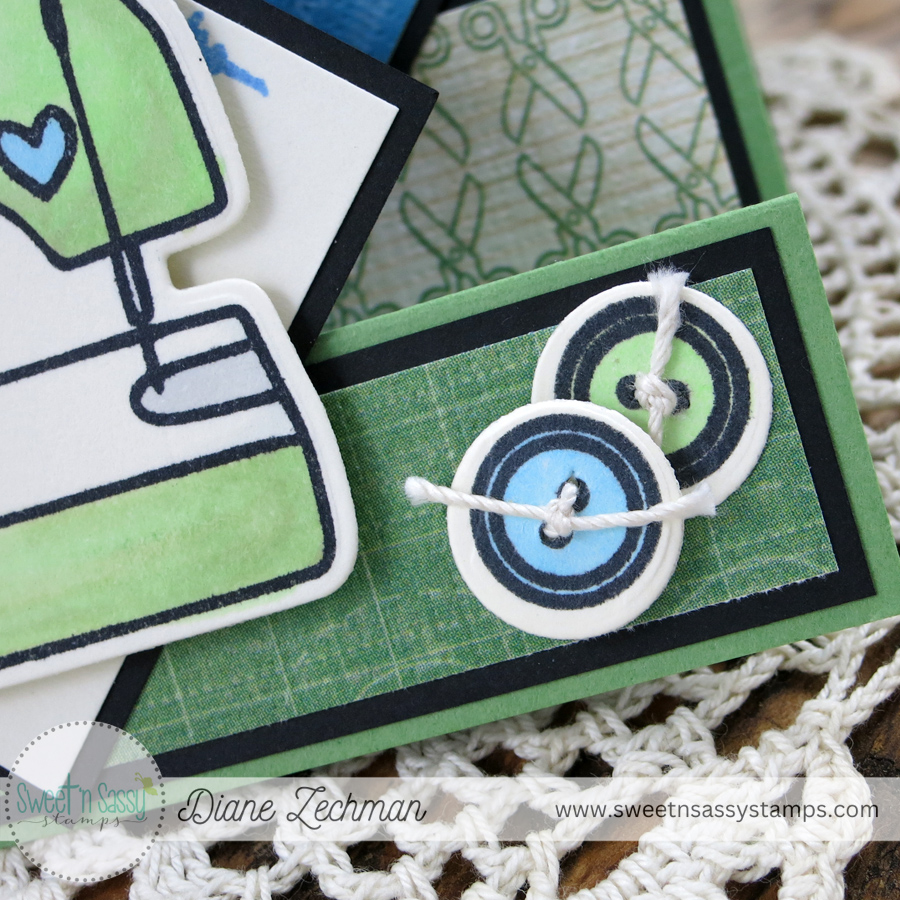
Here’s a few close-up photos. I poked holes in a few images so I could put the crochet thread through.

On the back, I left space to write a message and used a few of the quirky stitch images…they coordinate well!

Have a great Thursday!

lots of thanks

Today I am sharing a bunch of thank you cards that I made for the companies who donated to our all-day stamping event, the 7th annual NEPA Stamp & Swap. These companies were all SO very generous and helped to make our event a fun, successful one! Since we had quite a few donations this past year, I kept the cards pretty simple. I’ve added the cards in ABC order…lol, I can’t choose a favorite!

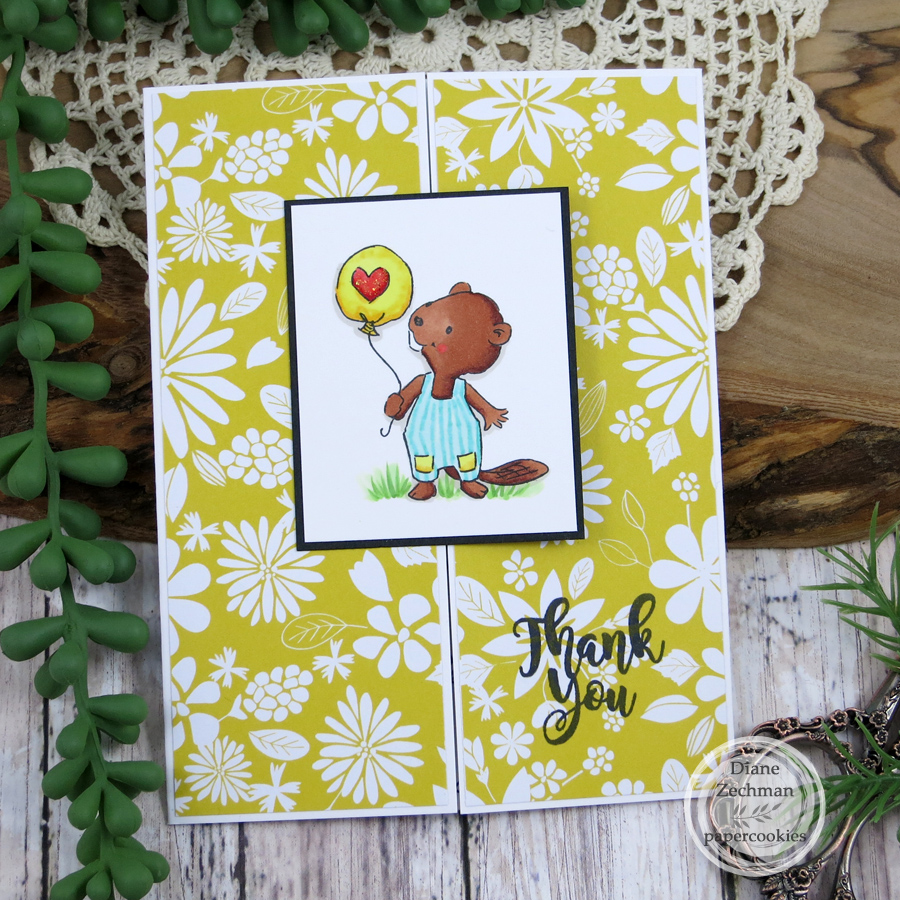
The first card was for Art Impressions, using one of their sweet freebie stamps. Bonnie designs the cutest images for those! I placed him on a gate-fold card with some MFT paper.

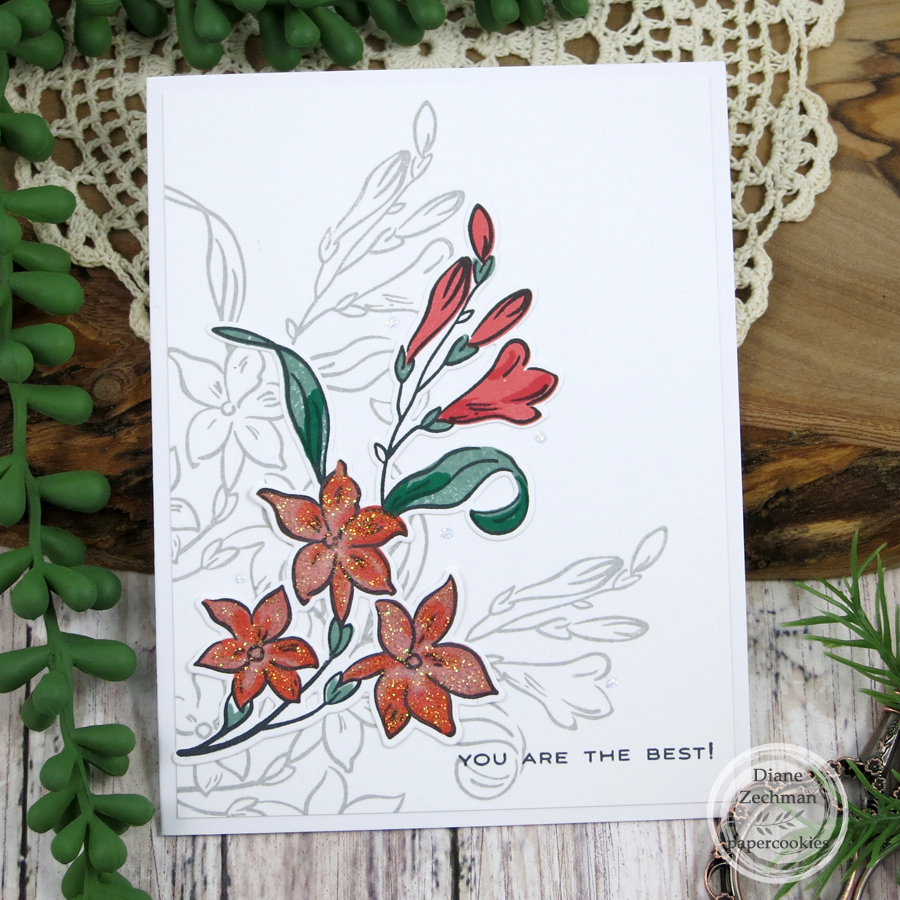
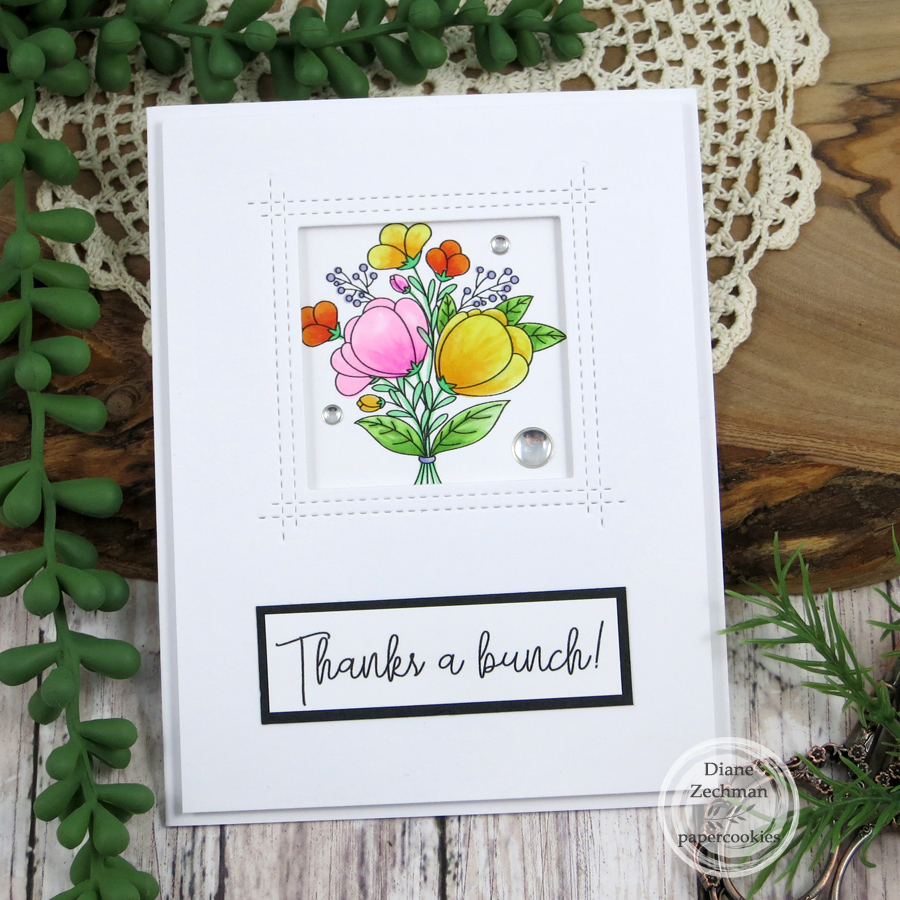
My second card is using the Altenew Extra Special Stamp & Die Bundle. Altenew has the BEST florals!

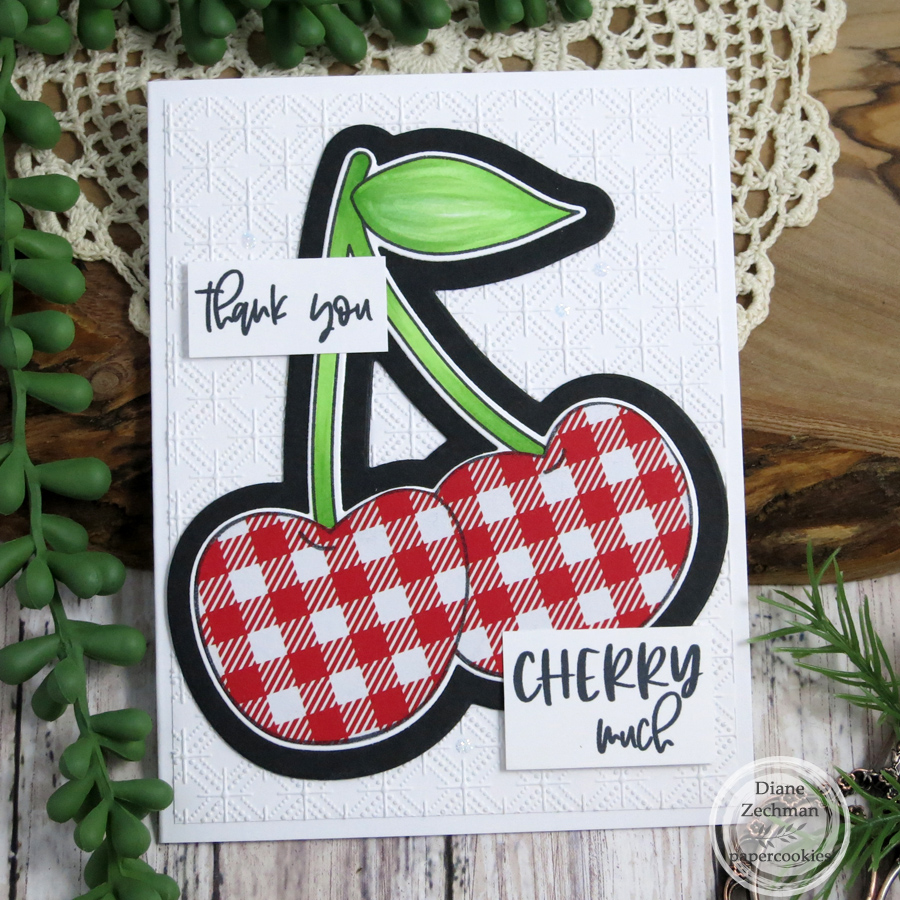
Next, I used the Avery Elle Cherry on Top stamp set. (I also purchased the dies to match!) Instead of coloring the cherries, I paper pieced them! The background embossing folder is by SU!

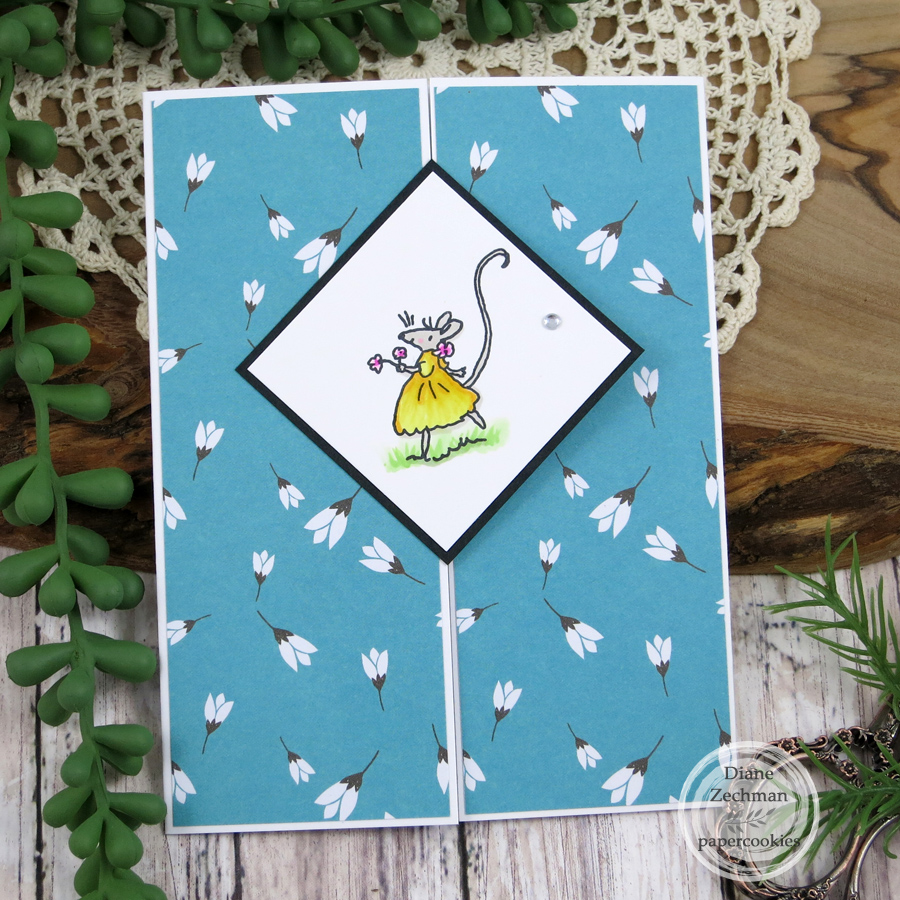
This sweet, little mouse is from Colorado Craft Company. I placed her onto a gate-fold card and made a few duplicates which were sent to Scor-Pal and Marci Snee (Stamp Junkies).

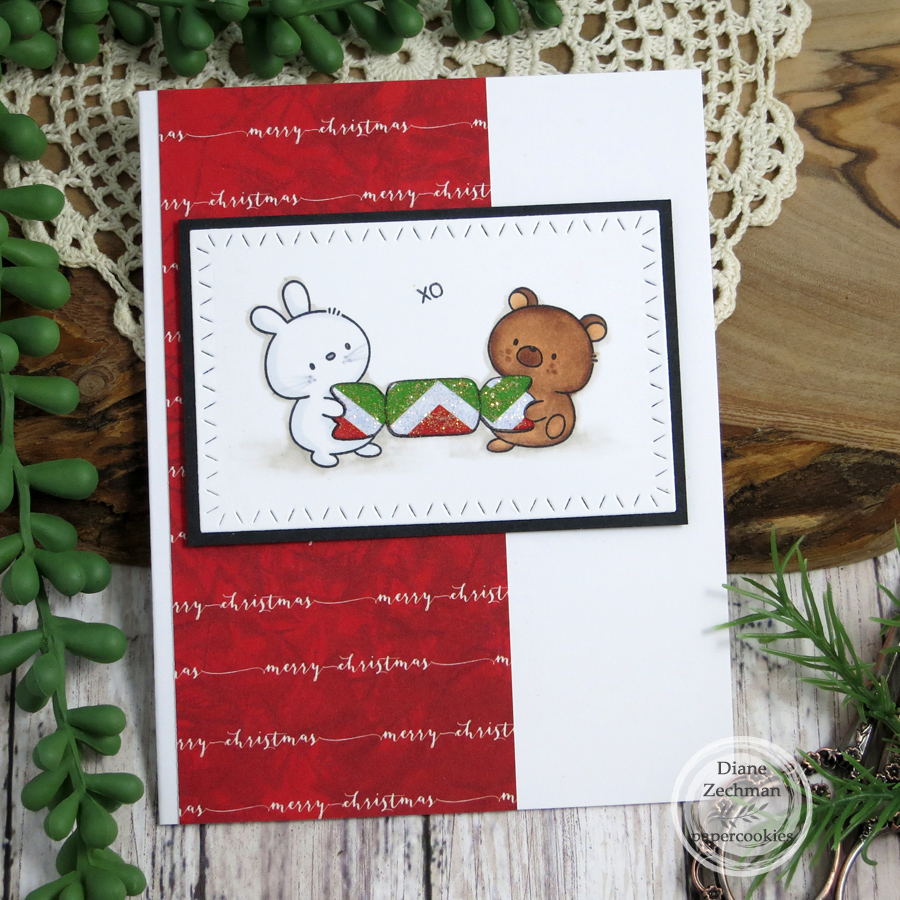
Here I used a Clearly Besotted set with Christmas crackers. I also paper pieced the candy on this card and covered it with Stickles.

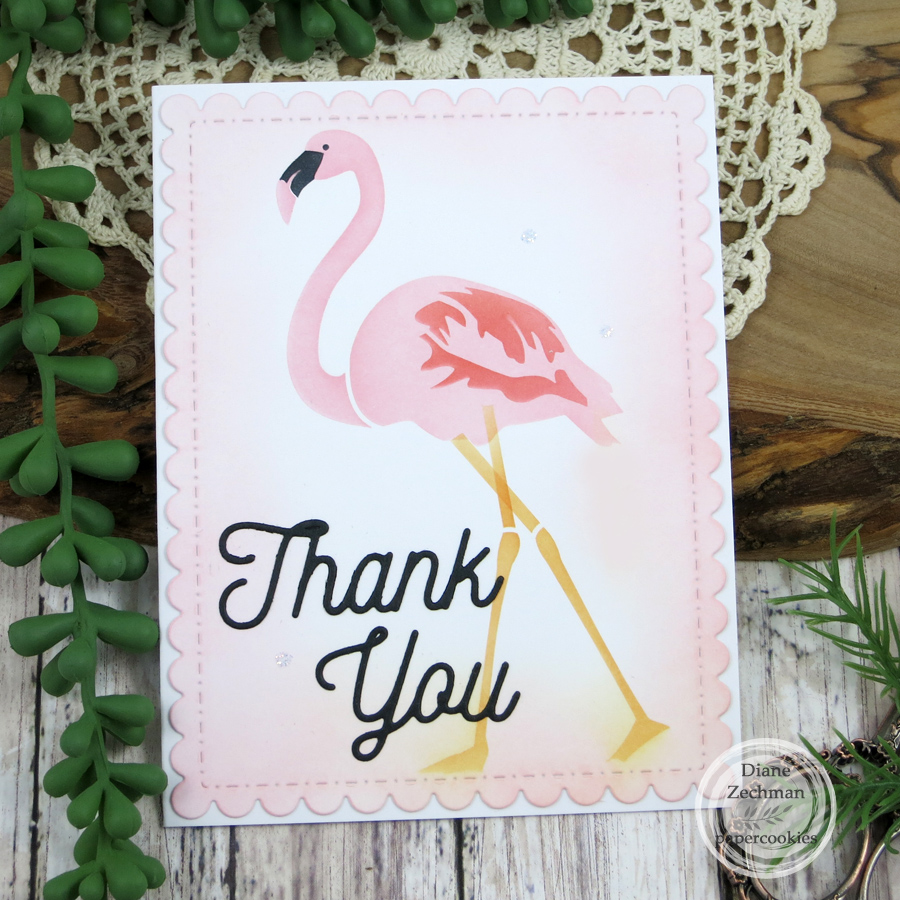
Next is a flamingo stencil by Erin Lee Creative. I need to check out her store some more, this is a fairly new to me company. Looks like some fun things over there!

I purposely offset the stamping on these silhouettes in Gina K Designs Friendly Silhouettes. Such beautiful stamps…I am anxious to use them again!

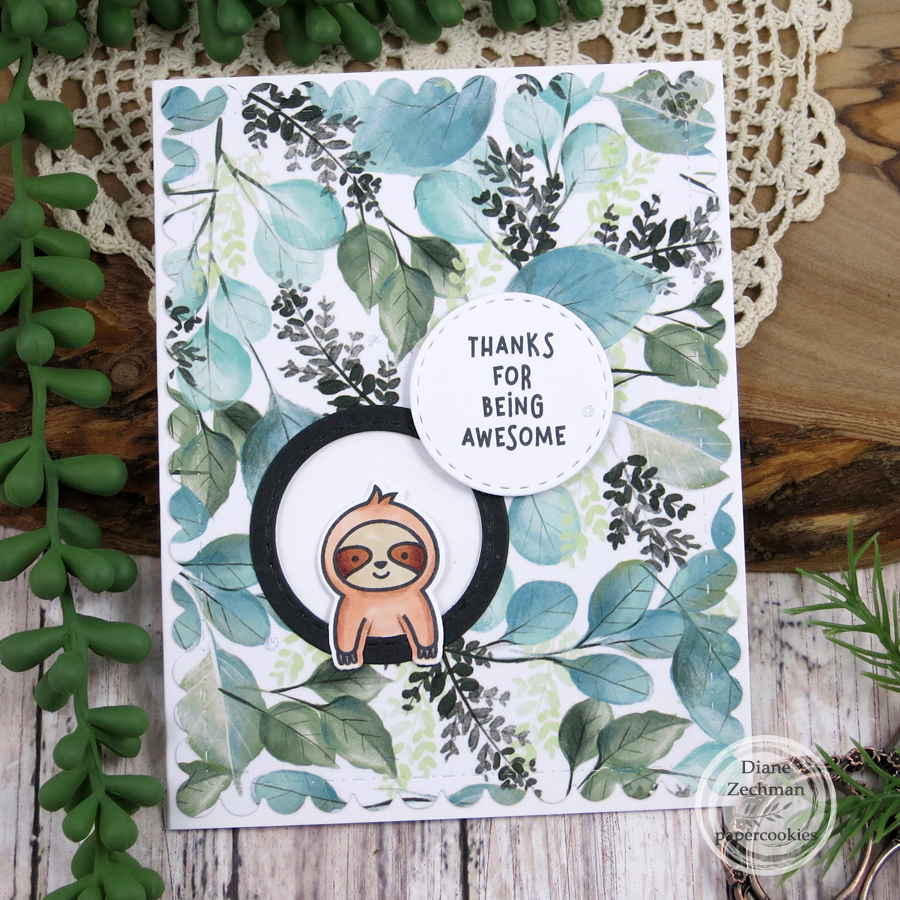
A small window was cut from the front of this card so that the little sloth from Lawn Fawn Slow Down and Enjoy. could peek through. His backside is on the inside of the card…so cute! (I forgot to take an inside pic).

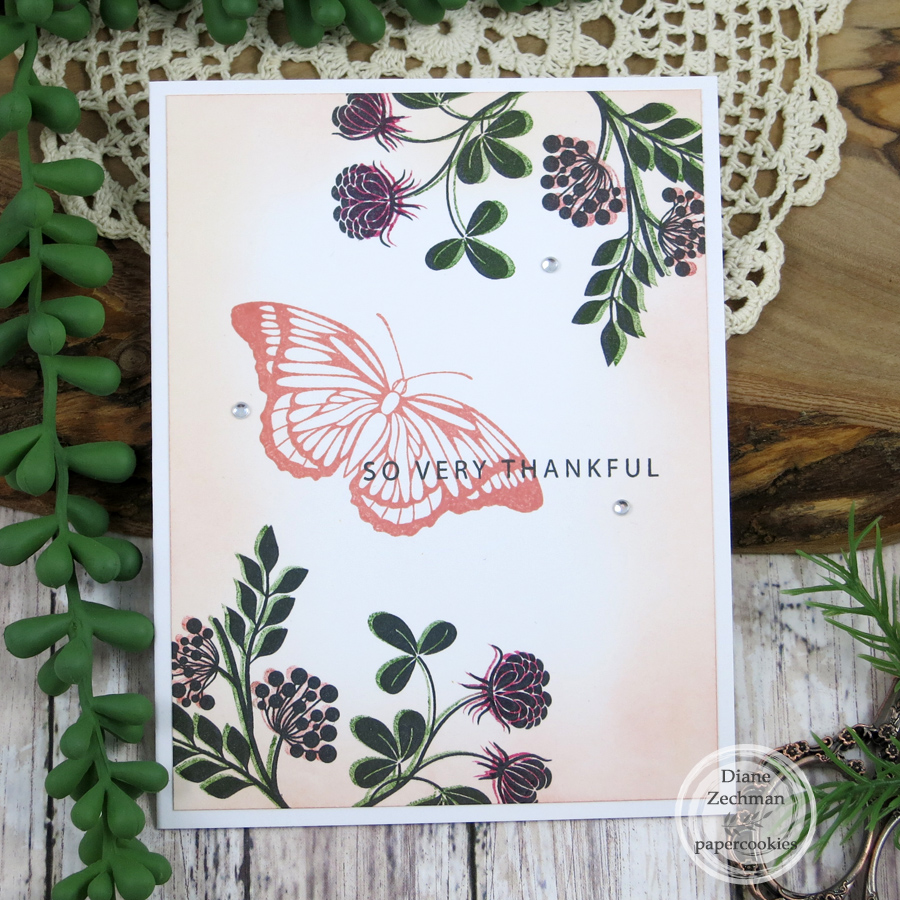
Nic from Magnuson Custom Stamps is completely awesome to work with! He helped design a set just for our event to coordinate with the theme. Go check out his site and let him help you create the stamp of your choice! Tell him I sent you. 🙂 This sweet embossing folder (Park Lane- Bloom) used on the background is one that I picked up from JoAnn’s some time ago.

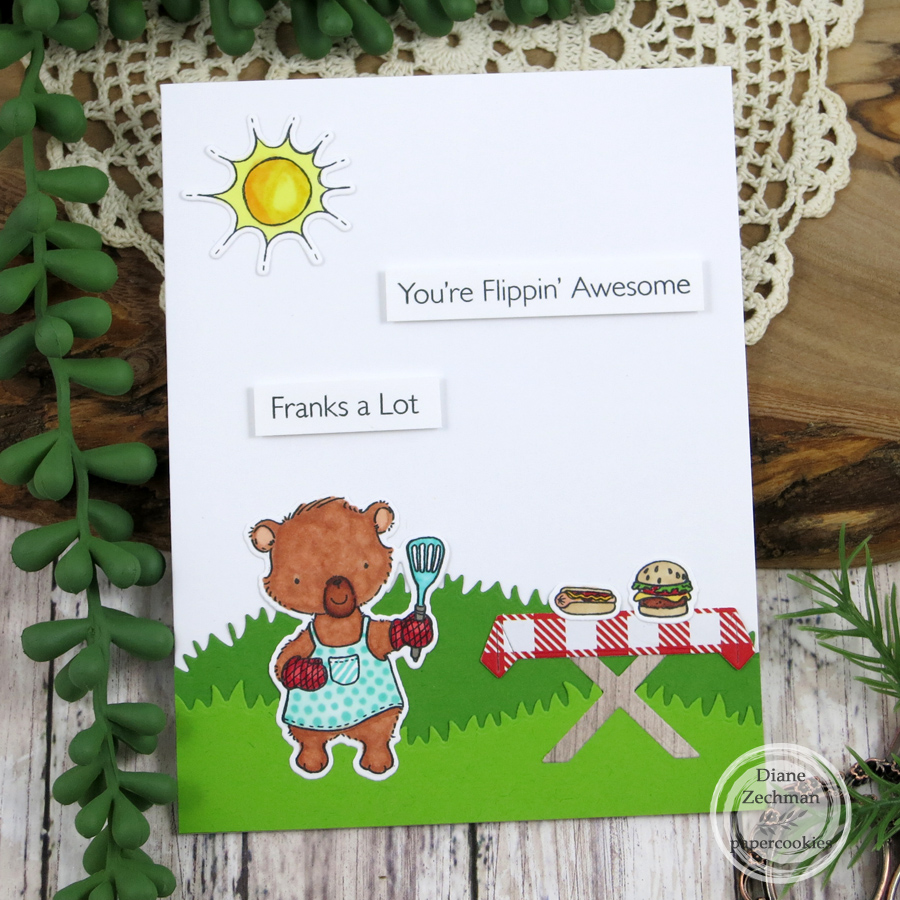
MFT Stamps Backyard BBQ and the picnic table dies from their Picnic in the Park Die-namics were used on my next card. The sentiments in this set match perfectly! The grass is retired MFT dies.

Here I used Pink and Main Glossy Dots and a free Pink and Main flower image from this Digi Stamp Bundle. The window was cut with MFT Square Peek-a-Boo Window Die-namics.

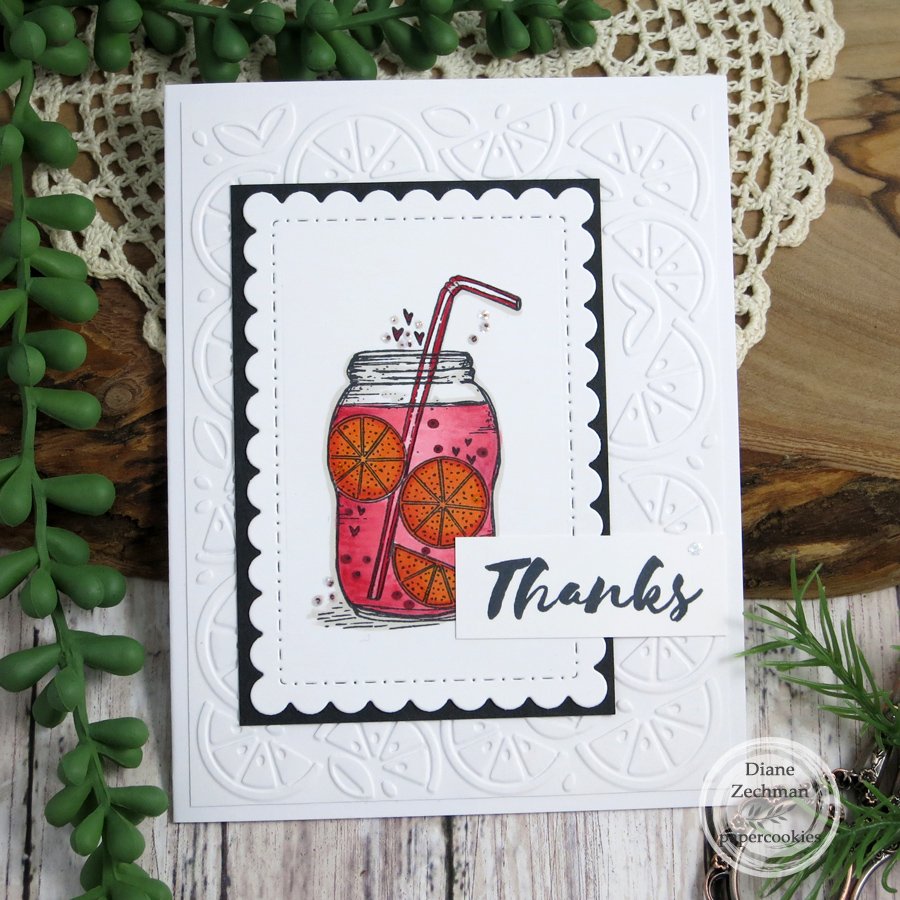
Last one! I colored the sweet Chillin’ image by Unity Stamp Company to resemble a cranberry drink with orange slices. It will make an awesome glass of lemonade, too!

Stay warm and happy crafting!

you make a difference

…you really do! 🙂 Hello! I have a card to share today for the Sweet ‘n Sassy Stamps October release. It’s a great release! Here I used the new foliage and sentiment stamp sets to make a masculine fall card.

Product links: Foliage Silhouettes (also available in a Bundle with Dies), Happy Everything Sentiment Strips.

I used a simple layout for this CAS card. After stamping the leaves, the main panel was scored with my Scor-Pal and layered onto a kraft piece, then the poppy red card base. I added a simple linen thread bow and popped up the sentiment.

The leaves are beginning to turn here. I hope you are able to enjoy them as well! Have a great day!
stamps- Sweet ‘n Sassy Foliage Silhouettes, Happy Everything Sentiment Strips.; paper- white, kraft, SU! Poppy Parade; ink- Memento Tuxedo Black, SU! Poppy Parade, Grapefruit Grove, Daffodil Delight; accessories- MISTI, Scor-Pal, linen thread, foam tape.

Ghirardelli valentine treats

Hello friends and happy Monday!
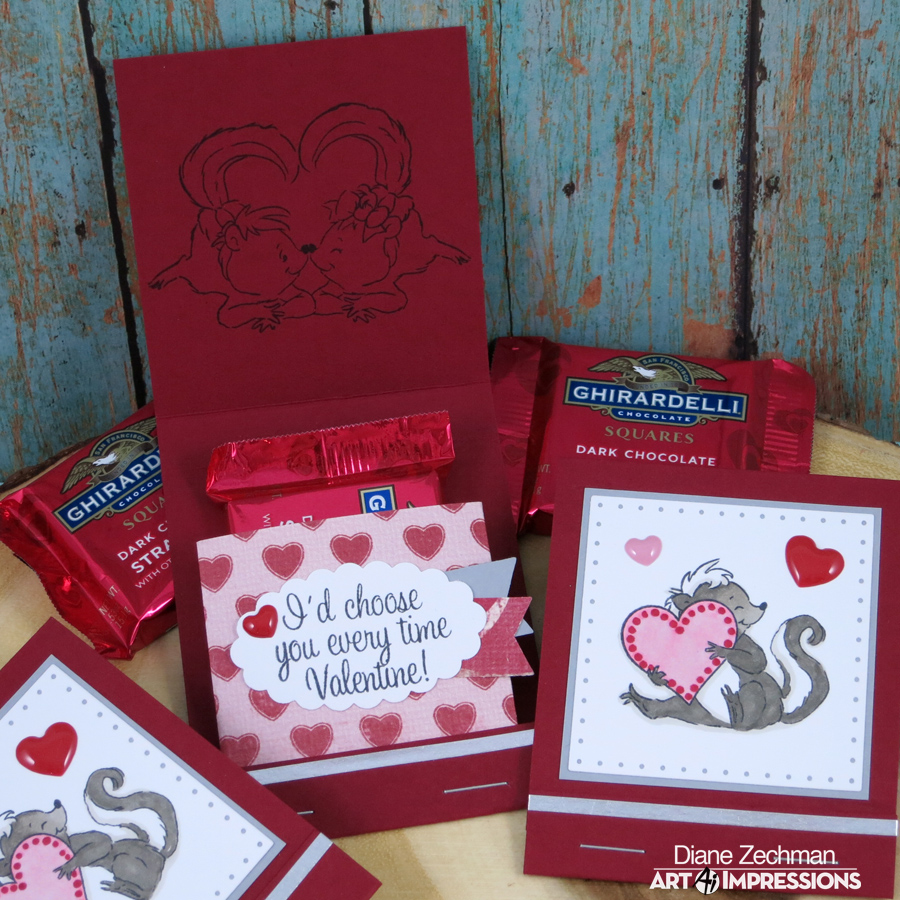
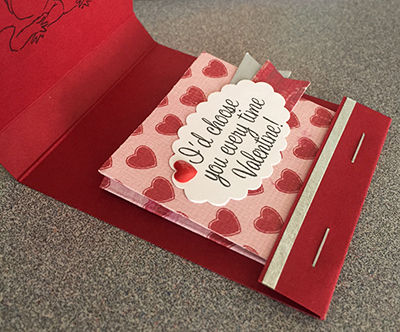
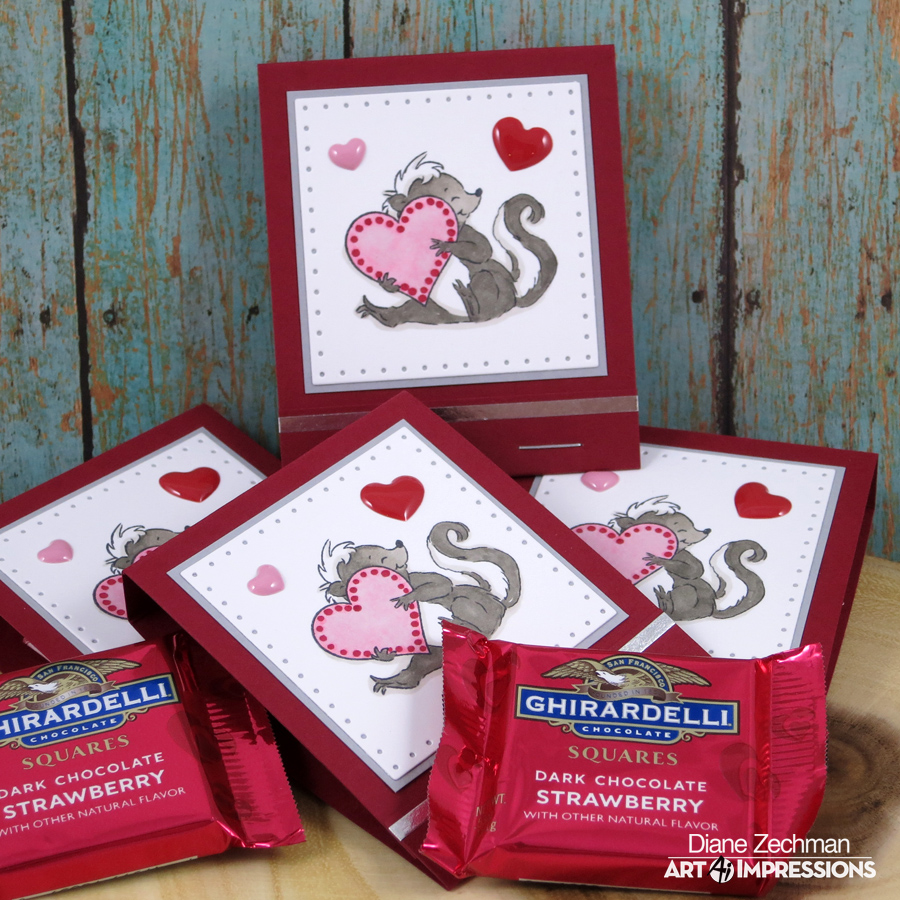
Today I am on the Art Impressions blog with a project using one of the Ai Valentine sets. Here I used the 4753- In The Air Set to make some sweet little matchbook valentine treats. Do you still have to make some last minute valentines? Just a few scored lines are needed to whip these up!

in the air Ghirardelli 1 diane zechman

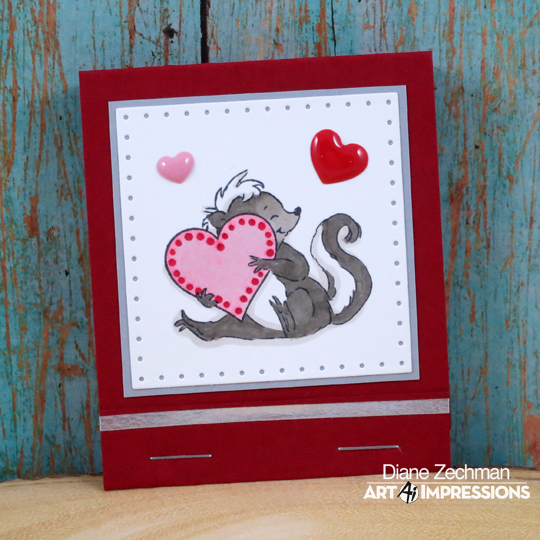
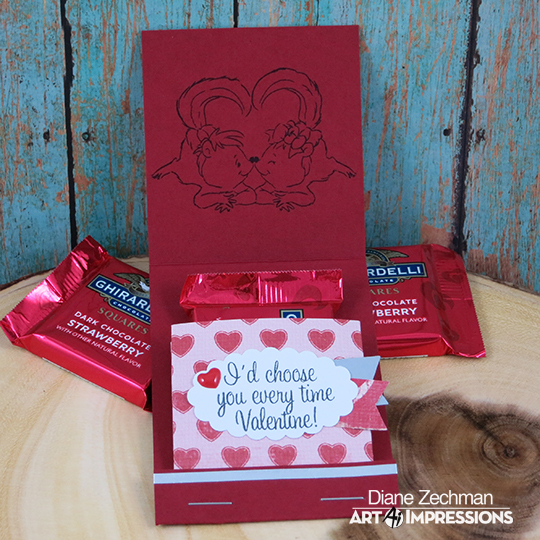
I stamped the cute skunk, colored him with Copics, and die cut with Sizzix Dotted Squares. Then I stamped another image on the inside to coordinate. The pocket inside was made with some old valentine paper in my stash from My Mind’s Eye. I’ve used brads to attach the pocket before but I think I like the look of staples better. A thin strip of silver washi tape was added to the edge of the flap. A few heart enamel stickers by Recollections were added to finish it off. Just slip a Ghirardelli square inside and make someone smile. 🙂  Measurements for cutting and scoring can be found here.

in the air Ghirardelli 2 diane zechman

I’ve never tried the Dark Chocolate Strawberry Ghirardelli before but I’d highly recommend them. 😉

in the air Ghirardelli 3 diane zechman

in the air Ghirardelli 4 diane zechman

IMG_2670

Have a great Monday and… happy stamping!

Diane Signature Medium size

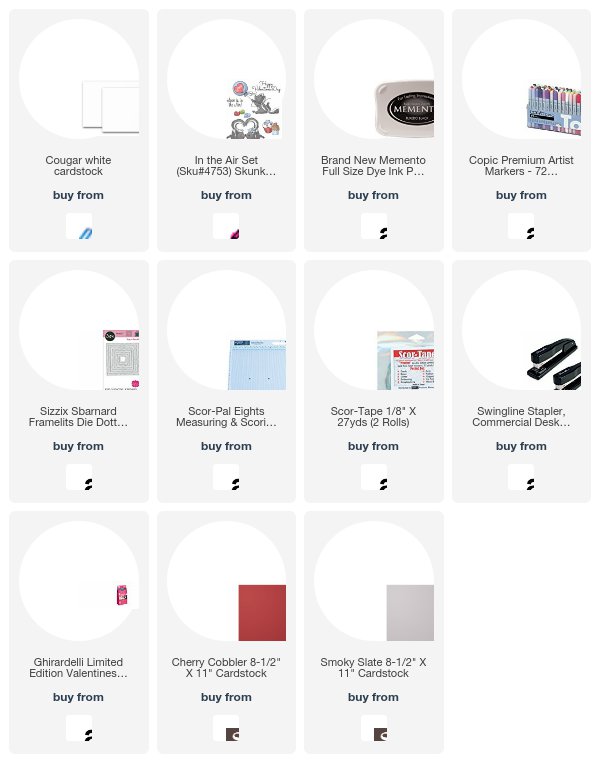
stamps- Art Impressions 4753- In The Air Set; paper- white, SU! Cherry Cobbler and Smoky Slate, MME Quite Smitten-So In Love; ink- Memento Tuxedo Black; accessories- Copics, Recollections Heart Enamel Stickers, Sizzix Dotted Squares, Scor-Pal, 1/8″ Scor-Tape, stapler, SU! metallic washi tape, SU! Scallop Oval and Banner punches, Ghirardelli chocolates.

New Ai Hobby Lobby Halloween

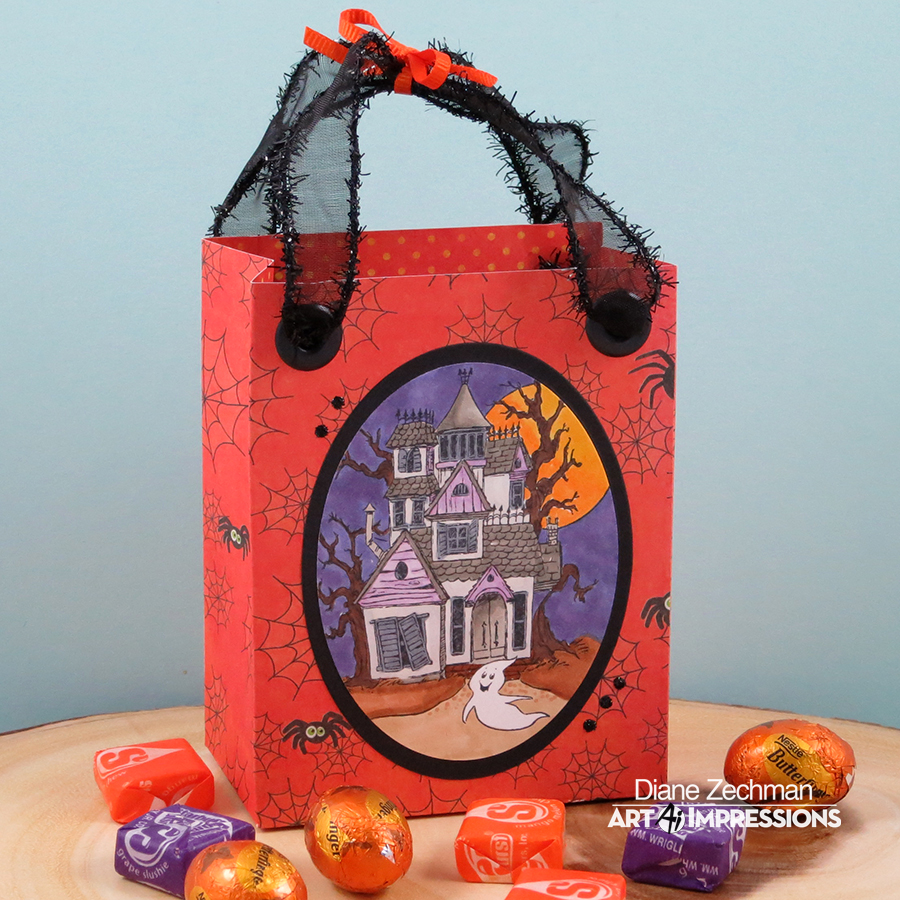
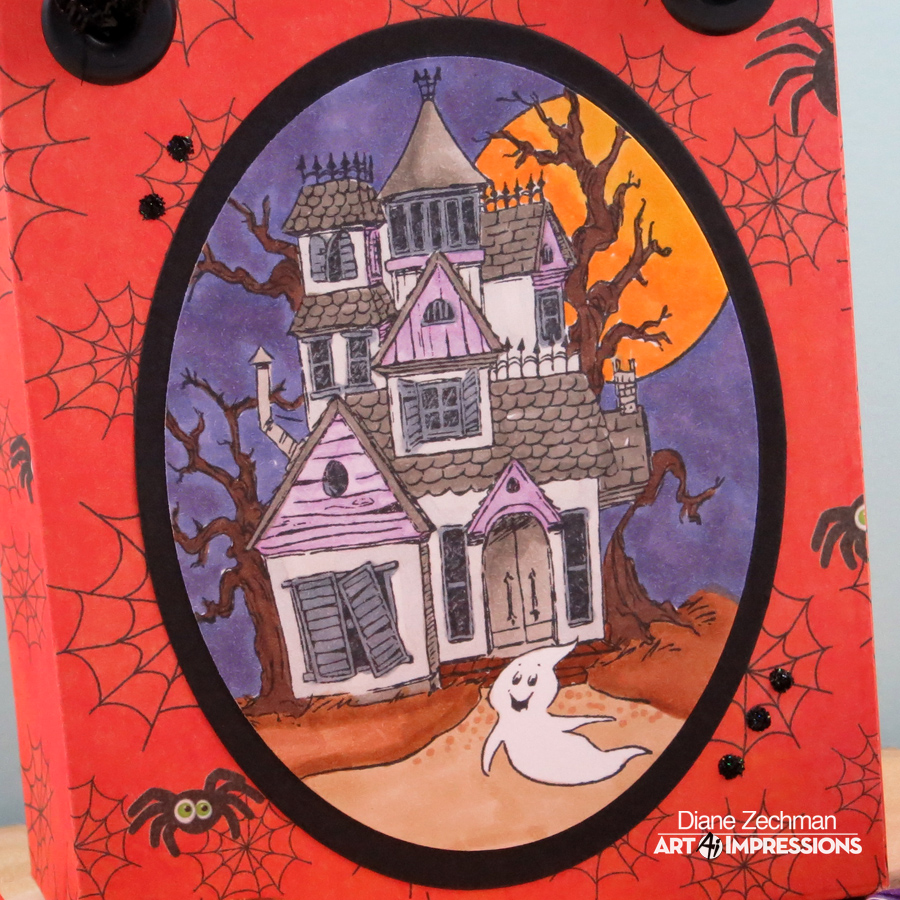
Hello friends!  The current Ai Challenge is “Orange & Purple” and we are featuring the new Art Impressions Halloween blocks in the Hobby Lobby stores! Today I am sharing how I made a little treat bag with the new 4783- Haunted House block.  The Ai images turn a simple bag into one that is totally unique and fun to give (or receive!).

HL Haunted House bag 1 diane zechman

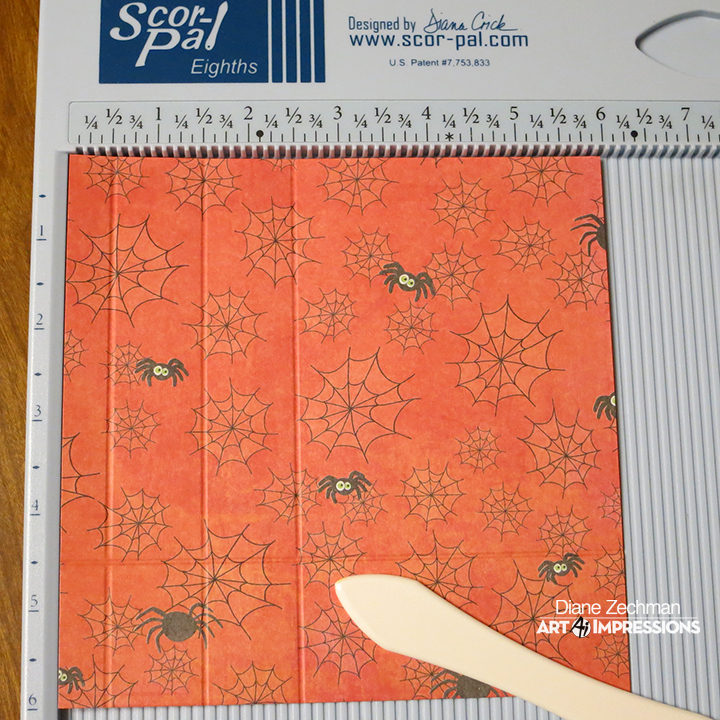
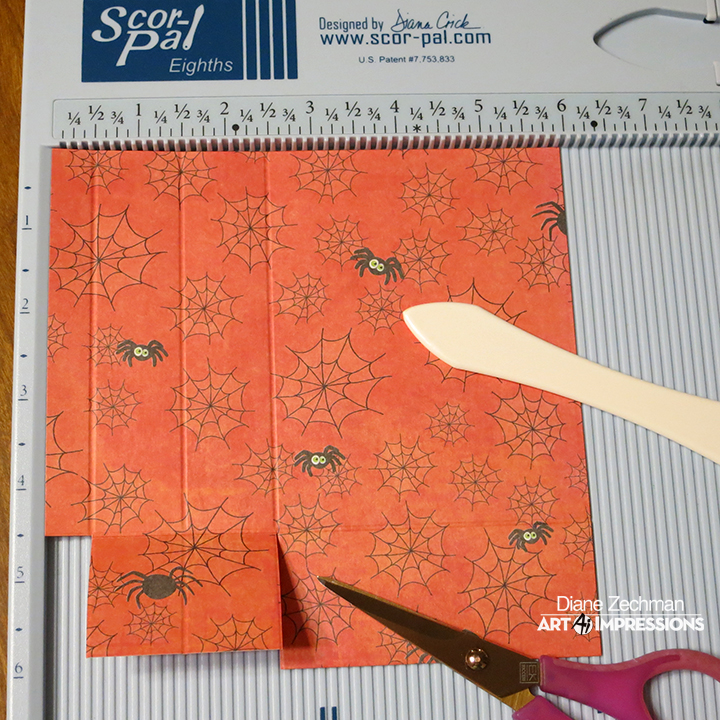
First, cut TWO 6×6 squares of double-sided patterned paper.  Then score each @ 1/2, 1 1/2, and 2 1/2″.  Turn it 90 degrees to the right and score again at 1 1/2″.

HL Haunted House bag 3 diane zechman

Cut the small rectangle from the bottom left corner and discard.  Then cut the 2 1/2″ vertical scored line up to the 1 1/2″ horizontal line.

HL Haunted House bag 4 diane zechman

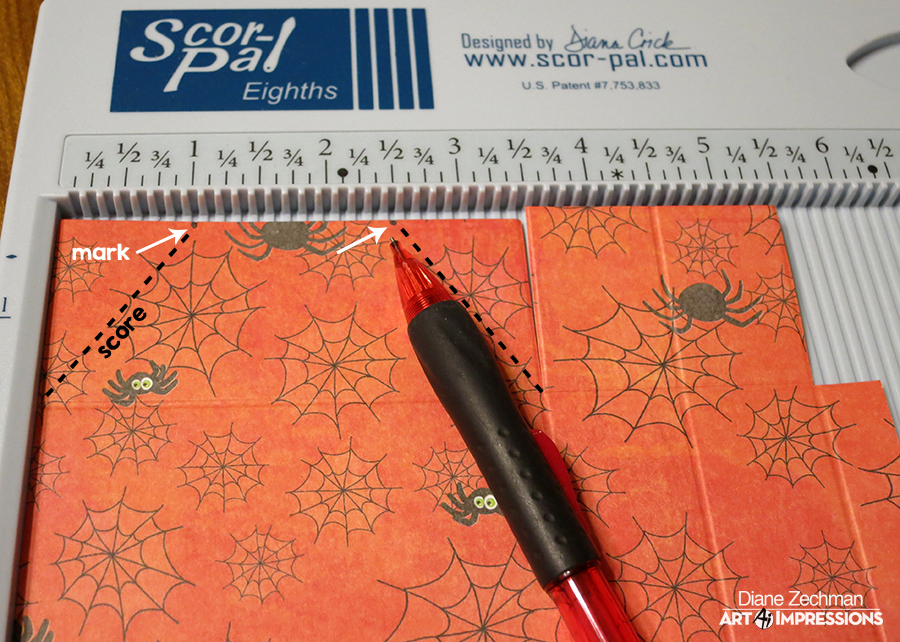
Turn it 180 degrees and mark the bottom of the bag @ 1″ and 2 1/2″. Score from each mark to the corner of that rectangle.

HL Haunted House bag 5 diane zechman

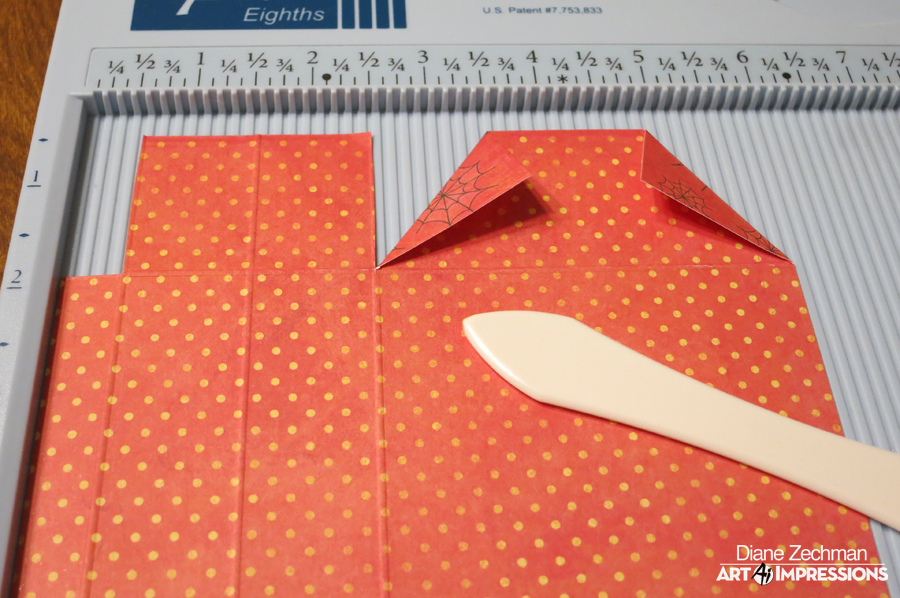
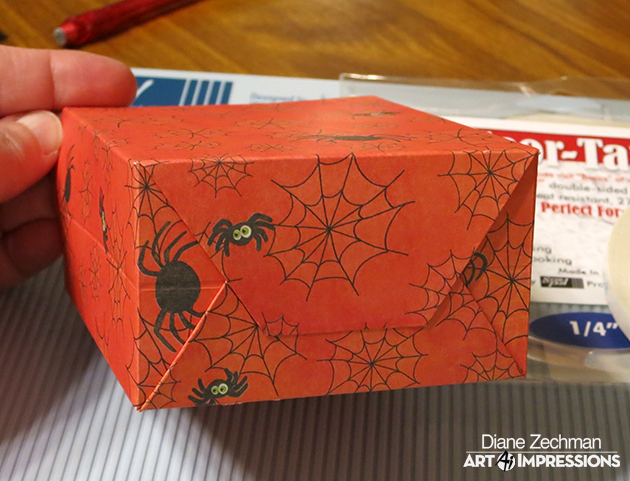
Flip the paper over and fold those scored lines to create the bottom flap.  (It helps to tape or glue the flaps down.)  *Now repeat those first steps on the second piece.

HL Haunted House bag 6 diane zechman

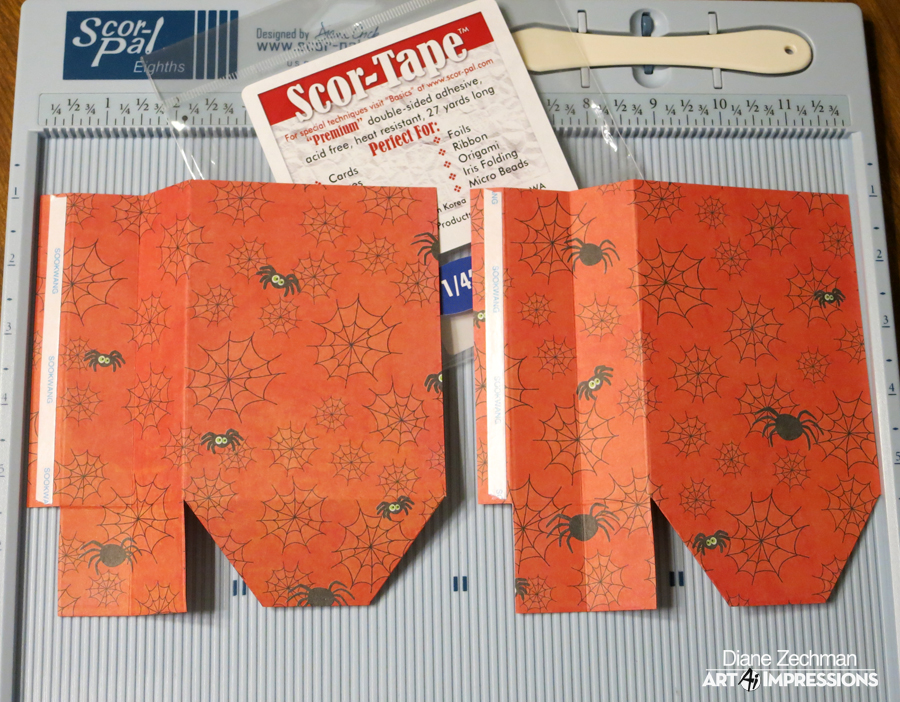
Fold all scored lines and apply strong tape to the 1/2″ flaps on each piece. (place the tape on the side which will be the outside of the bag)

HL Haunted House bag 7 diane zechman

Adhere each 1/2″ flap to the opposite side of the other 6×6 piece to assemble the bag.  Fold in the bottom flaps and adhere.

Note- you can cut a 2 x 3 1/2″ piece of cardstock to place inside the bottom of the bag to make it nice & sturdy.

HL Haunted House bag 8 diane zechman

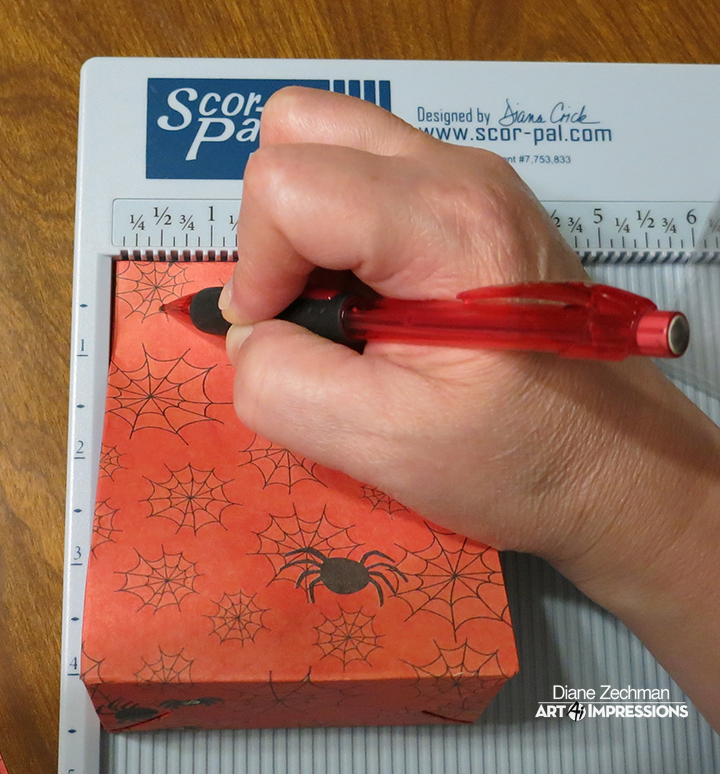
Next, mark both sides 1/2″ down and 1/2″ in from each top corner.  Use these marks as a guide to adhere ribbon handles with eyelets or brads.  Cut two pieces of 10″ to 12″ of ribbon for the handles.  If using eyelets, slip the ribbon through and knot each end.

HL Haunted House bag 9 diane zechman

Now the bag is assembled.  Stamp, color, and cut out your favorite Ai images to add to the front!

HL Haunted House bag 2 diane zechman

The finished bag is 3 1/2 x 4 1/2 x 2″ deep.

HL Haunted House bag 1 diane zechman

Now it’s your turn to break out your favorite Ai stamps, make a card, and join us in the “Orange & Purple” Challenge!

Happy stamping!

Diane Signature Medium size

stamps- Art Impressions Hobby Lobby 4783- Haunted House; paper- white, black, K & Company KP Halloween; ink- Memento Tuxedo Black; accessories- Copics, Scor-Tape, Scor-Pal, We R Memory Keepers Black Jumbo Eyelets, Crop-A-Dile, ribbon trim, Large & Small Oval Nestabilities, Black Stickles, Clear Wink of Stella.

wheelie special birthday

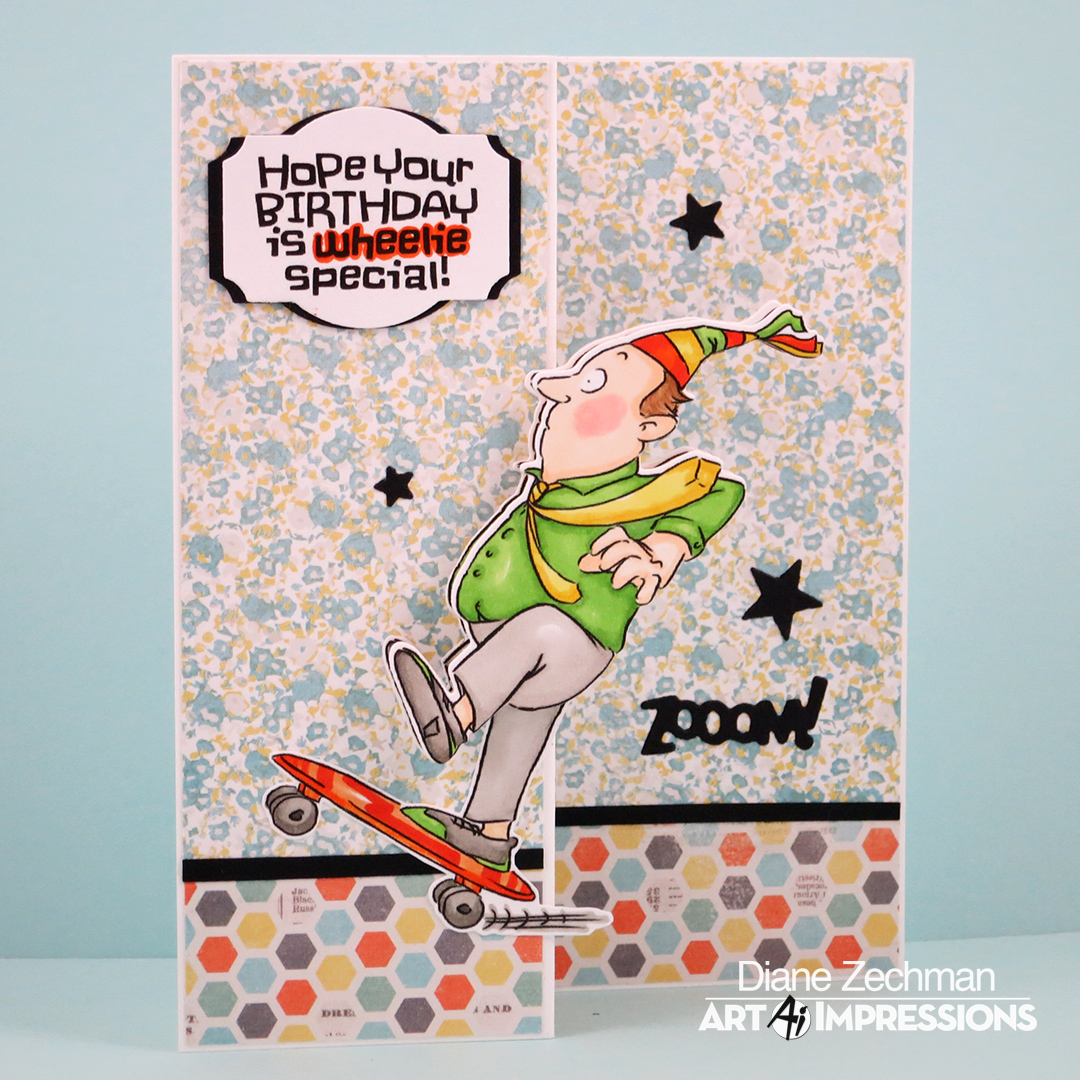
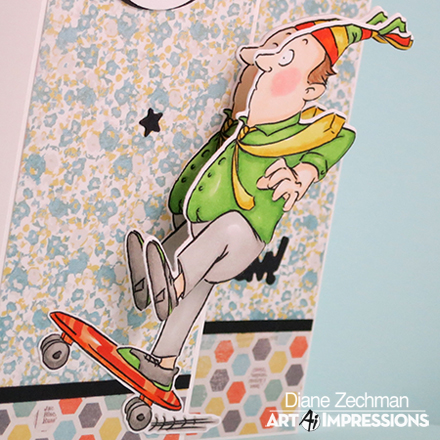
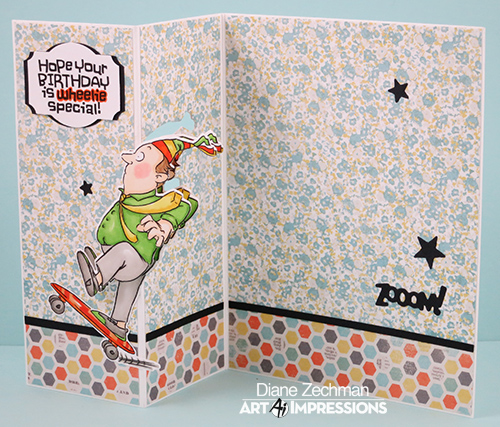
Hello friends!  The current Ai Challenge is “Shake A Little (use a wobble)” and we are showcasing the NEW Non-Holiday Mini Shakers!  There are three new sets, each designed to use with the Mini Action Wobbles and boy are they fun!  I am sharing today how I made this Partial Die-Cut Z-Fold Card with the new Wheelie Mini Shaker (4794) stamp set.

2016 s cha 2a diane zechman ai

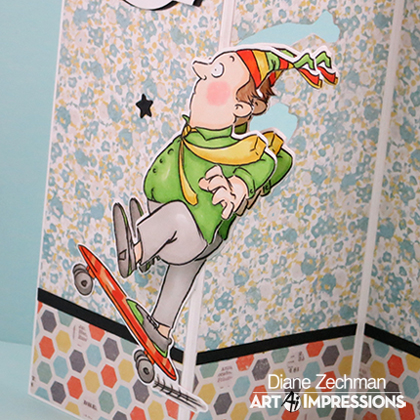
The upper body and left leg on this guy are die cut and layered on a Mini Action Wobble. I know if I were on that skateboard, I would be super wobbly! Lol. The word “zoom” and the stars are dies which are also included in the set!
Here you can see the part of the image that wobbles…

2016 s cha 2c diane zechman

With careful placement of the die, he hangs out over the fold.

2016 s cha 2d diane zechman

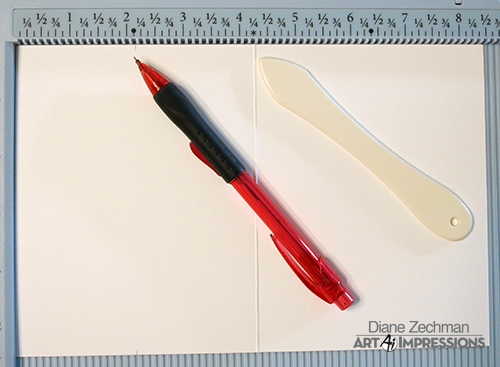
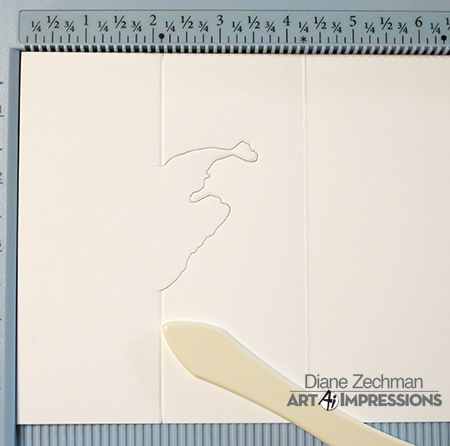
To create my Partial Die-Cut Z-Fold Card, I started with a 5 1/2 x 8 1/2 piece of cardstock and scored it at the 4 1/4″ mark.  Then I used a pencil to mark the top and bottom of the card front (to the left of the fold) at 2 1/8″.

2016 s cha 2e diane zechman

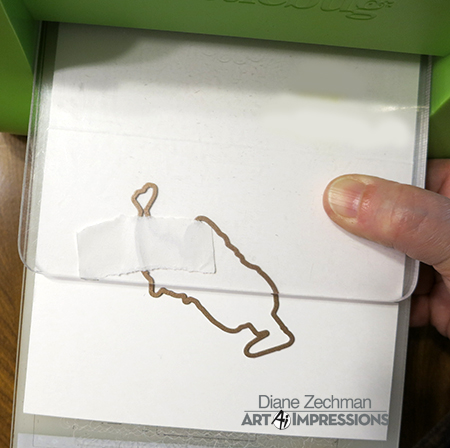
Next I positioned the die for his body so the left side of it, including his leg, was to the left of my pencil marks. It is held in place with low-tack tape.  Then I placed the top plate so the edge of the plate was in line with my pencil marks. (By doing so, the die will only cut the area underneath the top plate.  Now run it through the machine.

2016 s cha 2f diane zechman

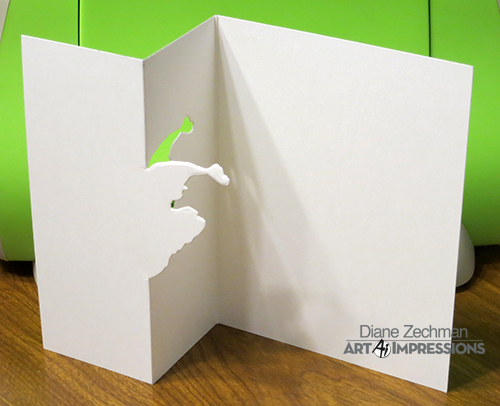
The die cut area will be cut as shown below. I then scored at the 2 1/8″ mark, above and below the cut.

2016 s cha 2g diane zechman

Mountain and Valley fold your card and the base will look like this.

2016 s cha 2h diane zechman

Add layers, your image with the Action Wobble, and embellish as desired.

2016 s cha 2b diane zechman

Now it’s your turn to make a card and join us in the “Shake A Little” Challenge!

Happy stamping!

Diane Signature Medium size

stamps- Art Impressions Wheelie Mini Shaker (4794); paper- white, black, MME- Happy Day; ink- Memento Tuxedo Black; accessories- Copics, Art Impressions Mini Action Wobble, Scor-Pal, SU! Designer Label punch.

from the old bat

Hello friends!

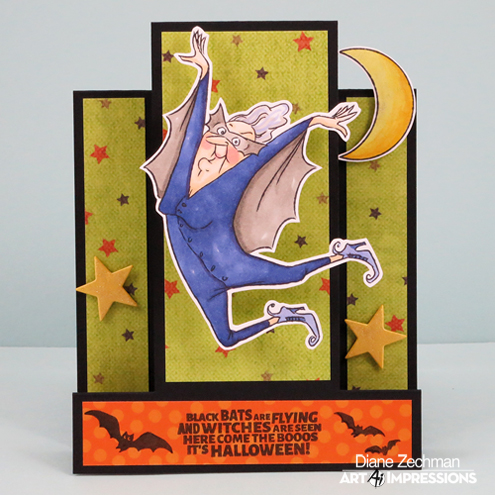
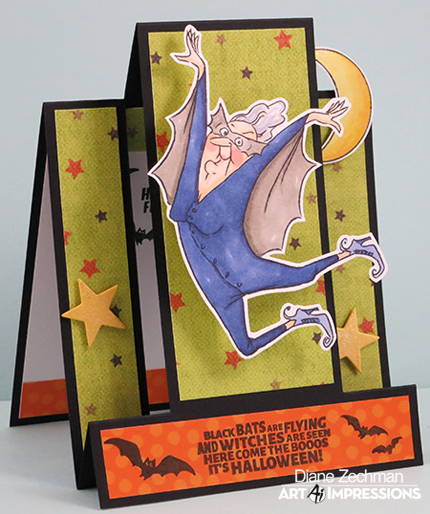
The current Ai Challenge is “Too Cute To Spook”…and we are featuring 3 NEW Halloween clear sets that are super cute!  Here I used the new Ai Old Bat Set (4784) to create a Front Panel Step Card.  I LOVE these ladies and their witty sentiments and accessory images!

old bat 1 diane zechman pc

The moon and bats are images included in the set.  I started masking the bats, but then decided to just carefully cut them apart with straight cuts.  This way, I can use them separately but very easily piece them back together if needed.

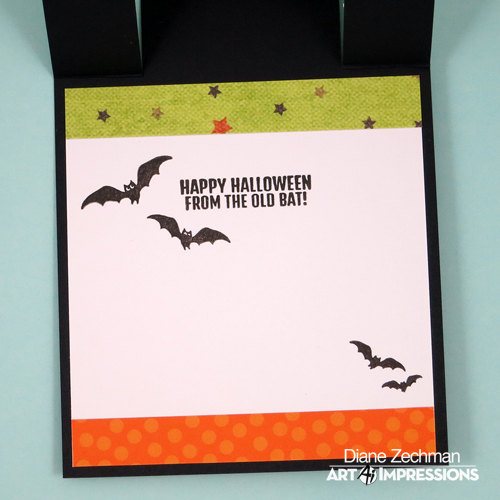
The inside of the card was decorated with patterned paper scraps and more bats.  I just love this sentiment!  Ha!

old bat 2 diane zechman pc

A view from the side… this gal is mounted on an Action Wobble!

old bat 3 diane zechman pc

I added some Clear Wink of Stella to the moon, her glasses and shoes, and the stars for some sparkle.  Her suit is really a bluish-purple but I couldn’t get the purple hue in the photos.

old bat 4 diane zechman pc

Now it’s your turn to make a cute Halloween card or project and join us in the new Ai Challenge!  We would love to see your creations!

Happy stamping!

Diane Signature Medium size

stamps- Art Impressions Old Bat Set (4784); paper- white, black, SU! Daffodil Delight, paper scraps; ink- Memento Tuxedo Black, Versafine Black; accessories- Copics, Ai Action Wobble, foam dimensional, Clear Wink of Stella, Sweet ‘n Sassy Stars dies.