Category Archives: name frames, framed art

2023 Stamp & Swap projects

Last month we had our 8th annual NEPA (Northeast PA) Stamp & Swap and today I’m finally sharing the projects that I made for it. Be sure to read all the way to the end for a really cool project we did!

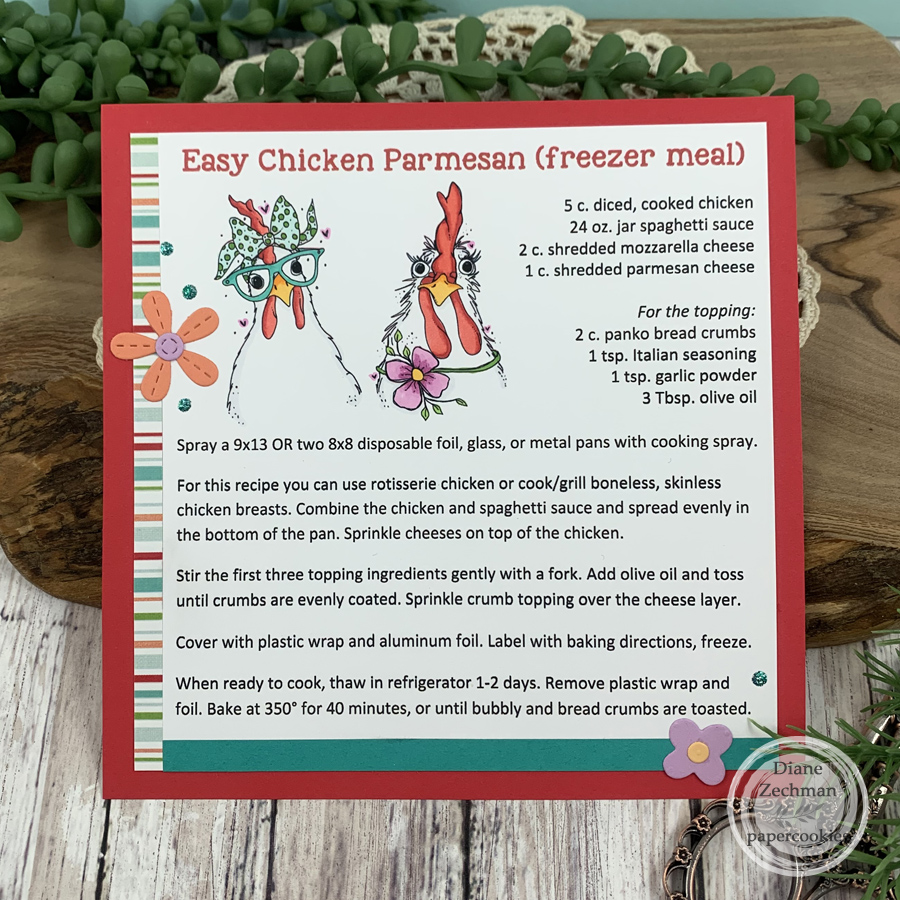
The first one I made was for our 6×6 Recipe Swap. I used Angie Blom’s Coolest Chicks Ever digital images, which are also available as physical stamps through Unity Stamp Co.

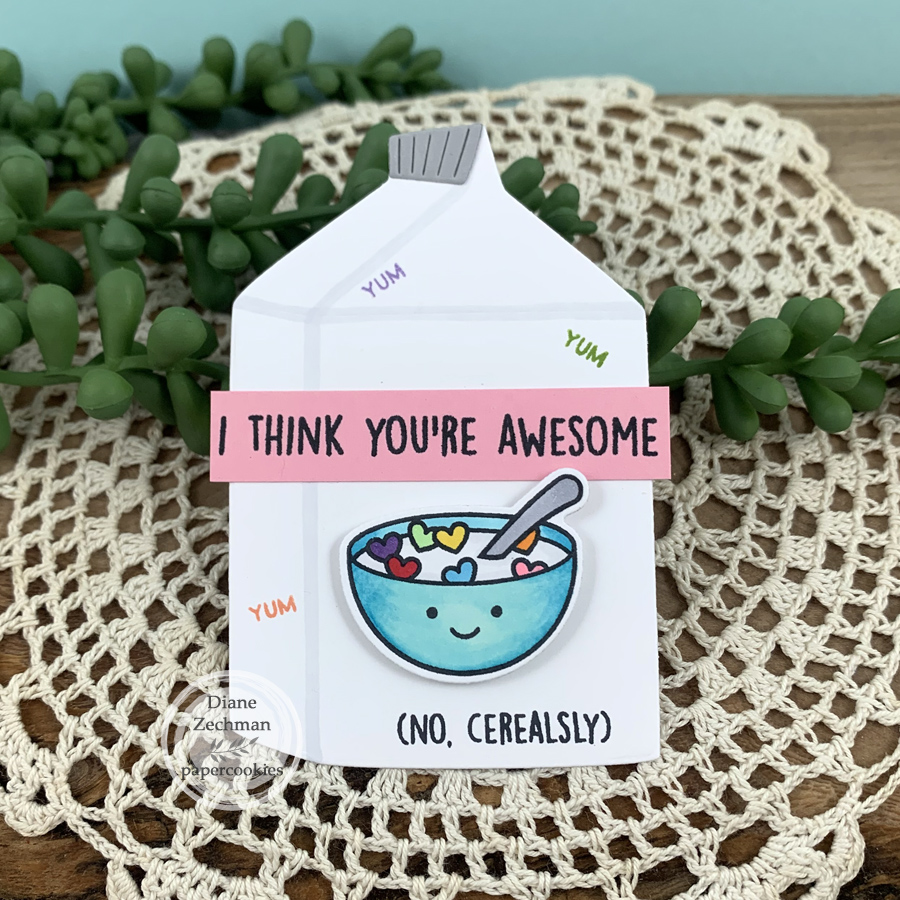
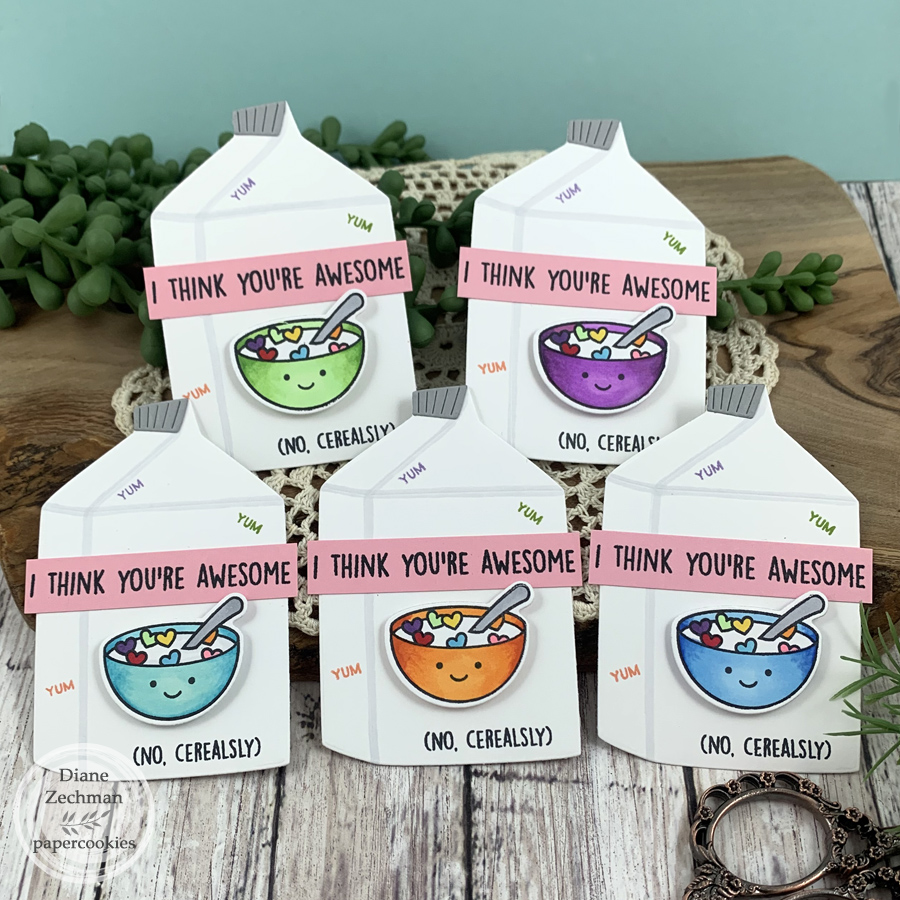
For the ATC swap, I wanted to create a shaped ATC. This retired MFT Milk Carton Die was the perfect size. I also used Lawn Fawn’s Cerealsly Awesome set & Dies, which was a cerealsly awesome gift from a friend! 🙂 How cute! I couldn’t decide what color to make the bowl, so I did several and let the participants choose.

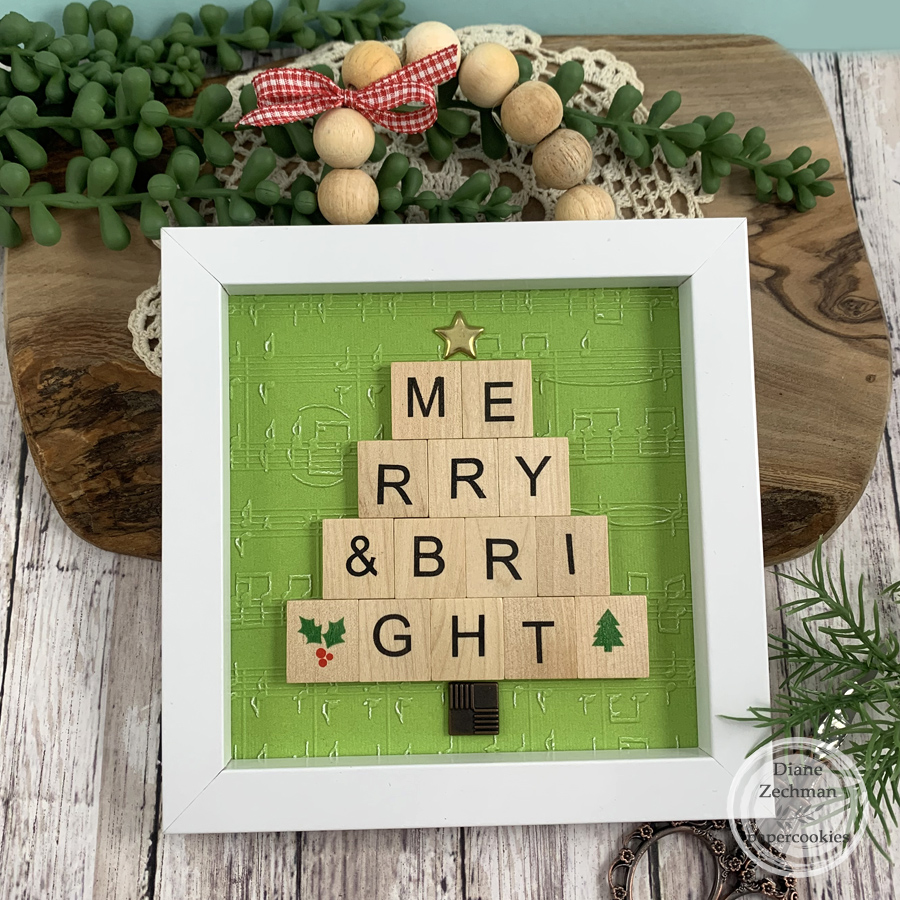
Several weeks prior, I found the event theme in a sentiment set of scrabble tile letters at Hobby Lobby. They already had an adhesive backing, so I just formed them in the shape of a tree and added brads for the trunk & star. I embossed the background and added a frame and ribbon.

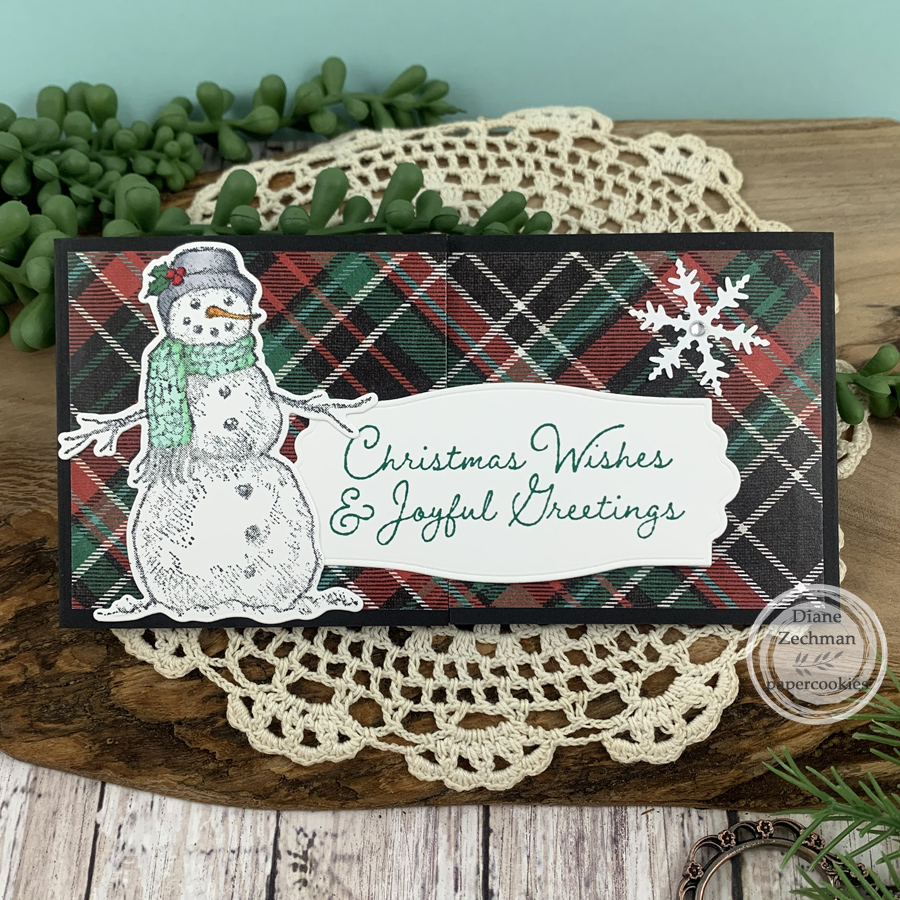
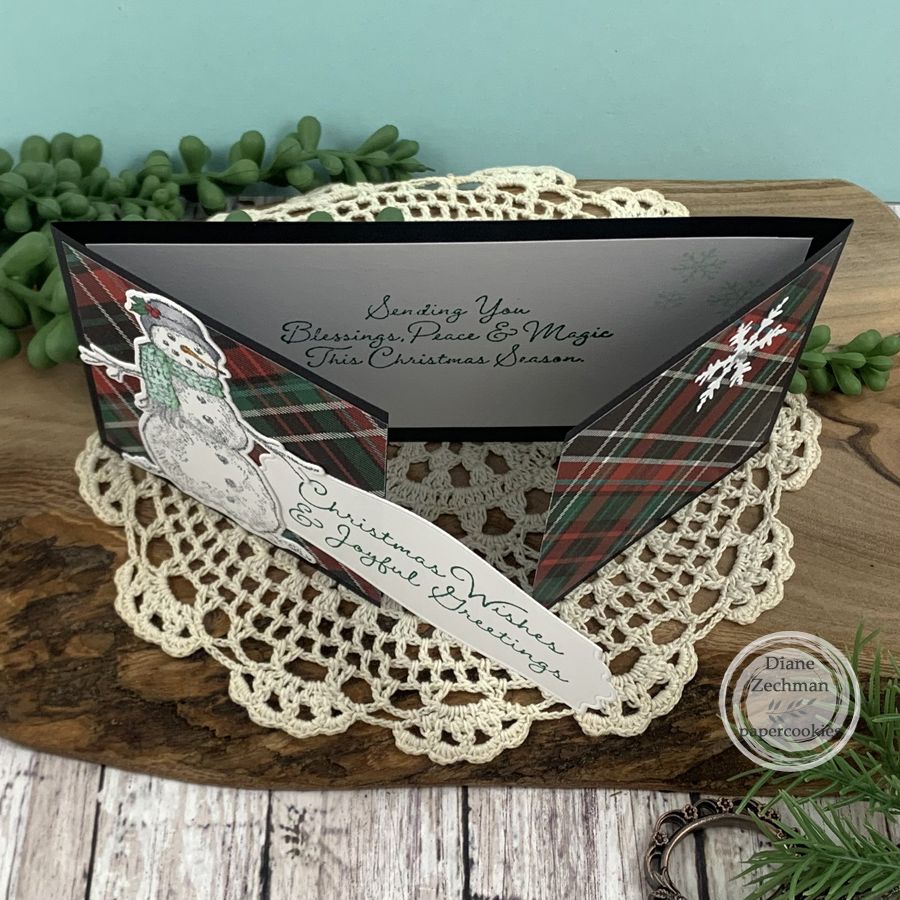
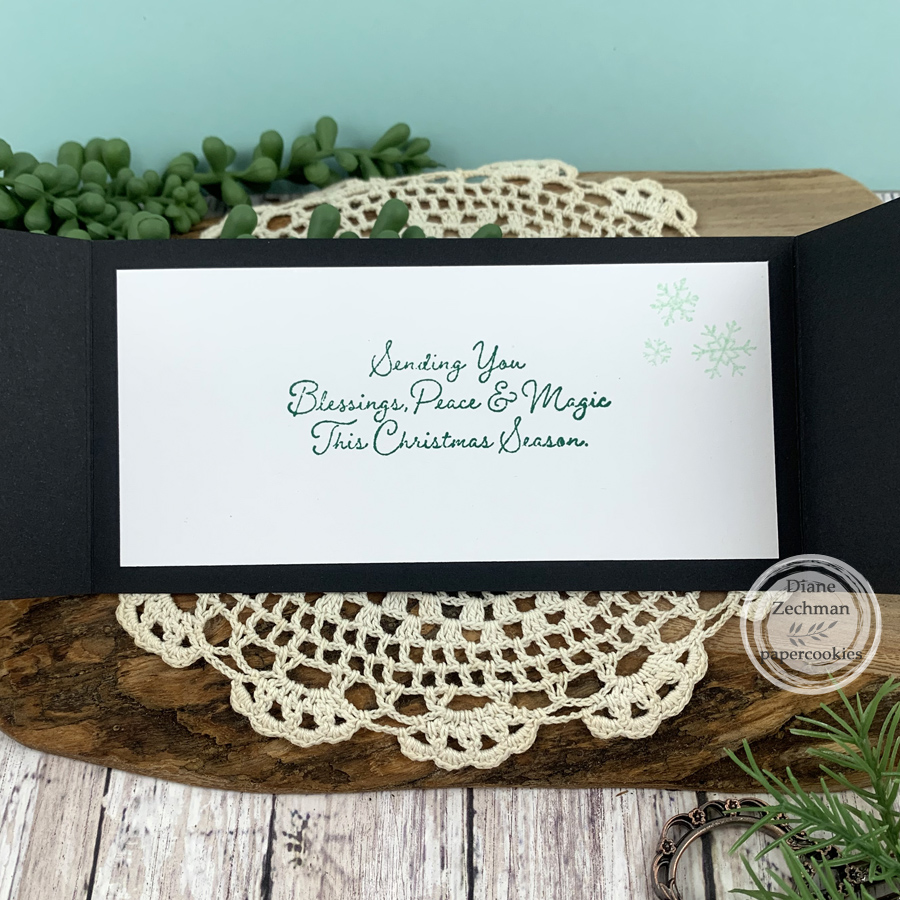
The Mini Slimline Swap was one of the most popular. I made mine a gatefold card using my favorite Christmas plaid paper from Hobby Lobby and SU! Snow Wonder Bundle. My base is 3 x 12, scored @ 3 and 9.

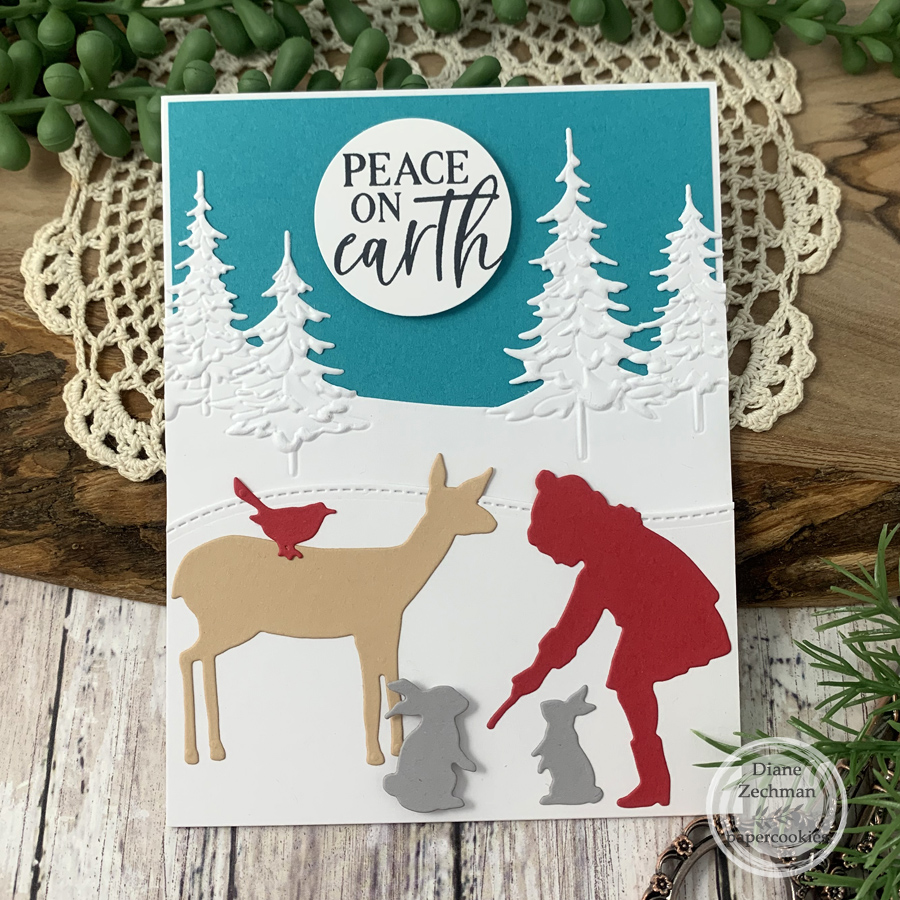
For my shoebox card, I used the retired Spellbinders Sharyn Sowell Winter Friends die set, Simon Says Stamp Pine Landscape embossing folder and die set, and SnSS Christmas Sentiments. The large bunny and sentiment circle are popped up with foam tape.

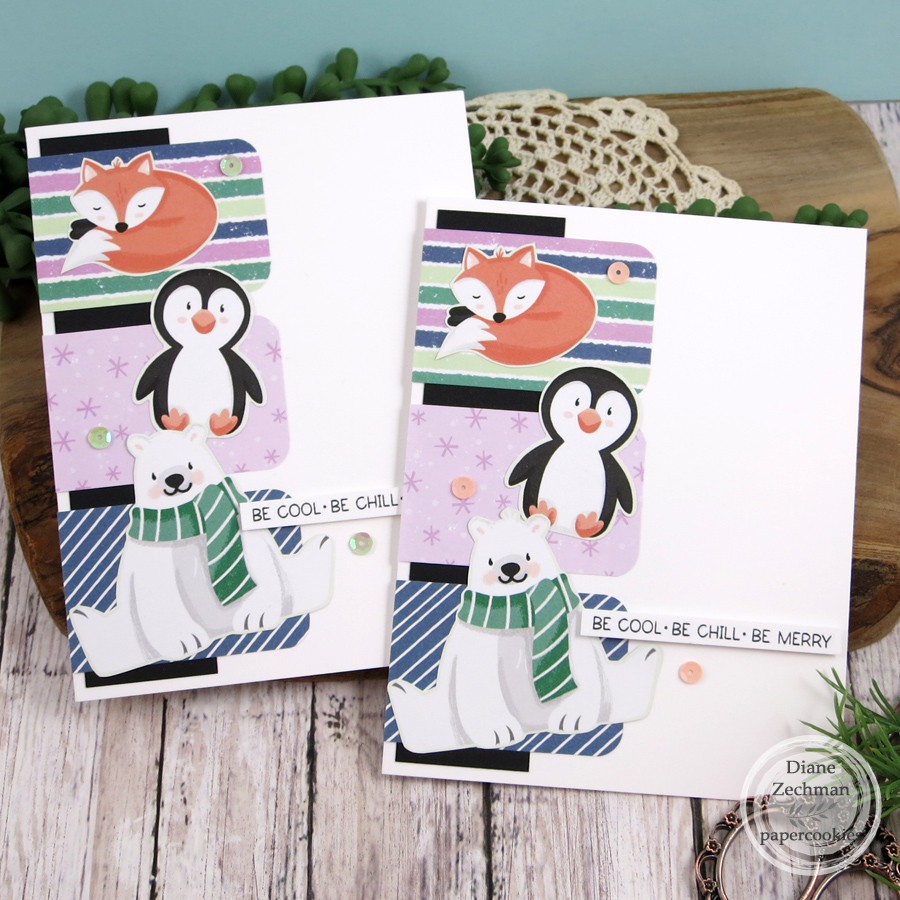
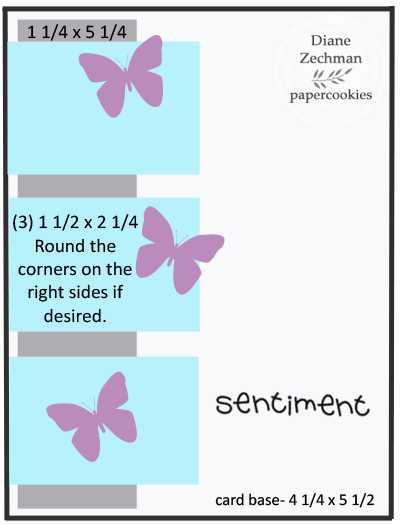
A new swap that I came up with for this year’s event was a Sketch & Card Front Swap. I used the SU! Penguin Place Bundle and coordinating papers on the card here. Below is my sketch that I started with. Participants swapped both of these together…the card front & it’s coordinating sketch.

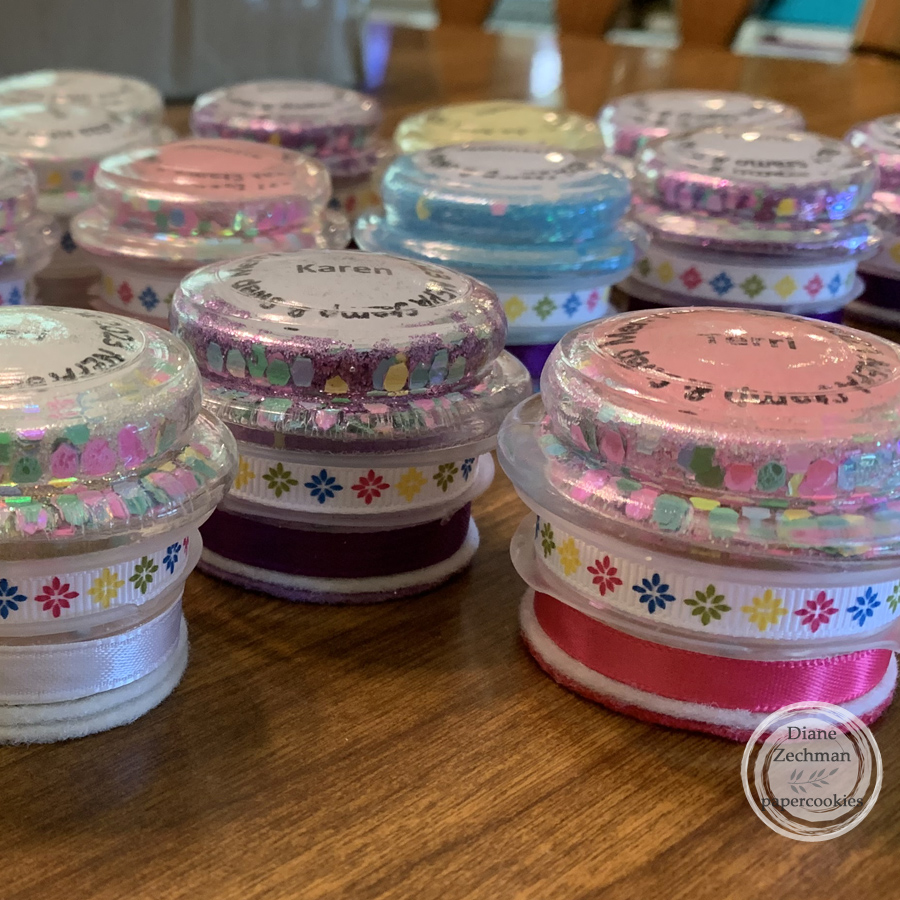
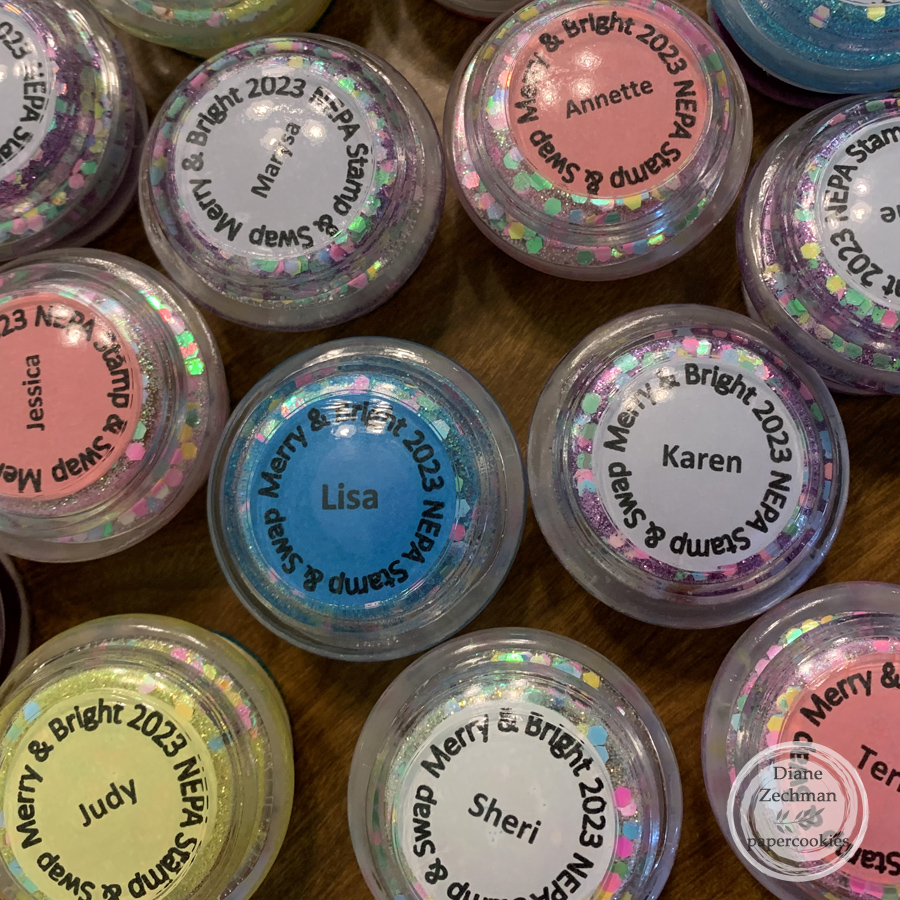
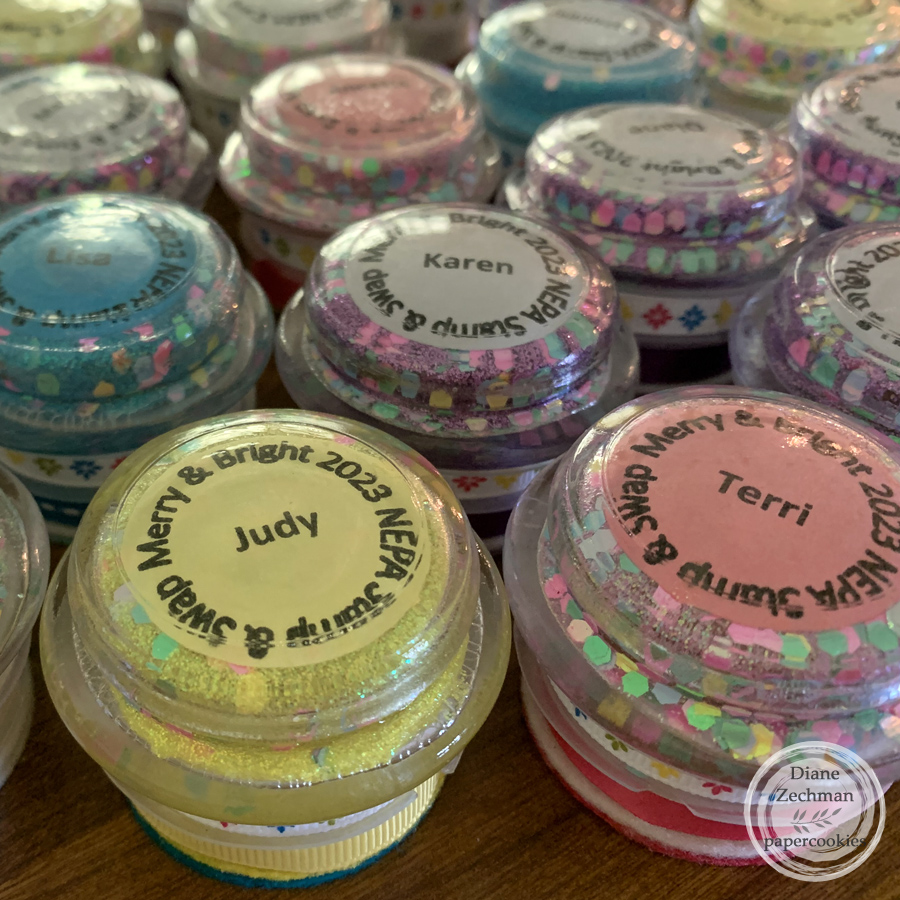
The last project that I’m sharing is the favor that we made for everyone who attended the swap. We decided this year to make the tools to use on the MISTI or other stamping platforms, but to also PERSONALIZE them. Someone from our committee (I can’t remember who) named them our NEPA tool. 🙂

We purchased mini candles from the Dollar Tree and used the glass tops, making sure to pick out the ones with a large clear space in the center of the lid. My friend, Lou Ann, and I had several hours LOL trying to get our swap words in a circle with each name inside but when we were finished, it was so worth the effort (Don’t ask me how we did it lol)! They were then printed onto colored copy papers and punched out with a circle punch. Lou Ann’s husband cut wood circles for us to place on the bottom of the glass for stability, and then we covered the base with felt. So, there’s the glass candle lid (with a plastic covering on the bottom of it), then a wood circle which we painted white, and two layers of felt circles. Each attendee was asked their favorite colors without knowing what we were making.

We used several glues and adhesives with trial & error until we figured out the right combination! Lou Ann used her Xyron sticker maker with the punched circles, so they had adhesive on top. Then I carefully adhered them in place inside the lid using tweezers to get them inside. Our committee got together and working quickly, Mod Podge was applied inside the entire lid and chunky glitter was dumped inside. Next, a fine glitter was added to fill in the empty spaces. It’s hard to capture the glitter in the photos below! When dry, E6000 glue was used to adhere the wood circle to the candle lid. Again, they were left to sit as the glue dries. Aleene’s Felt and Foam Tacky Glue worked great to adhere two felt die cut circles to the base. We finished them off by adding some ribbons with Scor-Tape. Whew! It was a lot of work but so fun!

Thanks for reading all the way through! LOL. Have a great day!

Stamp & Swap 2022

Today I am sharing the projects that I made for our annual Stamp & Swap, an all-day stamping event. Our theme this year was Gnome for the Holidays.

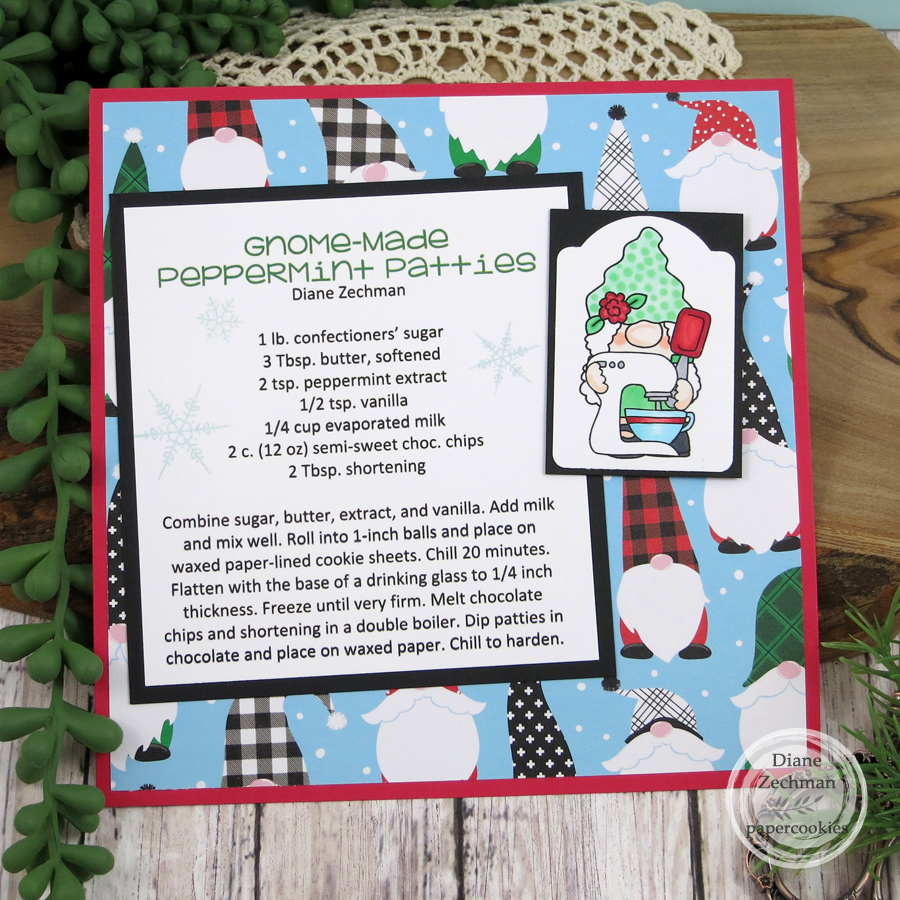
I had a bunch of Christmas Gnomes patterned paper from Hobby Lobby to use on some of my projects. The first one is a 6×6 recipe card. The gnome with mixer is a digital image by Last Minute Manda that I colored to coordinate with the background paper. The faint snowflakes were stamped with Sweet ‘n Sassy’s Cheerful Snowmen set.

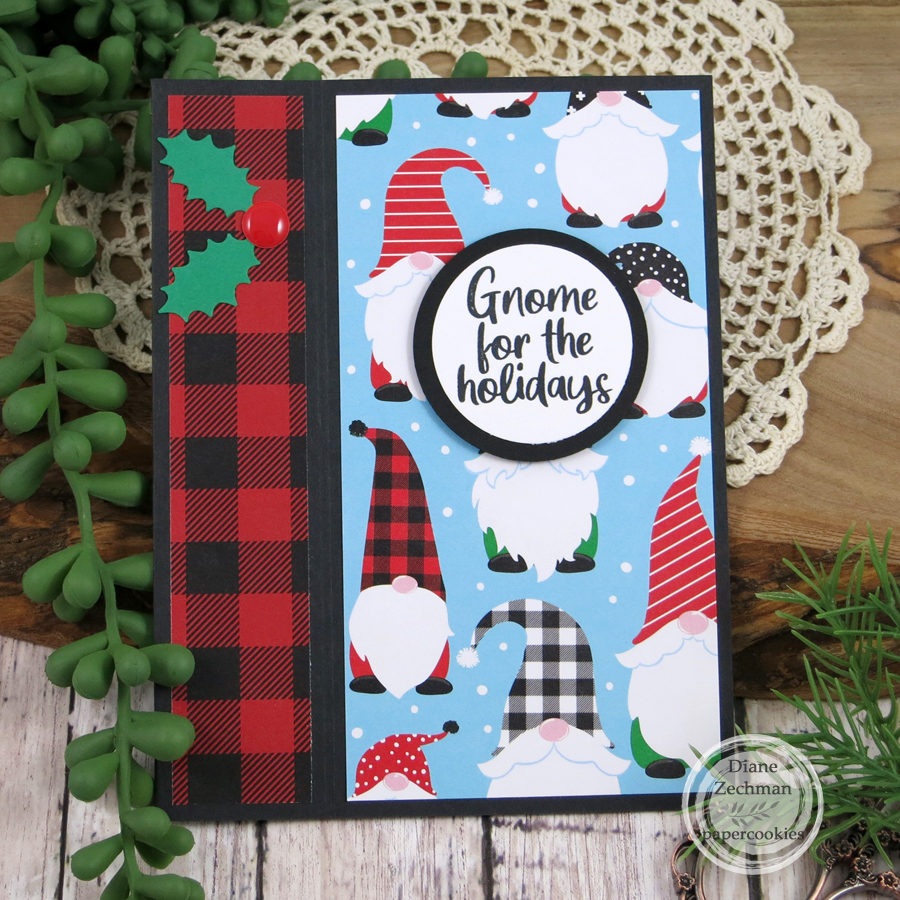
We try to keep our shoebox cards simple so everyone can either complete them or make a kit to complete at home. The left side of my shoebox card with the plaid paper is glued shut and only the right portion with the gnomes opens. The sentiment is from Sweet ‘n Sassy’s Christmas Gnomes.

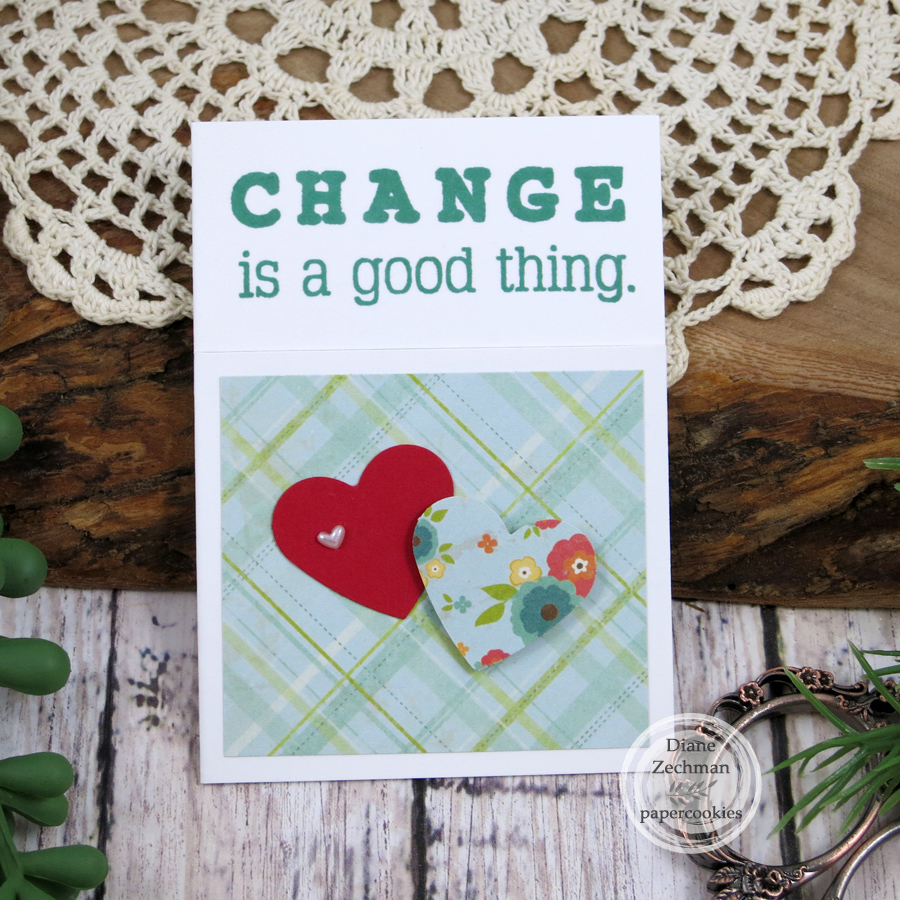
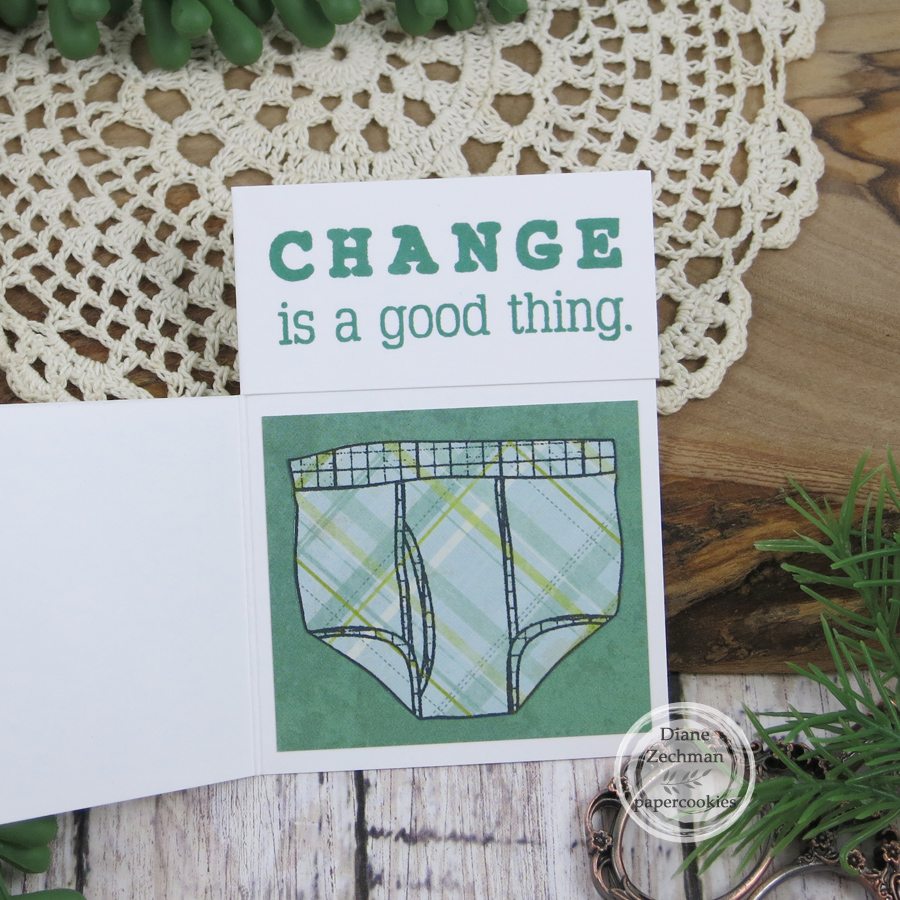
I made a simple interactive card for my ATC trade using a Unity itty bitty stamp set called Change is a Good Thing. This mini card has a top portion that is glued shut and the bottom opens up. 🙂

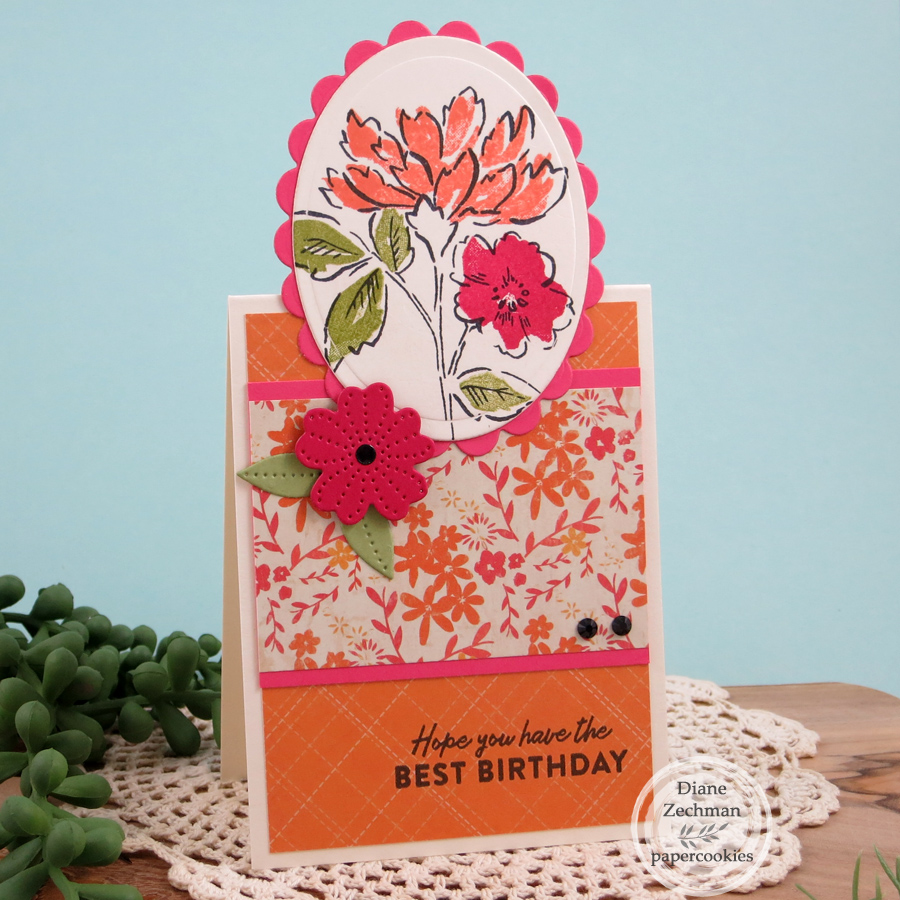
Next, I made a mini slim card with a tent topper using Stampin’ Up Hand-Penned Petals, Pierced Blooms Dies, and Friendly Hello. The paper is Colorbok- Beach House.

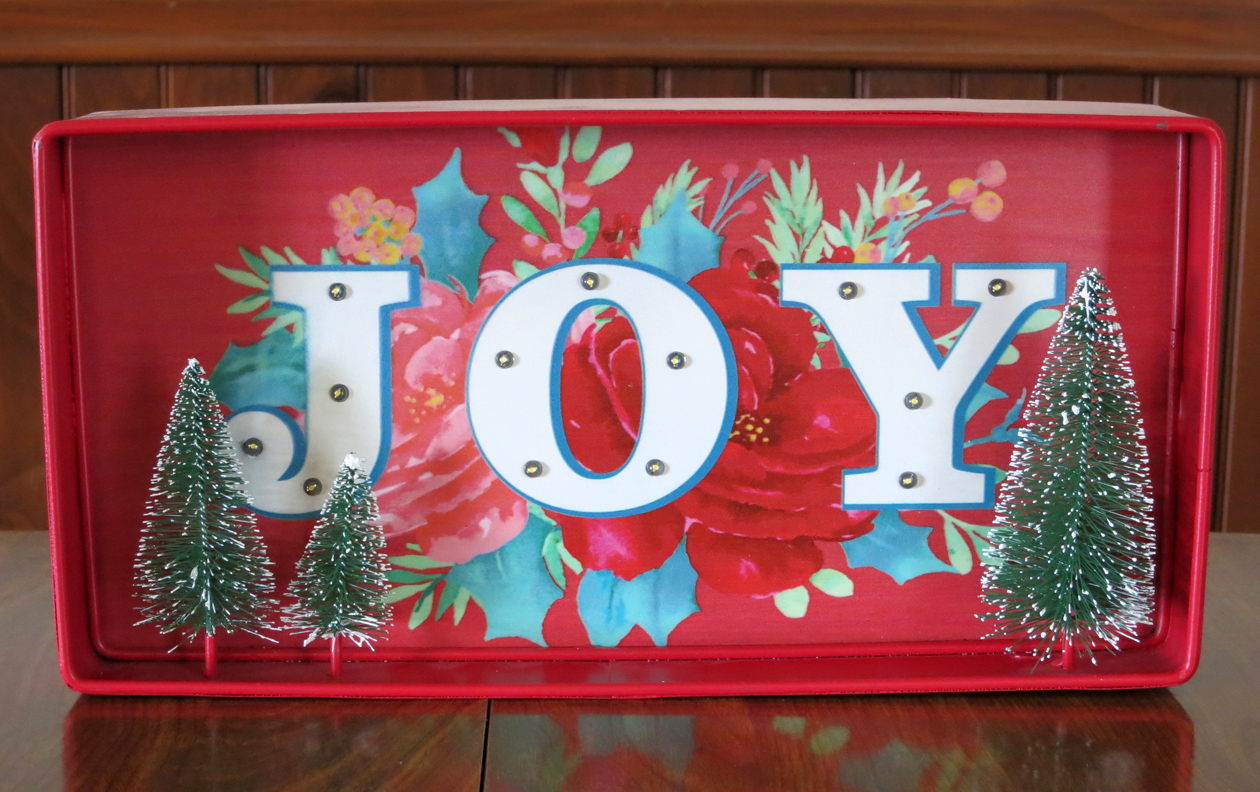
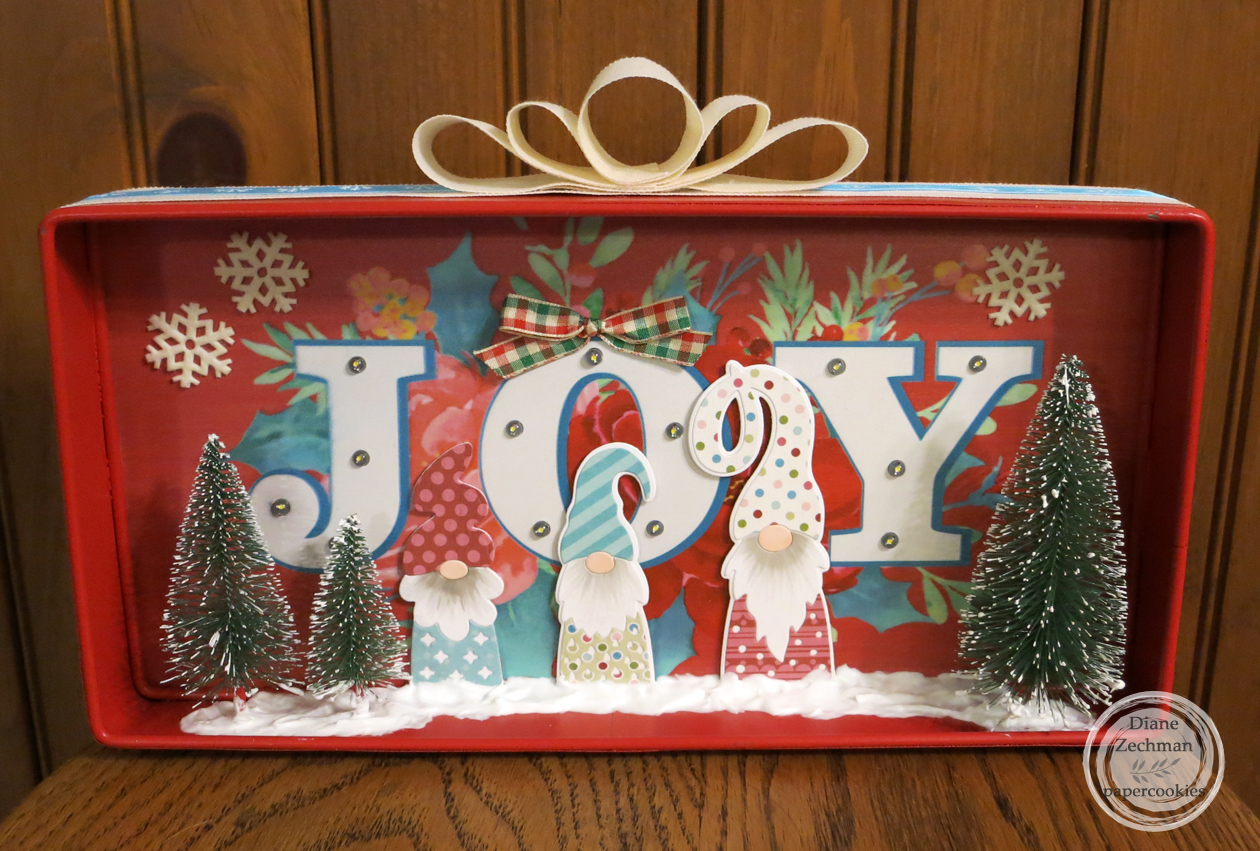
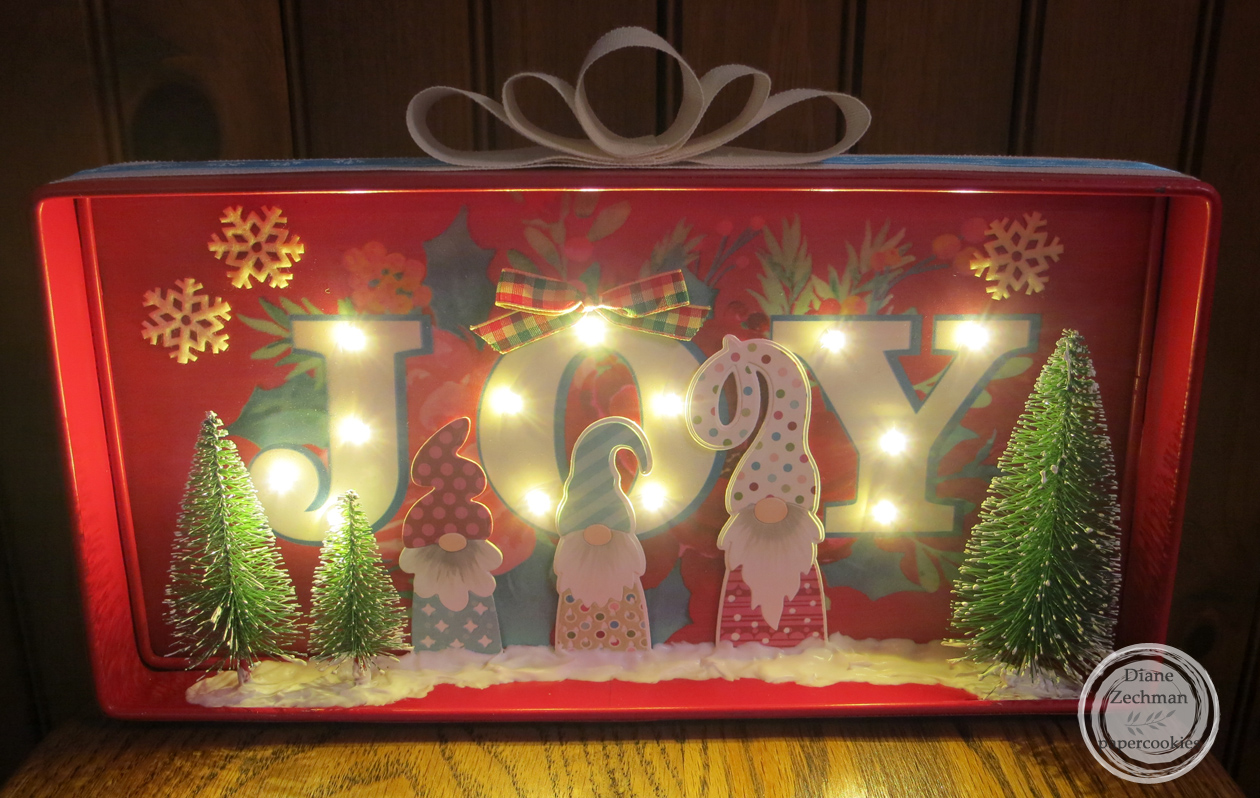
My last project was for a gift swap. I found a Pioneer Woman Christmas frame (first photo) on clearance last year at Walmart. The second photo shows how I decorated it with ribbons, gnomes, felt snowflakes, and Aleene’s True Snow. The gnomes are from Simon Says Stamp dies- Gnome, Pocket Gnome, and Li’l Gnome. As you can see in the last photo… it lights up!

Have a great week!

2020 wrap up

Hello! Popping in with a second post to wrap up 2020. Some of these are recent projects and some I just never got around to sharing.

This masculine birthday card uses SU! Best Catch and Catch of the Day Thinlits, Old Olive paper and Gina Marie Stitched Rectangle dies.

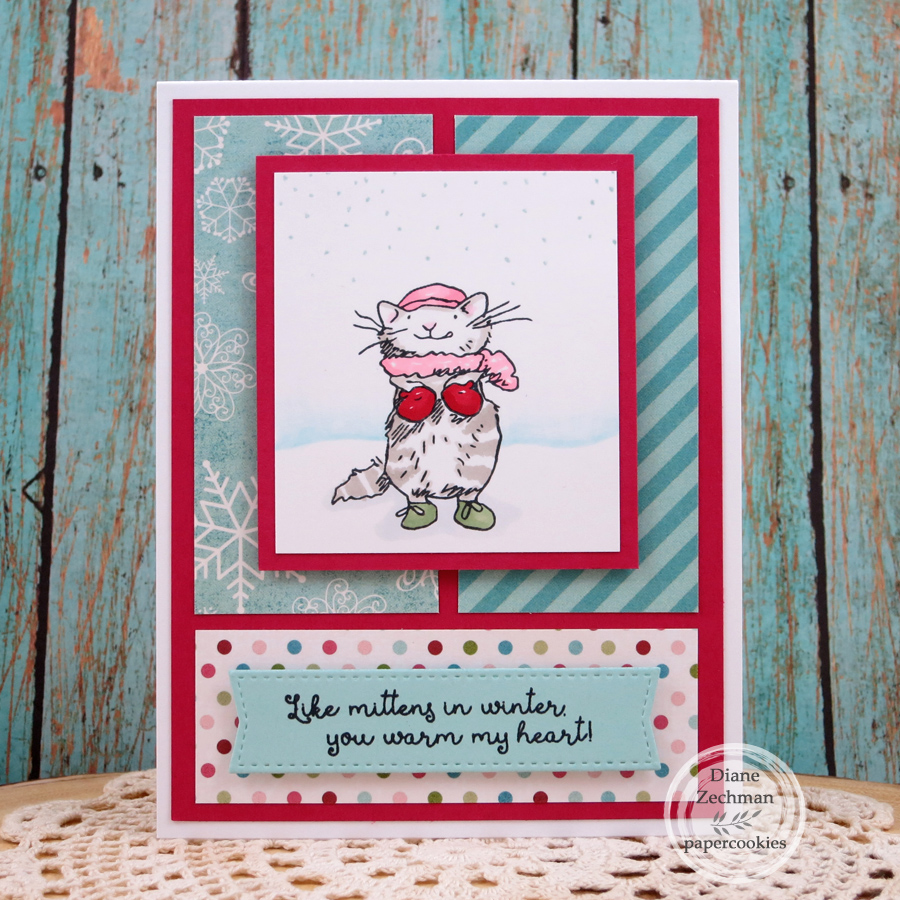
Next is a wintery card with one of the Anita Jeram kittens (Kittens and Mittens) from Colorado Craft Company. Anita Jeram is the illustrator of the children’s book, Guess How Much I Love you. Her designs are wonderful! The papers are MME- Merry Little Christmas.

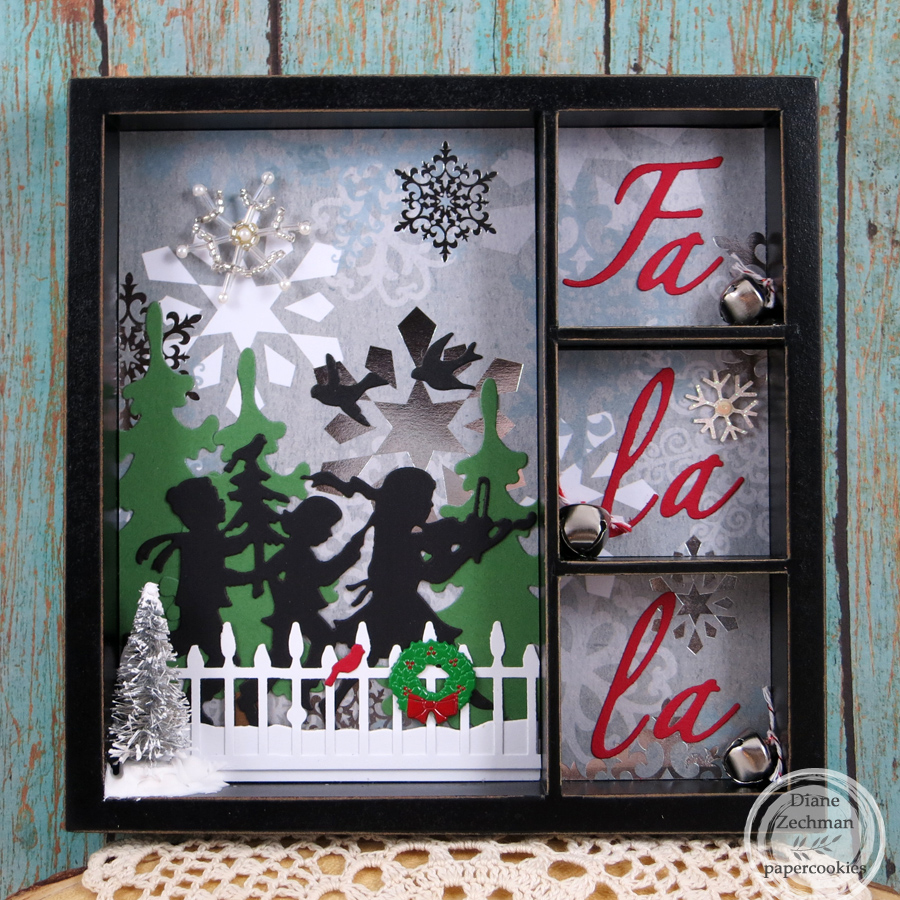
The Fa la la framed art was made for a friend in our stamping group’s gift exchange. I started with a 7 Gypsies Shadow Box Tray. Dies: Spellbinders FaLaLa and Santa’s Parade (birds), Sizzix Endless Love Alpha, and Marianne Design tree- LR0136. Background paper: The Paper Studio- Silver Foiled Snowflake. The fence is a Martha Stewart Halloween punch with the bats removed and the wreath is a brad. The beaded snowflake is an old Jolee’s sticker and I added some Aleene’s True Snow around the tiny tree.

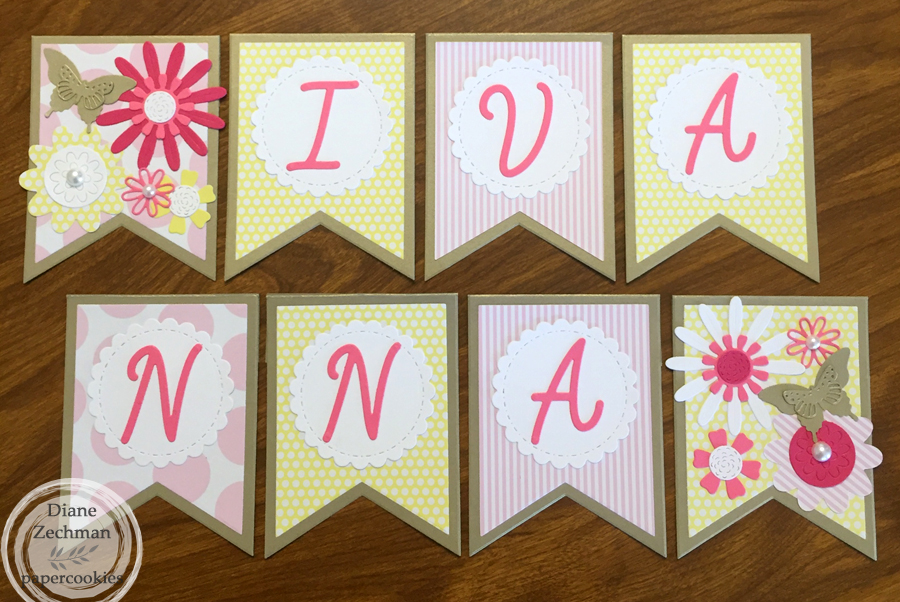
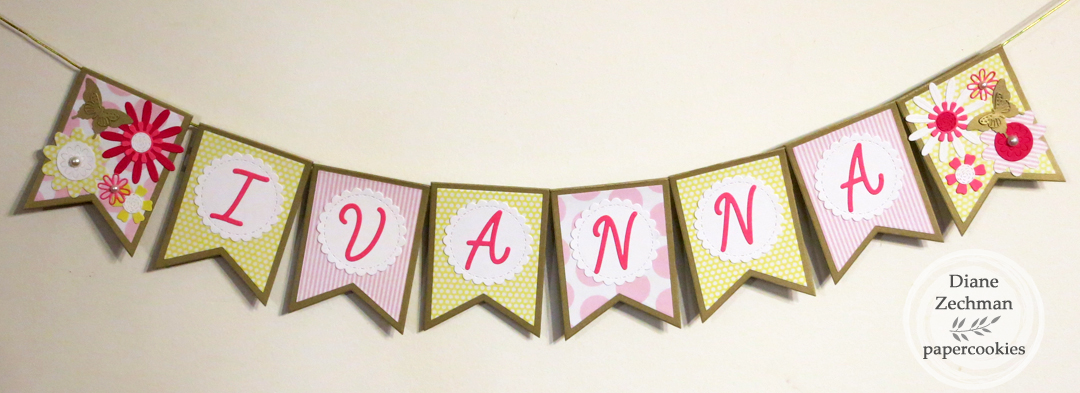
I was asked to make a name banner for a newborn baby with pink, gold, and butterflies. Here’s what I came up with. I used Momenta Banner and Alpha dies, Gina Marie Scalloped Stitched Circles, Sizzix Bold Flora dies, and an SU! Butterfly punch.

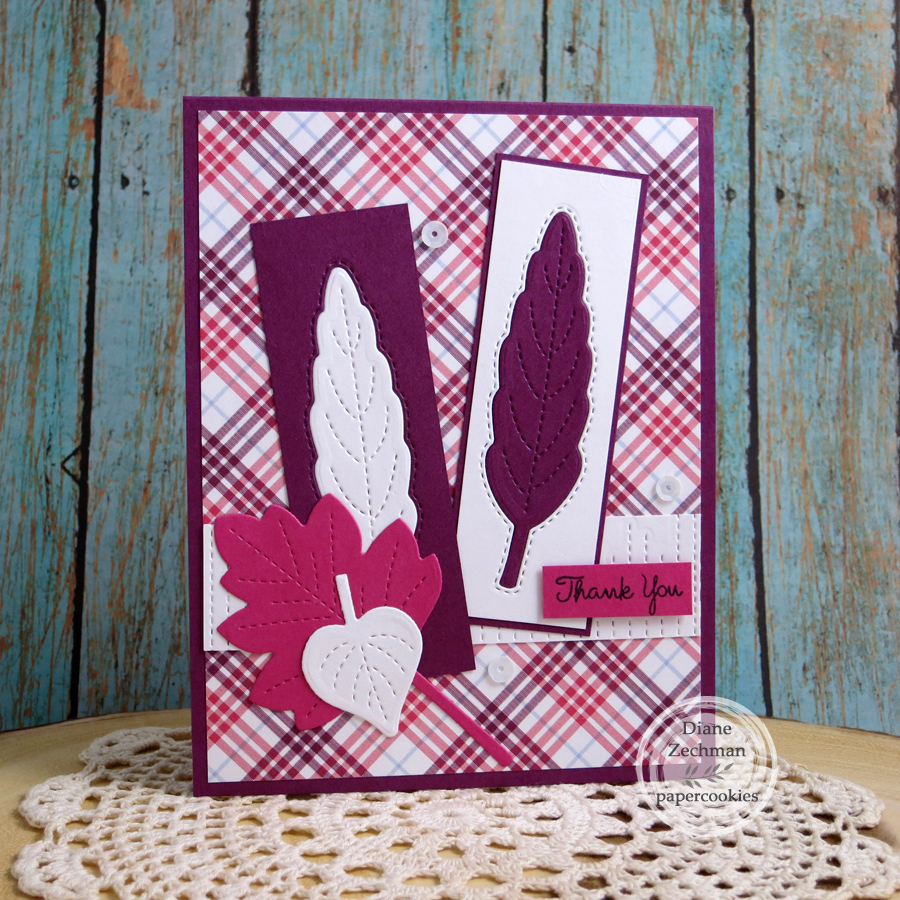
SU! Love of Leaves fall thank you card in non-traditional colors!

A bible journaling page from August in Pop Art style. The printables were created by Diane Noble.

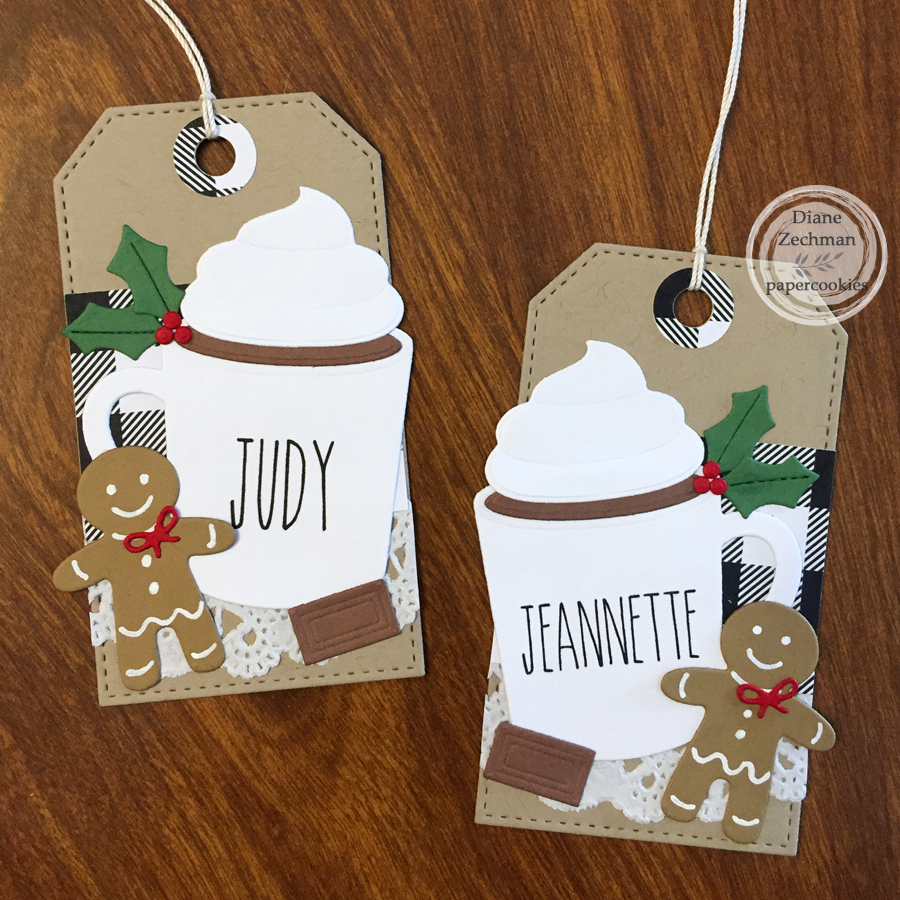
I made a bunch of Rae Dunn style mugs but only got two finished into tags. I guess I have a good start for next year. lol. These were inspired by some I saw on the internet. I typed and printed a skinny font. The tag and mug dies are MFT. The accent images are from Sizzix Festive Treats dies.

They’re so cute on a package!

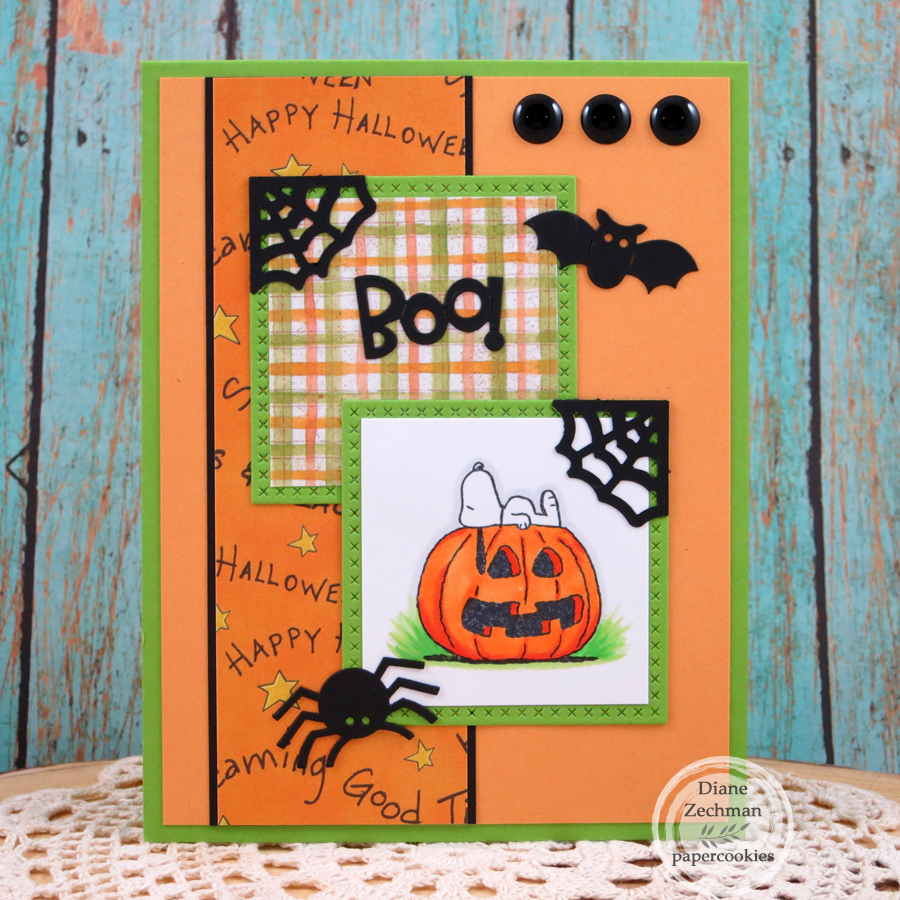
Next, I have two more fall projects. The first one is with a vintage Rubber Stampede Halloween Snoopy stamp and some old Cuttlebug dies.

And last is a CAS masculine thank you card. I used Gina Marie Chevron BKGD cutting plate, Altenew Bold Thanks, and Prima Forest Leaves.

Have a great week!

go with faith canvas

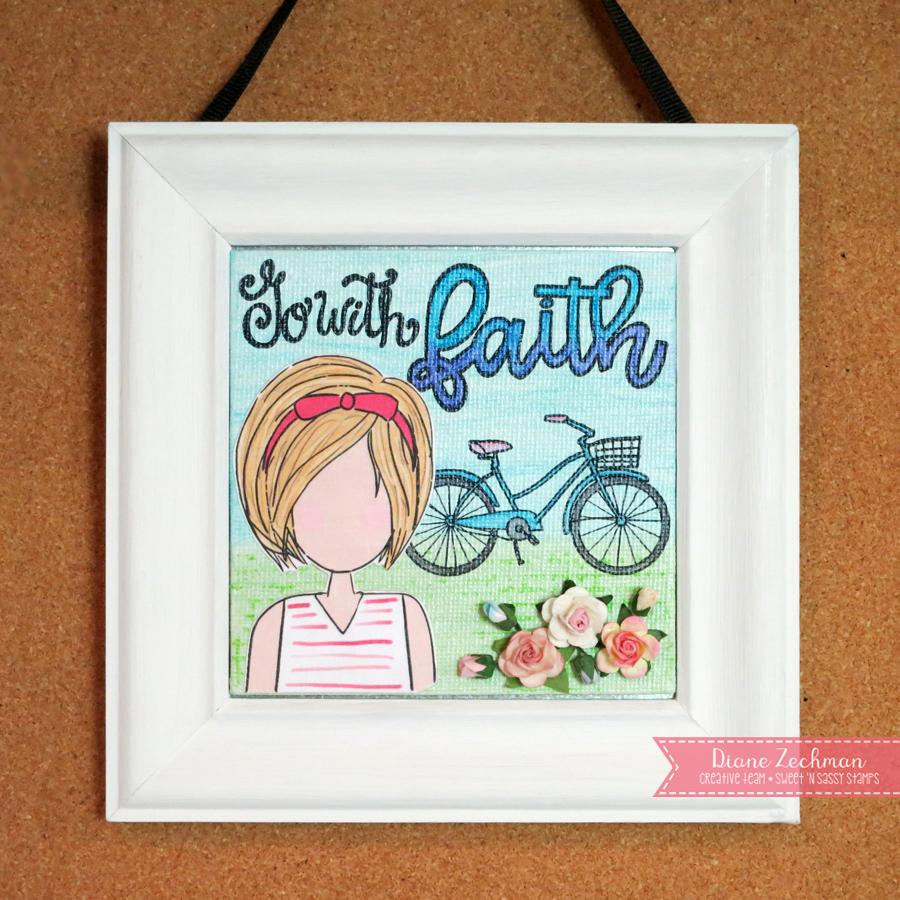
Earlier this year I made a 4″ coaster for the magnetic frame that hangs by my desk and I planned to make a few more to switch out once in a while. All the tiles I have for my frame are square or round coasters and this time I wanted to try a 4×4 canvas panel.

For my canvas, I used Go God’s Way and Life in Jesus from the new Sweet ‘n Sassy stamps July Release. I also used Go With, Texture Tiles 1, and the Girl Power Printable.

faith canvas diane zechman

The background was done with a spritz of water added to acrylic paints. Then the words and bike were stamped with Archival Black and some texture was stamped on the grass with Archival Chartreuse. I colored with Inktense pencils and water with a brush. Normally the Inktense pencils would be permanent after wetting them but they were still workable since they were applied over acrylics so I sprayed the canvas with Krylon Workable Fixatif. Next I adhered the printed girl and covered the whole piece with decoupage glue. Some paper flowers were added last. It was fun creating on the canvas surface…I’ll be doing more of these for sure.

Have a great day!
stamps- Sweet ‘n Sassy Go God’s Way, Life in Jesus, Go With, Texture Tiles 1, and Girl Power Printable; paper- white; ink- Archival Black and Chartreuse; accessories- 4×4 canvas, magnet, acrylic paints, decoupage glue, Krylon Workable Fixatif, Inktense pencils, brush, glue dots, paper flowers.

in the morning…

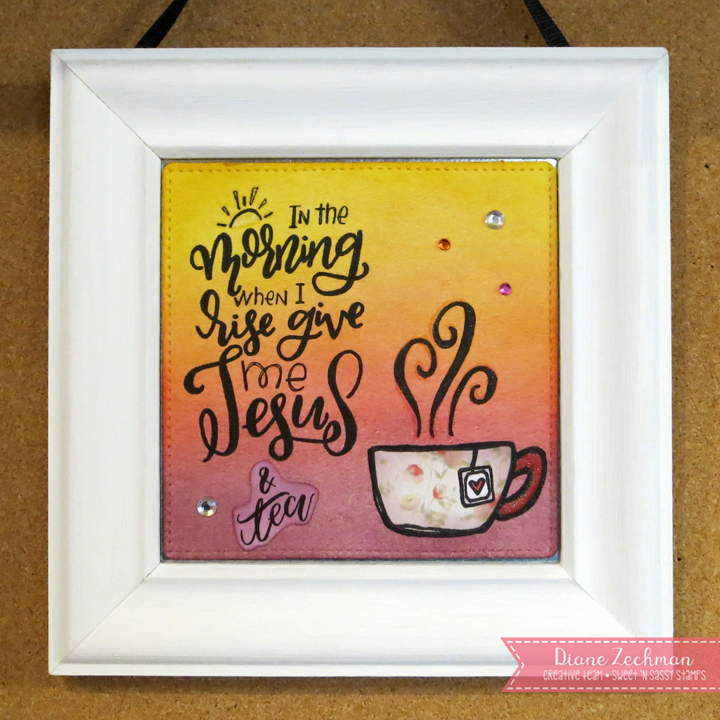
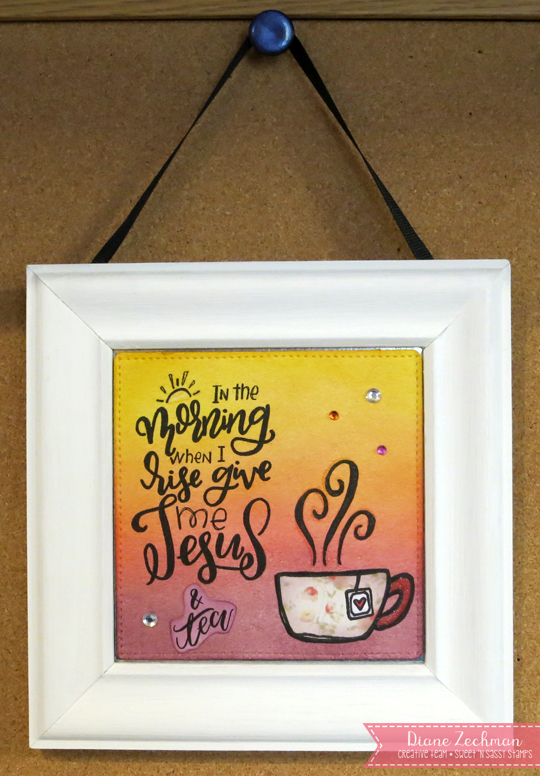
Hello! Today I am sharing a project using Sweet ‘n Sassy stamps. In The Morning is from the February release. I also used Fill Me Up and the Tea & Bible Journaling Digital Set. (There’s also a coffee set if you prefer that!)

in the morning frame diane zechman

My friend, Mary Ann, made this frame a few years ago which hangs above my desk on a cork board. It has held round coasters that are decorated and changed out monthly (they are magnetic). It will also hold the square coasters in my stash (yay!) and I am planning to make a few extra to swap out occasionally. It is such a great idea! I’ve enjoyed mine.

in the morning frame 2 diane zechman

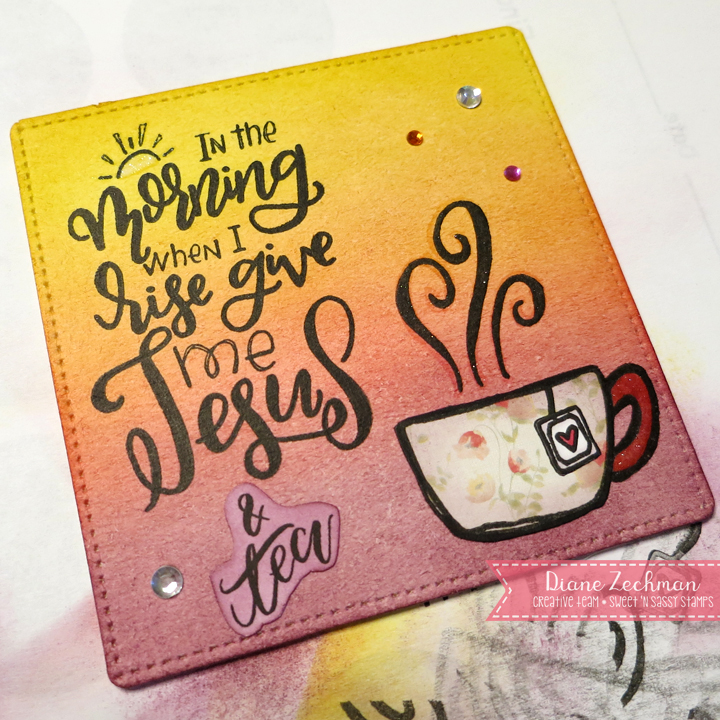
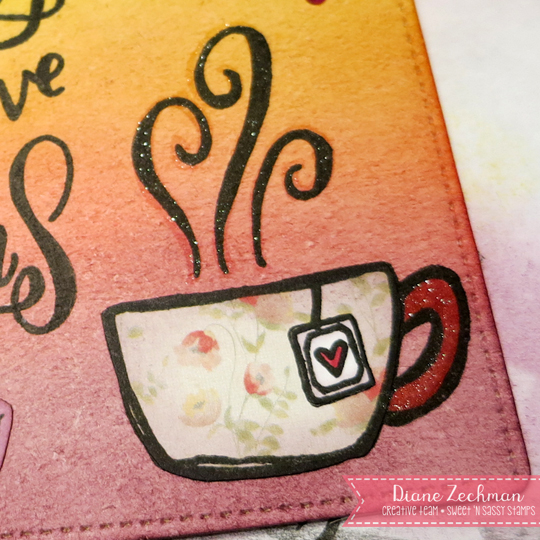
I sponged the background with some dye-based inks and then stamped images with Versafine Black. “& Tea” was printed from a digital file, cut out, and sponged. The teacup was paper pieced. Some rhinestones and Wink of Stella were added for sparkle.

in the morning frame 3 diane zechman

I can never show the sparkle well! It’s on the sun too.

in the morning frame 4 diane zechman

Have a great day!
stamps- Sweet ‘n Sassy In The Morning, Fill Me Up and Tea & Bible Journaling Digital Set; paper- white, MME- In Bloom; ink- Versafine Black, SU! Daffodil Delight, Crushed Curry, Pumpkin Pie, Rich Razzleberry, Regal Rose; accessories- Chipboard coaster, tracing wheel, rhinestones, magnet, Clear Wink of Stella.

Silas name frame

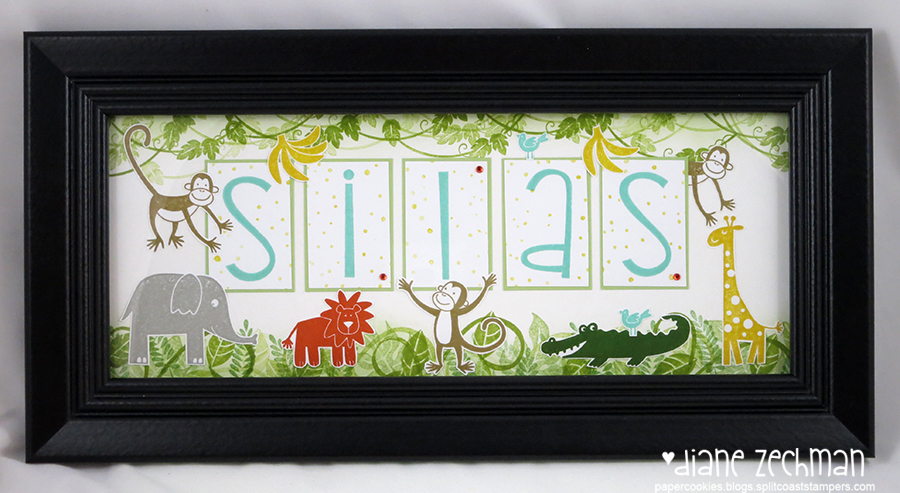
Good morning! Here’s another project from 2015. I was asked to make a name frame for a baby gift…with a jungle theme.

Silas name frame diane zechman

It’s always fun to create a name frame. They turn out so different each time and can be personalized for most any theme! I used a whole bunch of sets here…SU! Do The Hula, Bodacious Bouquet, Array of Sunshine, Wild About You, Monkey Business, Tall Tales Alphabet, and Itty Bitty Backgrounds.

Have a great day!

be joyful frame

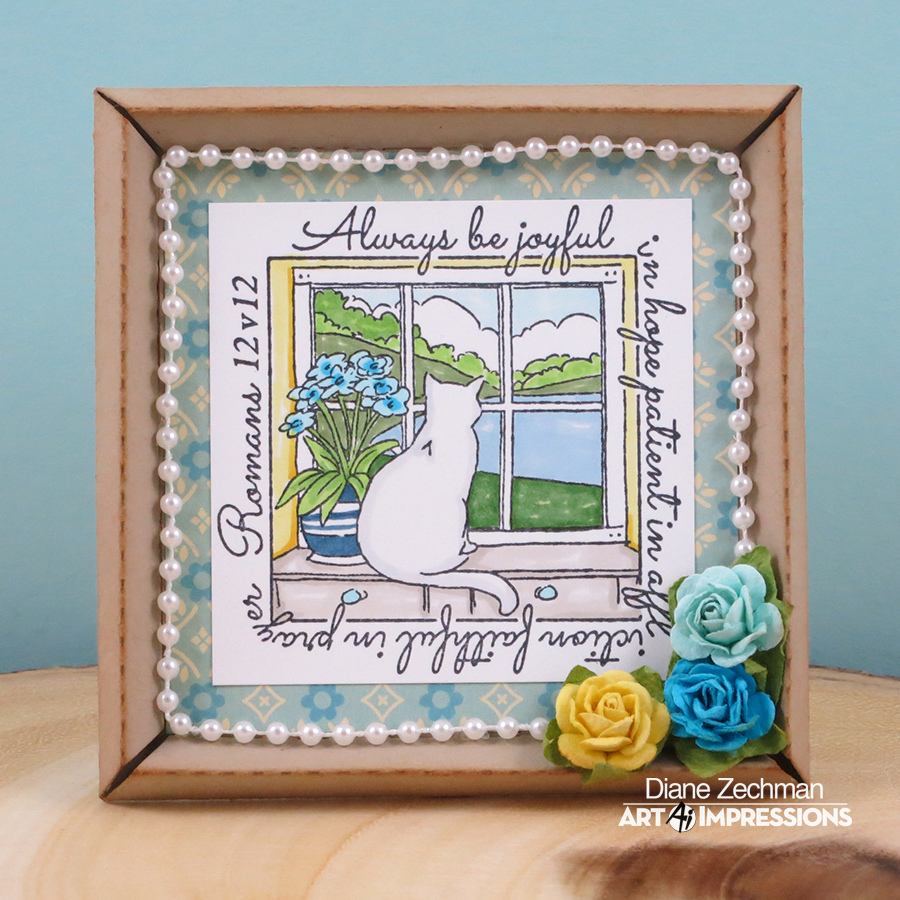
Hello friends!  The current Ai Challenge is “Let’s Distress” (use Distress ink or distress your edges) and we are featuring the new Windows to the World stamps PLUS a fun new 4887- 3D Frame Die!  Here I used M4877 Be Joyful to make a mini framed image that stands up!

be joyful frame diane zechman

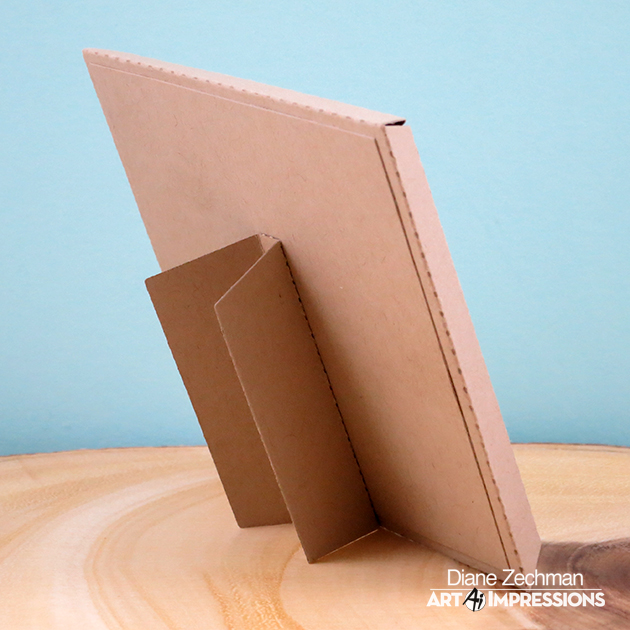
The frame is very simple to assemble…just fold each side and slip the tabs through the slots, then add cardstock and a stand (included in the die) to the back.

I lightly “distressed” the edges of my frame with some sponged ink. Then added some Darice string pearls and paper flowers around the edges to finish it off.

Here’s the back-side…

be joyful frame back diane zechman

Now it’s your turn to break out your favorite stamps, make a card, and join us in the “Let’s Distress” Challenge!

Happy stamping!

Diane Signature Medium size

stamps- Art Impressions M4877 Be Joyful; paper- white, SU! Crumb Cake, Cosmo Cricket- Material Girl; ink- Memento Tuxedo Black, Distress- Tea Dye; accessories- Ai 4887 3D Frame Die, Copics, glue dots, Darice pearl string, paper flowers.

cupcake name frame

Hello friends and happy Thursday!

Today I have a project other than a card to share.  I made a little 5×7 name frame with the Ai Cupcake BFFs set (4409).  (Click on photo for larger view.)

brianna name frame 1 diane zechman

A friend introduced the idea of making name frames to me back in 2008 and I’ve made several for gifts since then, usually getting a request for themes and colors.  My daughter wanted one when she went to college…and then wanted some for her roommates too…lol.  So this is for my neice who is heading off to college…I thought she might like one for her dorm room too.  She likes to make cupcakes and does a wonderful job.  So I incorporated that theme with the colors in her décor.

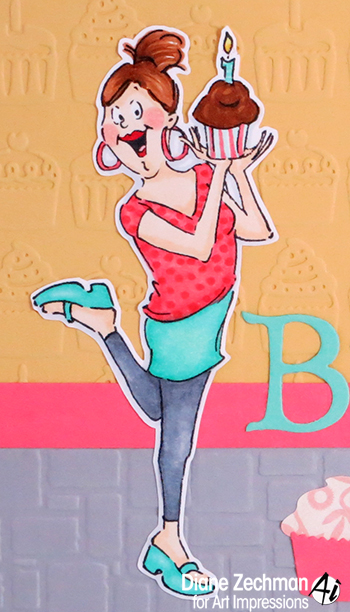
Here’s a closer view of Ai’s Cupcake BFFs gal, without the glare on the glass in the frame.

brianna name frame 2 diane zechman

I used a brick wall embossing folder to create the floor and embossed the top with a cupcake folder.  The letters are from an old Cuttlebug die set.  I think you will find that these frames come together rather easily and are fun to make (and give!).  I hope you try one!

Happy stamping!

Diane Signature Medium sizestamps- Art Impressions Cupcake BFFs; paper- white, SU! Smoky Slate, Coastal Cabana, Cameo Coral, So Saffron, MME fine and dandy girl; ink- Memento Tuxedo Black; accessories- Darice Brick Wall embossing folder, Cuttlebug Once Upon A Princess embossing folder, Cuttlebug Olivia alphabet, Stickles, Martha Stewart cupcake punch, LaLaLand Heart Banner.

winter ATC frame

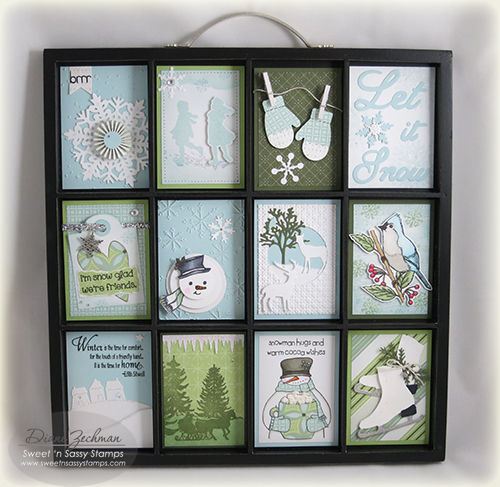
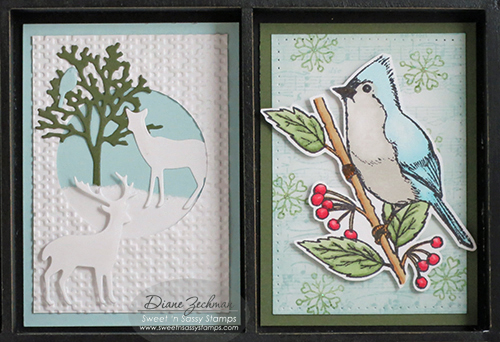
Hello friends!  I have a special project to share today that I made for a Christmas gift.  I wanted the recipient to be able to enjoy it all winter long, though, so I went with a snowy/winter theme.  Each little card in my frame is ATC size (2 1/2 x 3 1/2 inches) and I used lots of my favorite Sweet ‘n Sassy stamps and dies.

I also made this for our Challenge Chicks Challenge…this month Anna wants us to create winter scenes!

SNSS ATC frame diane zechman

I wanted to be able to switch out the ATC’s for each season/holiday or whatever theme I want…so they were attached in the frame with Removable Glue Dots.  I found these to work perfectly for the right amount of adhesion needed, yet still be able to be easily removed.

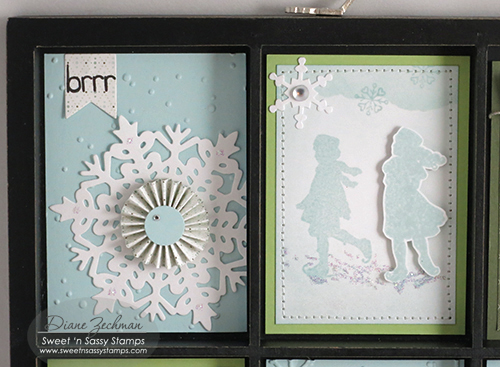
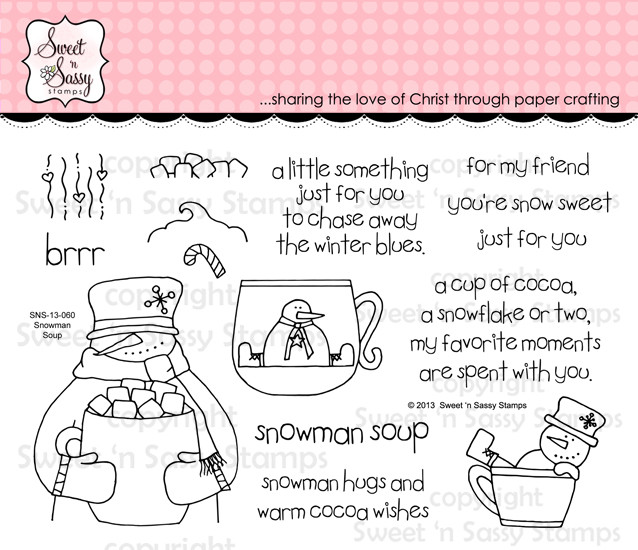
Here’s some close-ups of each ATC.  For the first one I made a rosette with my Scor-Pal and centered it onto a Sweet ‘n Sassy Large Snowflake diecut.  The “brrr” is from my Snowman Soup stamp set and the background was embossed with the Cuttlebug Kars Snowflake embossing folder.

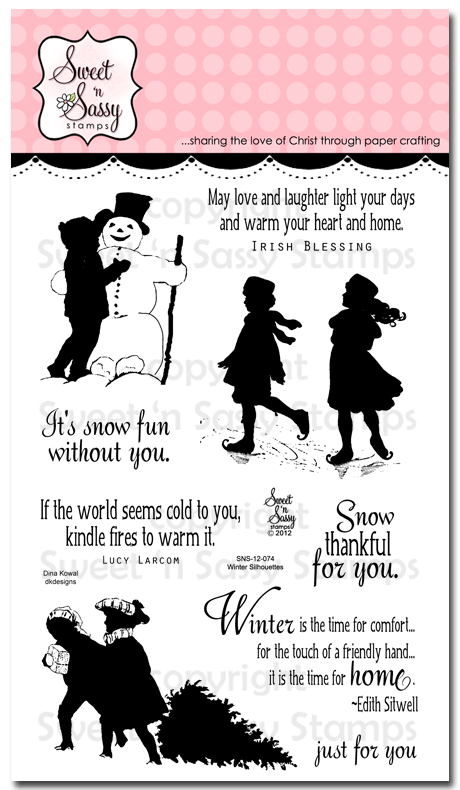
The second one has some stamped skating friends from the SNSS Winter Silhouettes stamp set, with one popped up for dimension.  There’s a few tiny snowflakes from my Snowy Hello stamp set lightly added to the top.  The edges of this one were stitched on my sewing machine.

SNSS ATC frame 2 diane zechman

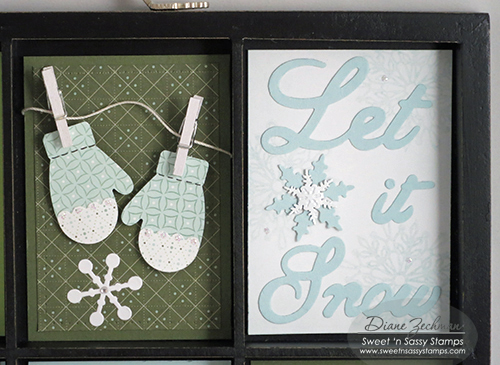
The mittens were made with a SU! punch and the white tiny clothespins came from Michael’s.  They were attached with 1/8″ Scor-TapeCrochet thread was perfect for the string.

The Let it Snow words are a Sizzix die and I faintly stamped snowflakes in the background from the Spectacular Snowflakes.

SNSS ATC frame 3 diane zechman

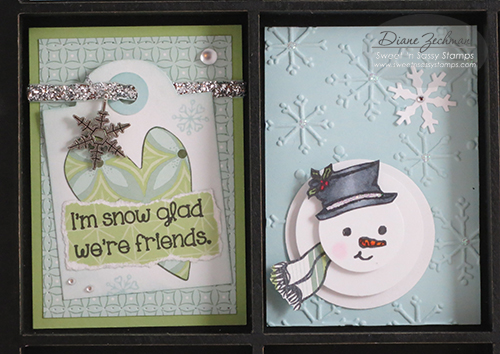
On the left, below, I used one of the Bookmarks & More dies to create a tag. The heart was cut from the Heart dies and the tiny snowflakes and words are from my Snowy Hello set.  The snowflake charm is SU!

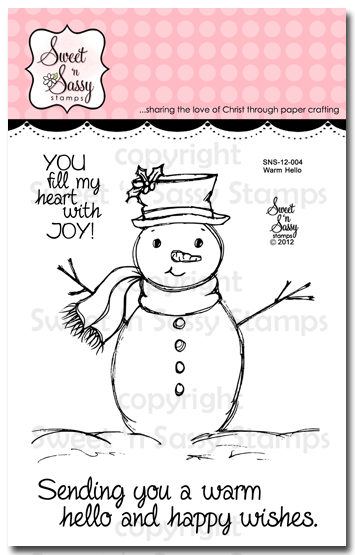
On the right the background was embossed with the Sizzix Snowflakes #3 folder.  3 circles were punched and popped for dimension.  The snowman’s face, hat and scarf are from the Warm Hello stamps.

SNSS ATC frame 4 diane zechman

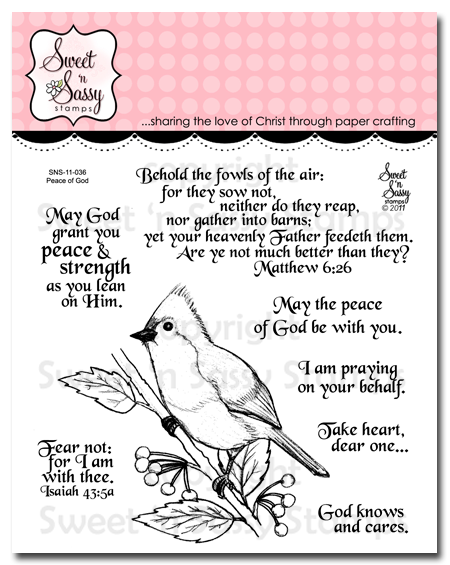
The tree, deer, and bird, below are from Forest Silhouettes dies. On the right, I lightly stamped the Music Background.  More Snowy Hello flakes were stamped (this time in green) and the bird from Peace of God was popped up.

SNSS ATC frame 5 diane zechman

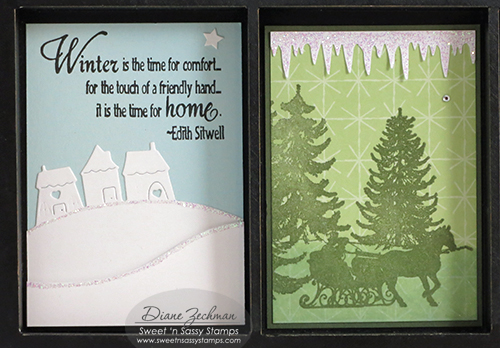
The Hillside Edges dies made a cute snowy scene and the words from Winter Silhouettes went with it perfectly.  Then I stamped the sleigh ride image from one of my fave Christmas sets, Old Fashioned Christmas.  The top border was punched with the Martha Stewart Icicles punch.

SNSS ATC frame 6 diane zechman

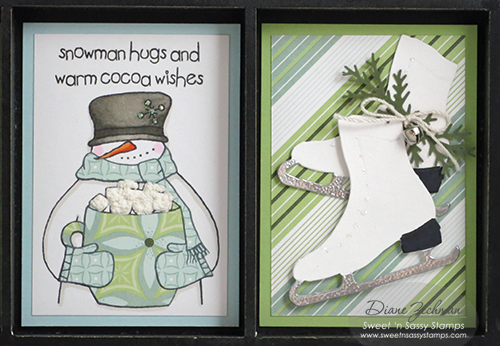
The words and snowy fella below, drinking hot cocoa, is from my Snowman Soup set.  The mug, scarf, and mittens were paper pieced.  Then I applied a Puffy Velvet Fabric marker (like Liquid Applique) to the marshmallows and heat them with a heat tool to puff them up.

The skates are a Sizzix Movers & Shapers die.  The blades were heat embossed with silver e.p. and the Martha Stewart branch punch, along with a tiny jingle bell, finished them off.  You can’t see in the pic but the skates were painted with Picket Fence Crackle Paint.

SNSS ATC frame 7 diane zechman

Lots of glitter and bling were added to each one to make this frame sparkle!  My ATC memory tray was purchased at Hobby Lobby.

Please join us and create a card with a winter scene… then share it on our Facebook page!  Also, you can upload it to the Splitcoast gallery…and use the keyword CHXJAN15.  Now be sure to click on the links below to check out what the other Chicks created!

challenge chicks logo small

stamps- Sweet ‘n Sassy Snowman Soup, Winter Silhouettes, Old Fashioned Christmas, Warm Hello, Peace of God, Music Background, Snowy Hello, and Spectacular Snowflakes;

paper- white, SU! Soft Sky, Certainly Celery, and Always Artichoke, SU! Wintergreen dsp;

ink- Memento Tuxedo Black, Versafine Black, Versamark, SU! Soft Sky and Always Artichoke;

accessories- Sweet ‘n Sassy dies (Large Snowflakes, Forest Silhouettes, Hillside Edges, Bookmarks & More, and Hearts), Scor-Pal, Scor-Tape, Cuttlebug Kars Snowflakes emb. folder, circle punches, hot glue gun, tracing wheel, sewing machine, Stickles, rhinestones, foam dots, Wink of Stella clear, Cuttlebug Snowflakes #2 die, Martha Stewart Icicles punch, SU! Square Lattice emb. folder, SU! mitten punch, SU! snowflake charm, Copic markers, Sizzix Snowflakes #3 emb. folder, ribbon, crochet thread, mini clothespins, Sizzix Let it Snow #2, Sizzix Movers & Shapers ice skate die, Puffy Velvet Fabric marker, Ranger Picket Fence Crackle Paint, silver embossing powder, tiny jingle bell, Martha Stewart branch punch.

Here are the Sweet ‘n Sassy products that I used…


Elaina name frame

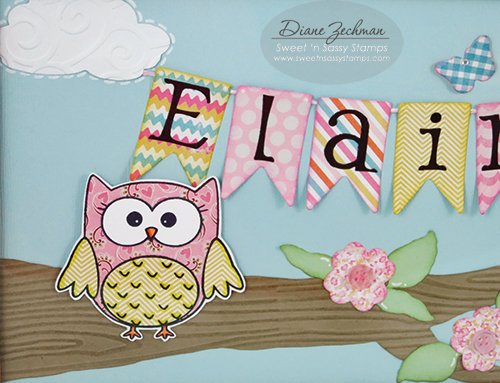
Good morning! Today it’s my turn to post on the Sweet ‘n Sassy blog.  We are gearing up for another new release so be sure to check the store on Friday.  I think you’ll like it!  Today, though, I have a project to share that I recently made for a baby shower gift.  I used lots of Sweet ‘n Sassy products to create a fun name frame to match the baby’s nursery décor. 

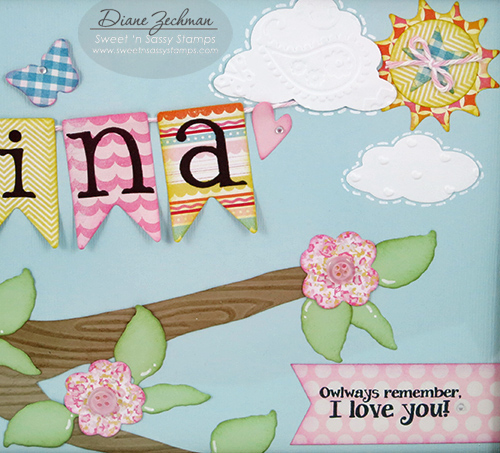
This is one of those projects that looks much cuter in person!  It’s so hard to photograph without getting a glare from the glass and it’s difficult to see the dimension with embossing and foam dots.  I have a few close ups to see it better.

The nursery is decorated with owls, so I used the Owl Be Here stamp set.  I didn’t have a die large enough for the size of branch I needed so I cut my own.  Then I embossed it with a woodgrain embossing folder and sponged it with ink.

The flowers were diecut with the SNSS Kindness dies and accented with the Small Leaves.  I also diecut the Clouds and Sun with SNSS dies and the sun was accented with one of the Stars Dies.  The butterfly is from the Majestic Monarchs dies and the banner flags are from the Pennants & More dies.  Lastly, I added a single heart from the Heart Dies.

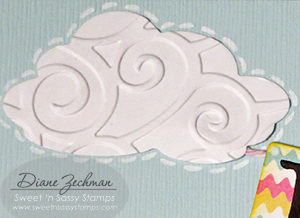
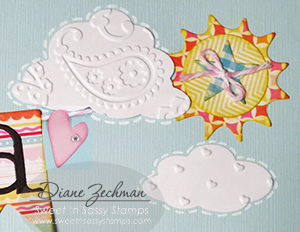
One of my favorite parts is the embossed clouds!

Besides owls, the nursery has some paisley so I made sure to add a paisley cloud.  I couldn’t help but to sneak in some tiny embossed hearts too!

I hope this inspires you to create some framed art of your own.  I sure had fun creating this one!  I almost changed my name so I could keep it.  😉

Have a blessed week, friends!

stamps- Sweet ‘n Sassy- Owl Be Here; paper- white, SU! Crumb Cake, Pistachio Pudding, Early Espresso; Bazzill- Sea Salt, Basic Grey- Bittersweet, MME- Happy Day; ink- SU! Crumb Cake, Pear Pizzazz, Crushed Curry, Pixie Pink, Memento Tuxedo Black, Versafine Black, SU! Chalk marker; accessories- SU! Woodgrain embossing folder, Copics, Cuttlebug D’vine Swirl, Perfectly Paisley, and Love Language embossing folders, Cuttlebug Olivia dies, baker’s twine, Scor-Tape, dimensionals, buttons, adhesive rhinestones. Sweet ‘n Sassy dies: Clouds & Raindrops, Stars, Wish You Were Here, Hearts, Pennants & More, Small Leaves, Kindness, Majestic Monarchs.