Last month we had our 8th annual NEPA (Northeast PA) Stamp & Swap and today I’m finally sharing the projects that I made for it. Be sure to read all the way to the end for a really cool project we did!
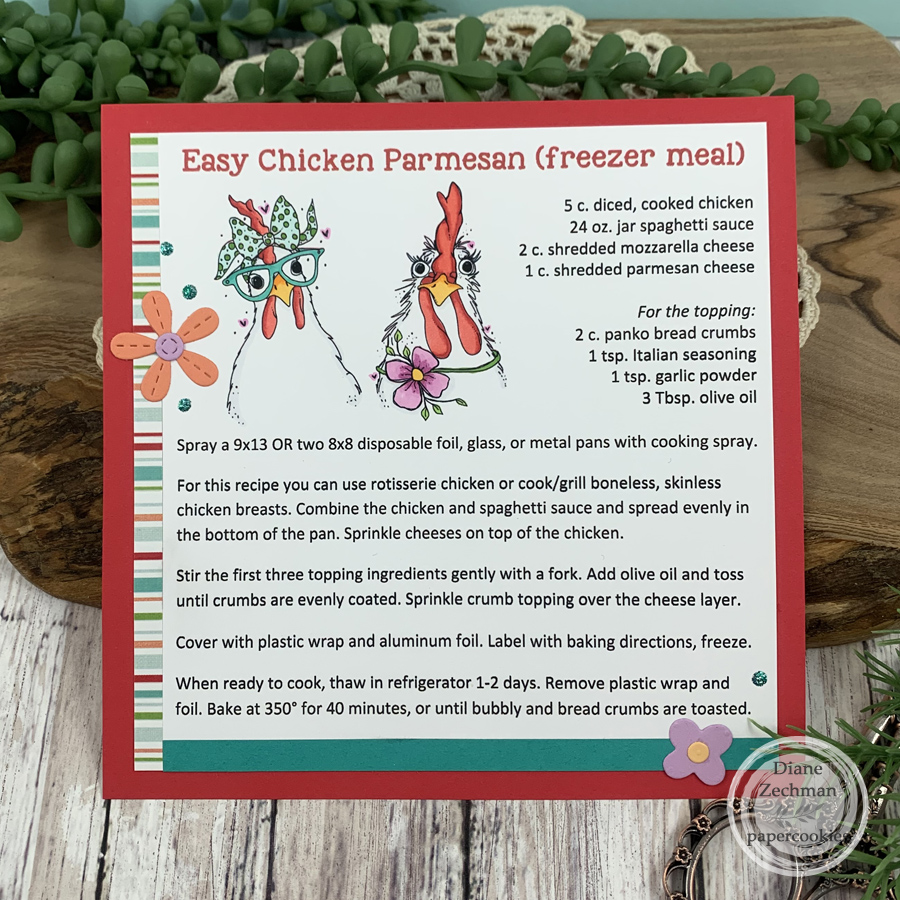
The first one I made was for our 6×6 Recipe Swap. I used Angie Blom’s Coolest Chicks Ever digital images, which are also available as physical stamps through Unity Stamp Co.
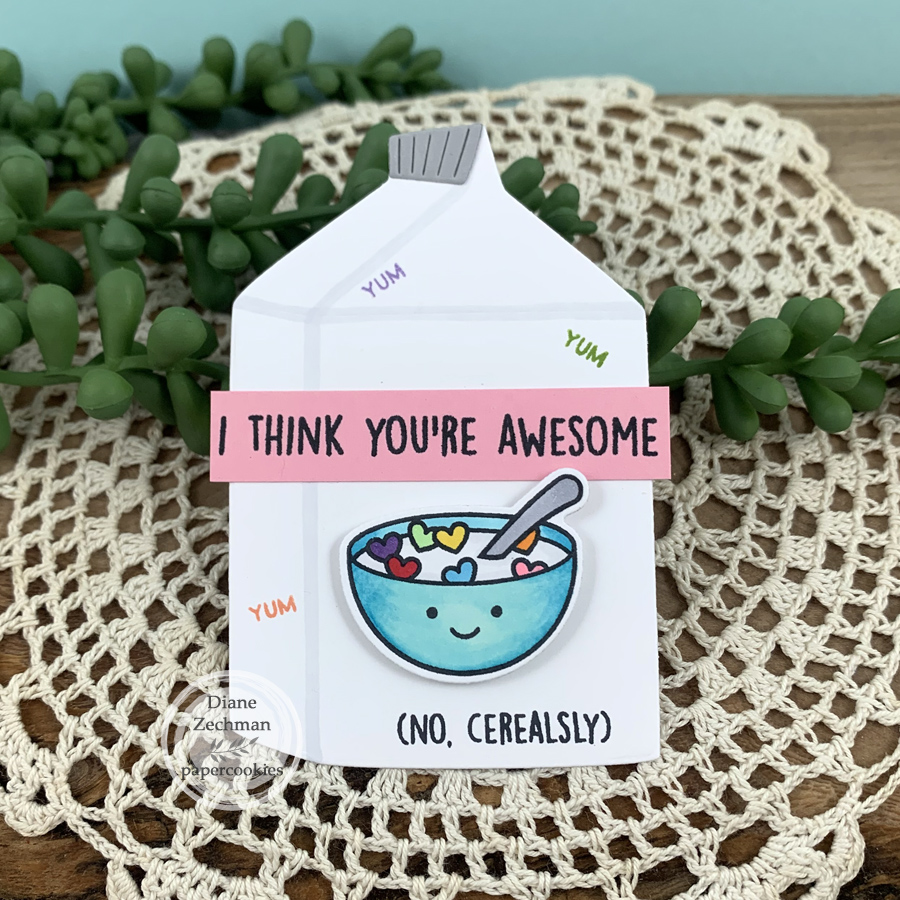
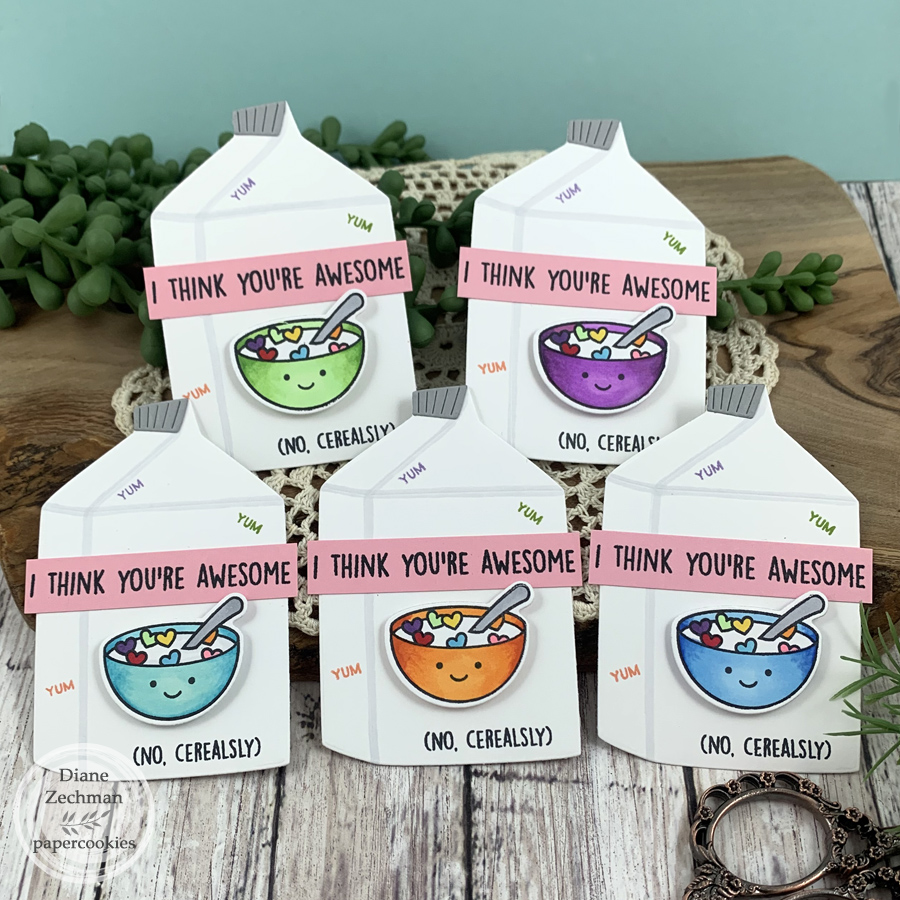
For the ATC swap, I wanted to create a shaped ATC. This retired MFT Milk Carton Die was the perfect size. I also used Lawn Fawn’s Cerealsly Awesome set & Dies, which was a cerealsly awesome gift from a friend! 🙂 How cute! I couldn’t decide what color to make the bowl, so I did several and let the participants choose.
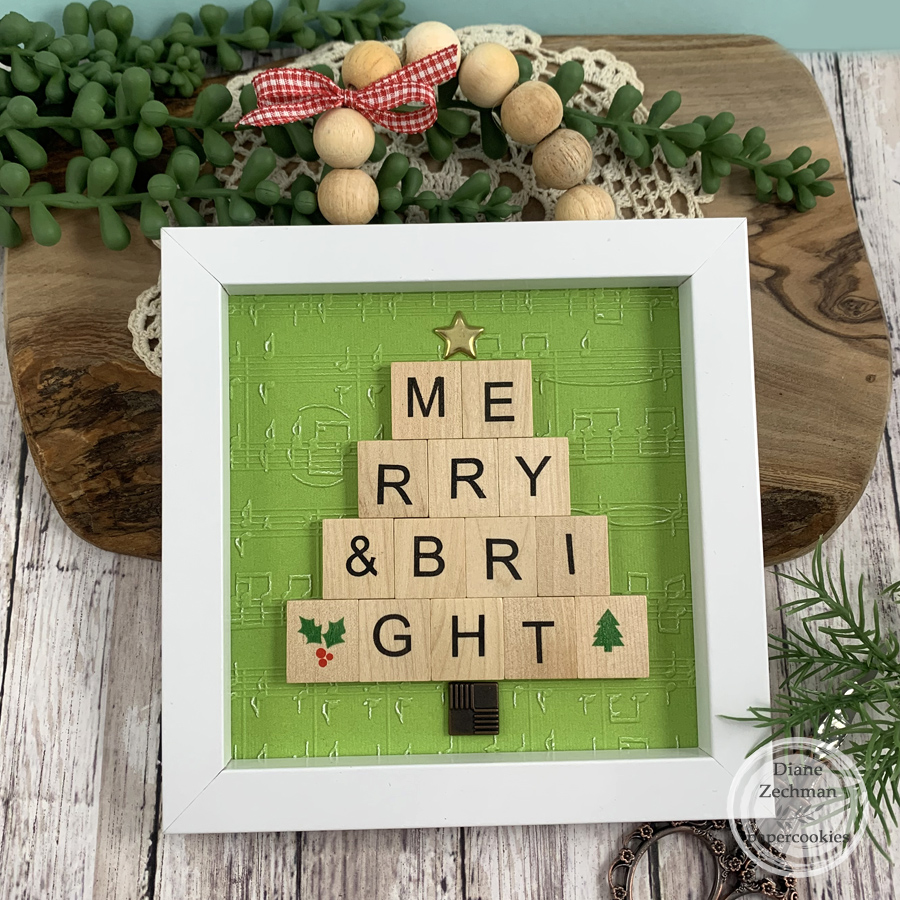
Several weeks prior, I found the event theme in a sentiment set of scrabble tile letters at Hobby Lobby. They already had an adhesive backing, so I just formed them in the shape of a tree and added brads for the trunk & star. I embossed the background and added a frame and ribbon.
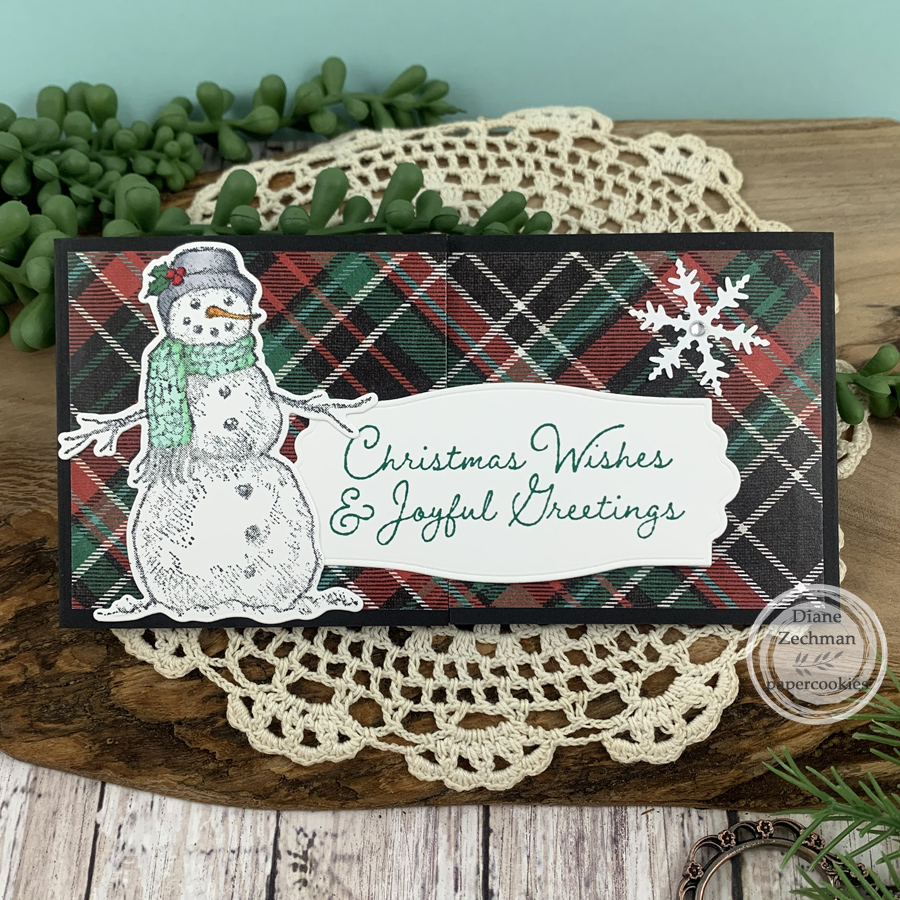
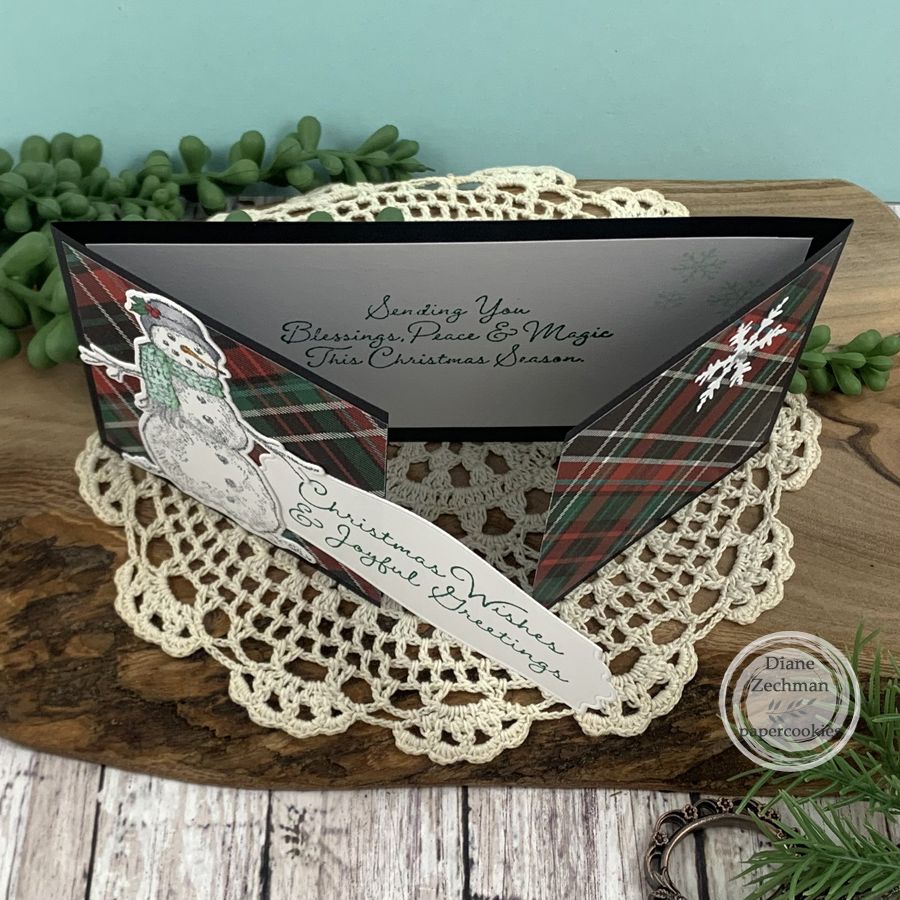
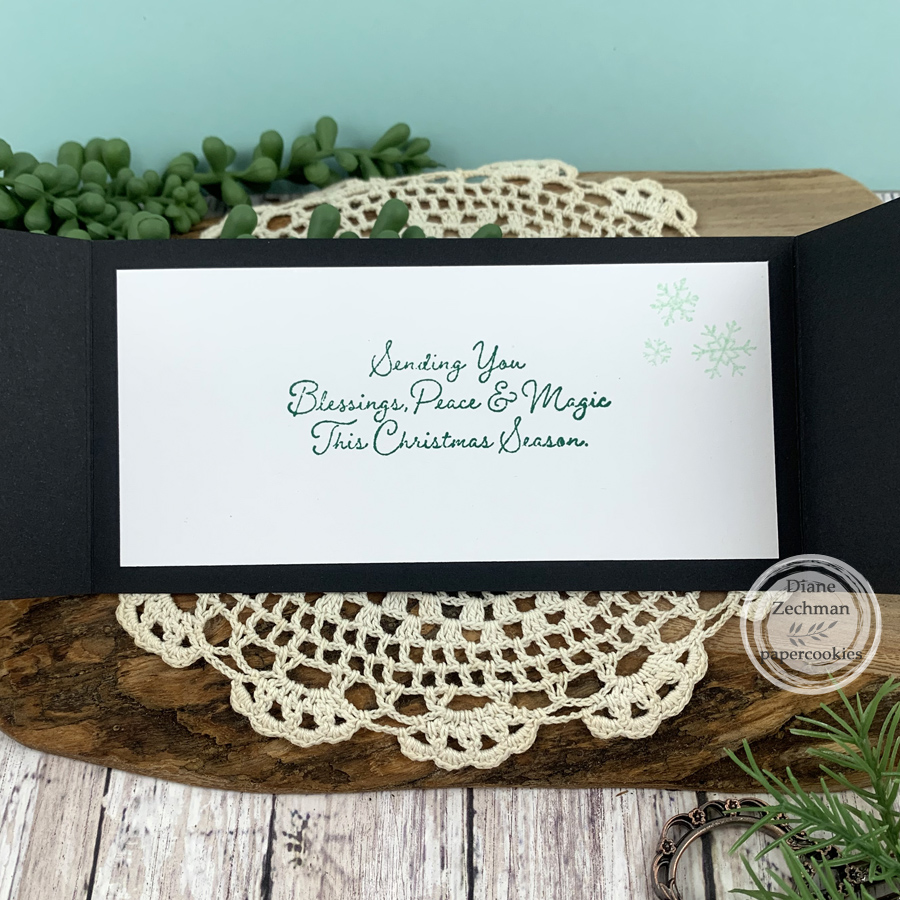
The Mini Slimline Swap was one of the most popular. I made mine a gatefold card using my favorite Christmas plaid paper from Hobby Lobby and SU! Snow Wonder Bundle. My base is 3 x 12, scored @ 3 and 9.
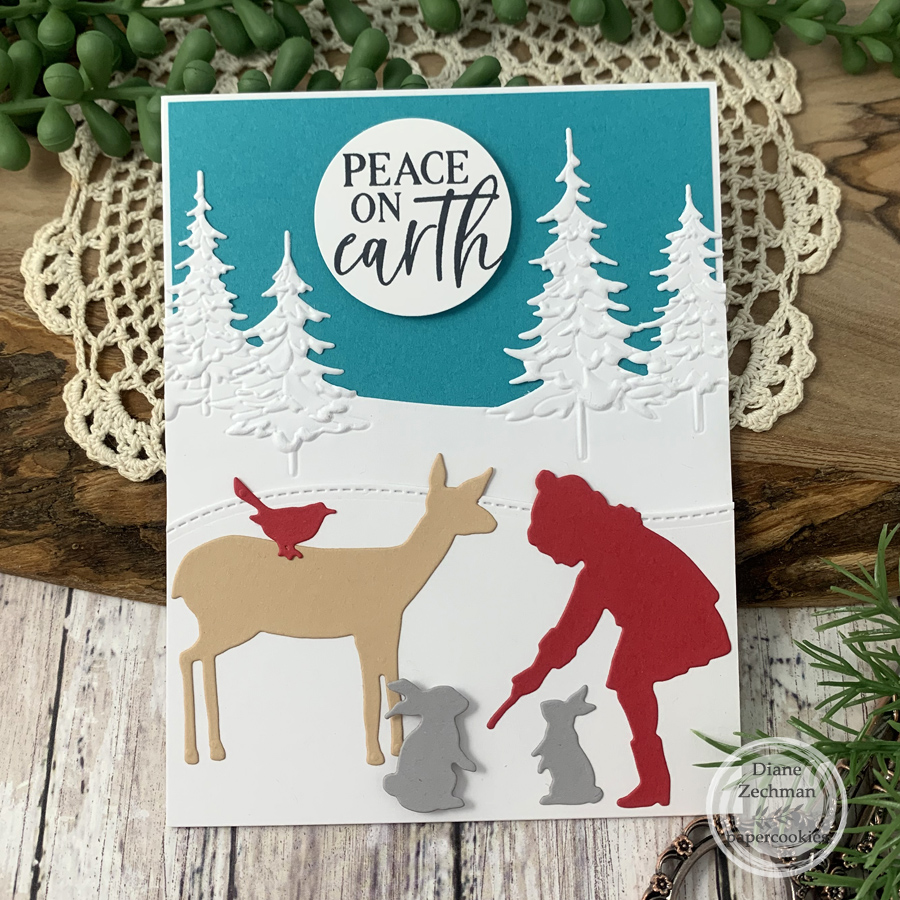
For my shoebox card, I used the retired Spellbinders Sharyn Sowell Winter Friends die set, Simon Says Stamp Pine Landscape embossing folder and die set, and SnSS Christmas Sentiments. The large bunny and sentiment circle are popped up with foam tape.
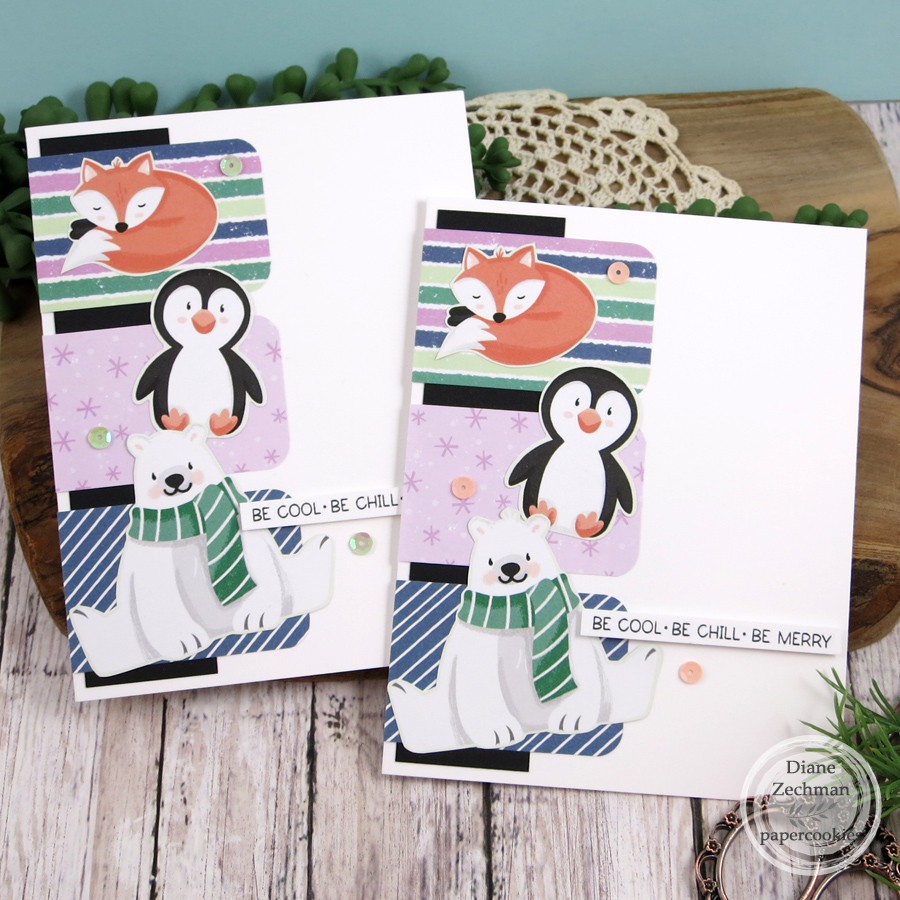
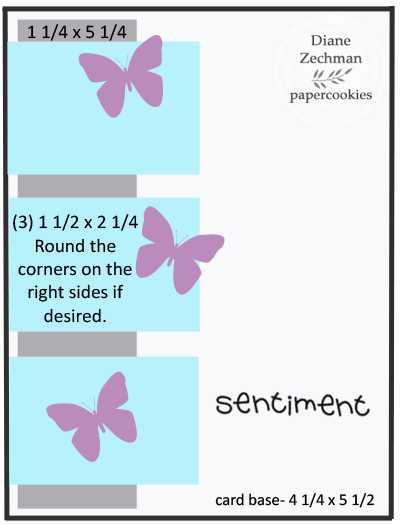
A new swap that I came up with for this year’s event was a Sketch & Card Front Swap. I used the SU! Penguin Place Bundle and coordinating papers on the card here. Below is my sketch that I started with. Participants swapped both of these together…the card front & it’s coordinating sketch.
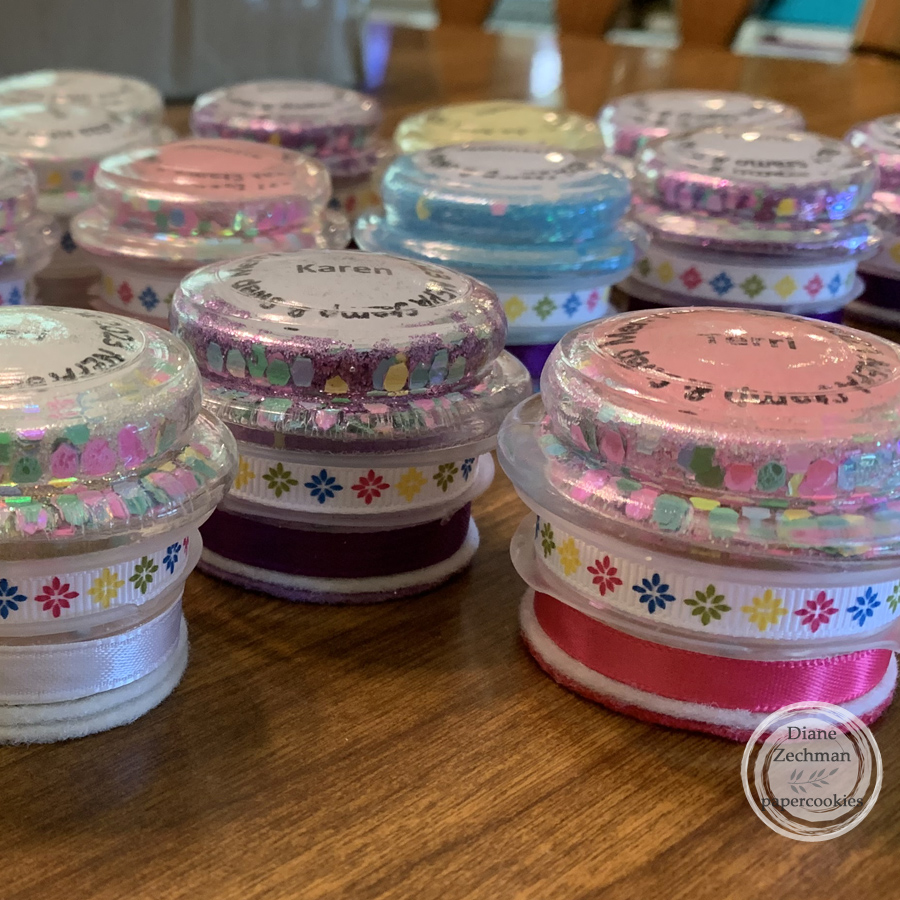
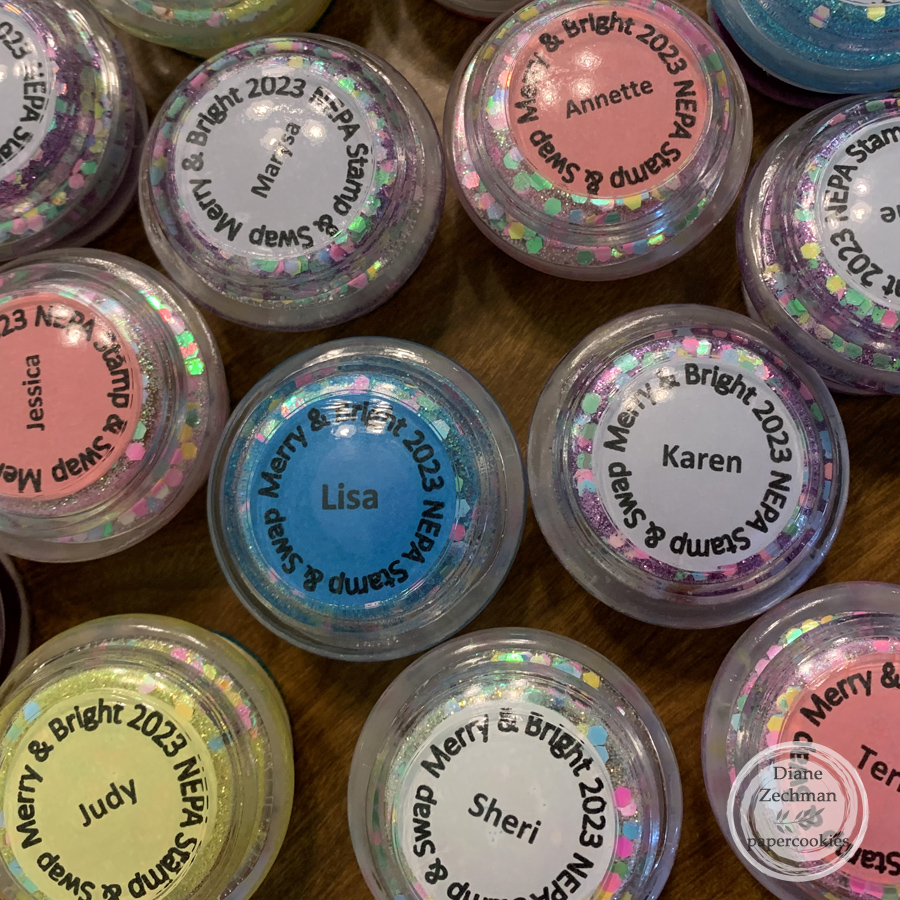
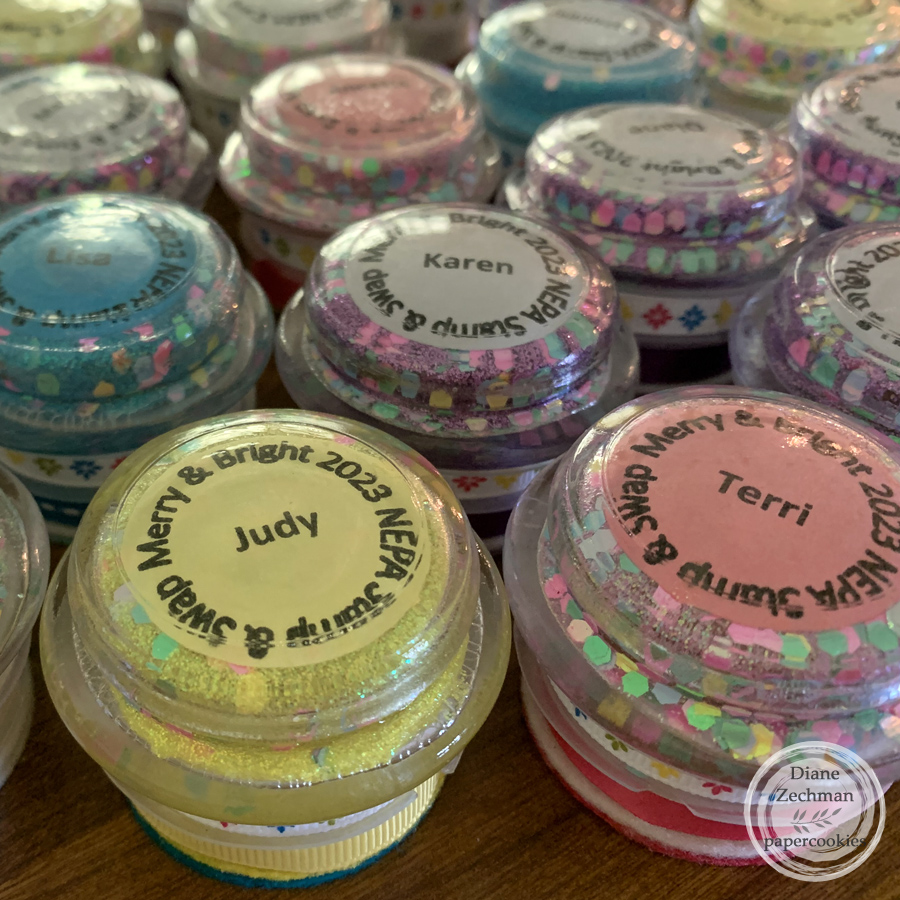
The last project that I’m sharing is the favor that we made for everyone who attended the swap. We decided this year to make the tools to use on the MISTI or other stamping platforms, but to also PERSONALIZE them. Someone from our committee (I can’t remember who) named them our NEPA tool. 🙂
We purchased mini candles from the Dollar Tree and used the glass tops, making sure to pick out the ones with a large clear space in the center of the lid. My friend, Lou Ann, and I had several hours LOL trying to get our swap words in a circle with each name inside but when we were finished, it was so worth the effort (Don’t ask me how we did it lol)! They were then printed onto colored copy papers and punched out with a circle punch. Lou Ann’s husband cut wood circles for us to place on the bottom of the glass for stability, and then we covered the base with felt. So, there’s the glass candle lid (with a plastic covering on the bottom of it), then a wood circle which we painted white, and two layers of felt circles. Each attendee was asked their favorite colors without knowing what we were making.
We used several glues and adhesives with trial & error until we figured out the right combination! Lou Ann used her Xyron sticker maker with the punched circles, so they had adhesive on top. Then I carefully adhered them in place inside the lid using tweezers to get them inside. Our committee got together and working quickly, Mod Podge was applied inside the entire lid and chunky glitter was dumped inside. Next, a fine glitter was added to fill in the empty spaces. It’s hard to capture the glitter in the photos below! When dry, E6000 glue was used to adhere the wood circle to the candle lid. Again, they were left to sit as the glue dries. Aleene’s Felt and Foam Tacky Glue worked great to adhere two felt die cut circles to the base. We finished them off by adding some ribbons with Scor-Tape. Whew! It was a lot of work but so fun!
Thanks for reading all the way through! LOL. Have a great day!

 cookiestamper ♥


