Category Archives: 3D and altered art

Top 10 Ai for 2017

Hello friends and happy Monday!

This week on the Ai blog we are sharing our top 10 favorites from 2017.  Again, I have to say that I love ALL the hilarious and heart-warming Ai images I have worked with throughout the year.  It is so difficult to narrow down my favorites to only 10!  Here’s a few of my faves from this year. Click on each pic for more info!

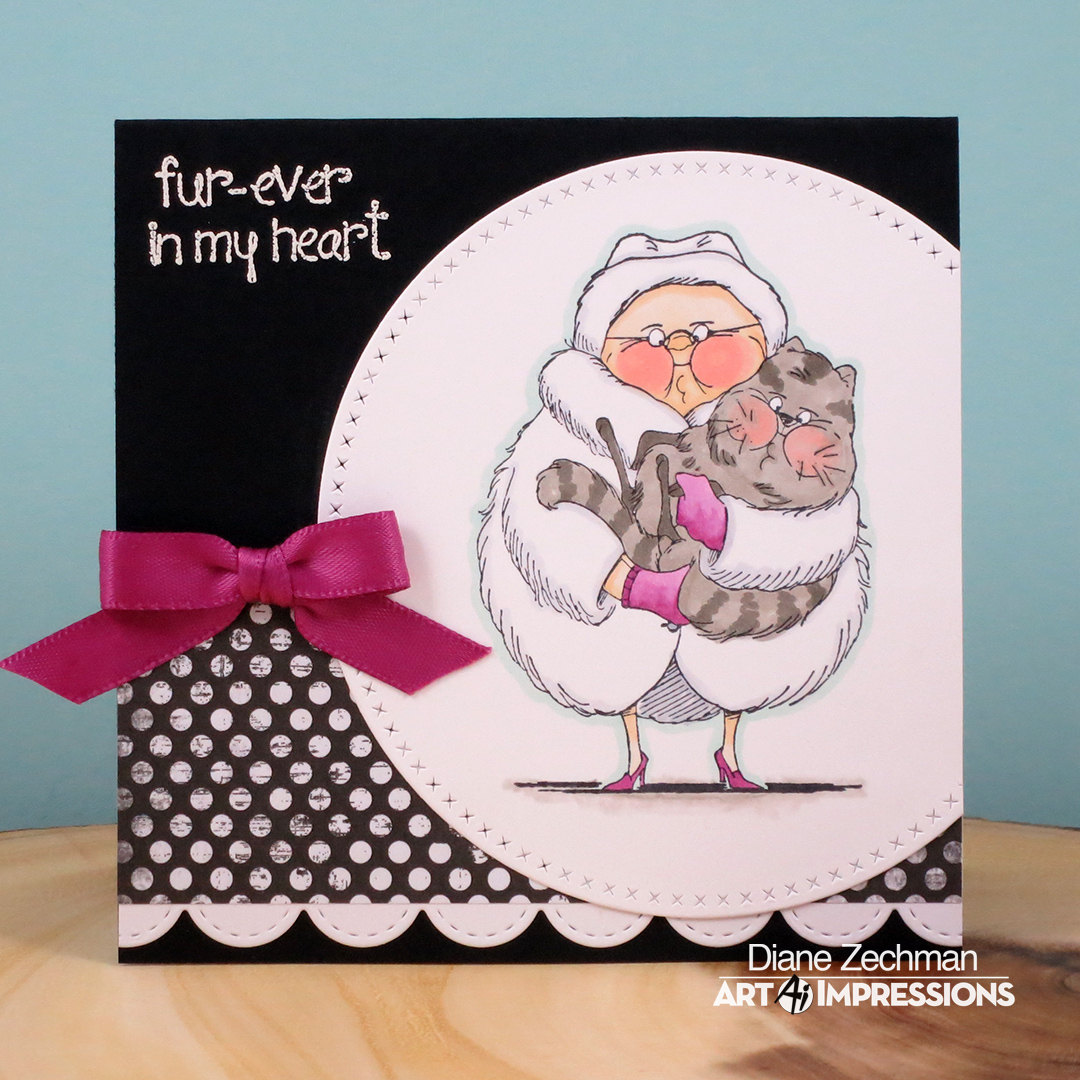
I love the black & white with a pop of pink using the now retired Twins. You can pop just about any Ai image in this fun layout!

twins diane zechman

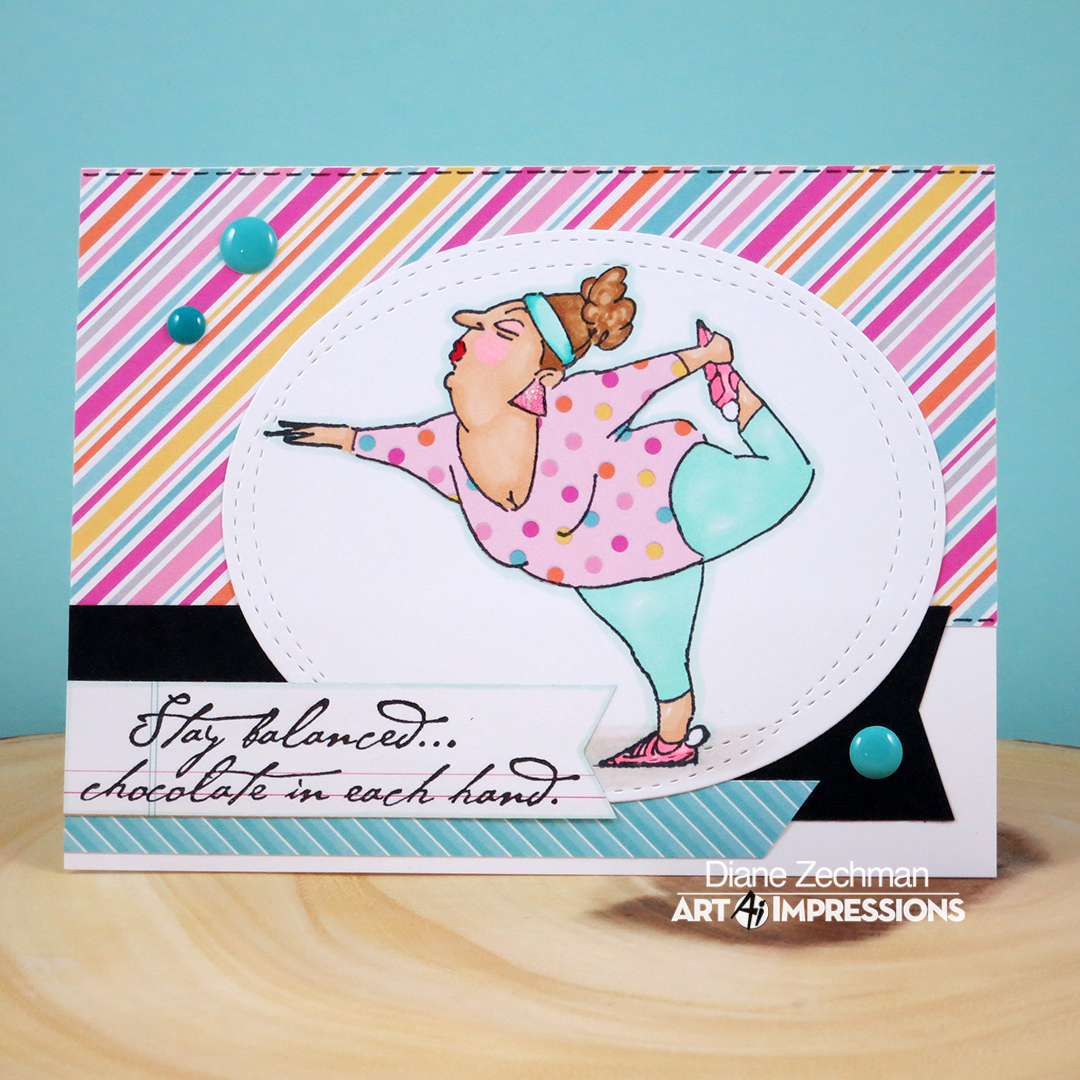
Yoga Yolanda reminds me of a dear friend who I miss working with! Paired with favorite colors, I love this gal!

yoga yolanda 2b diane zechman

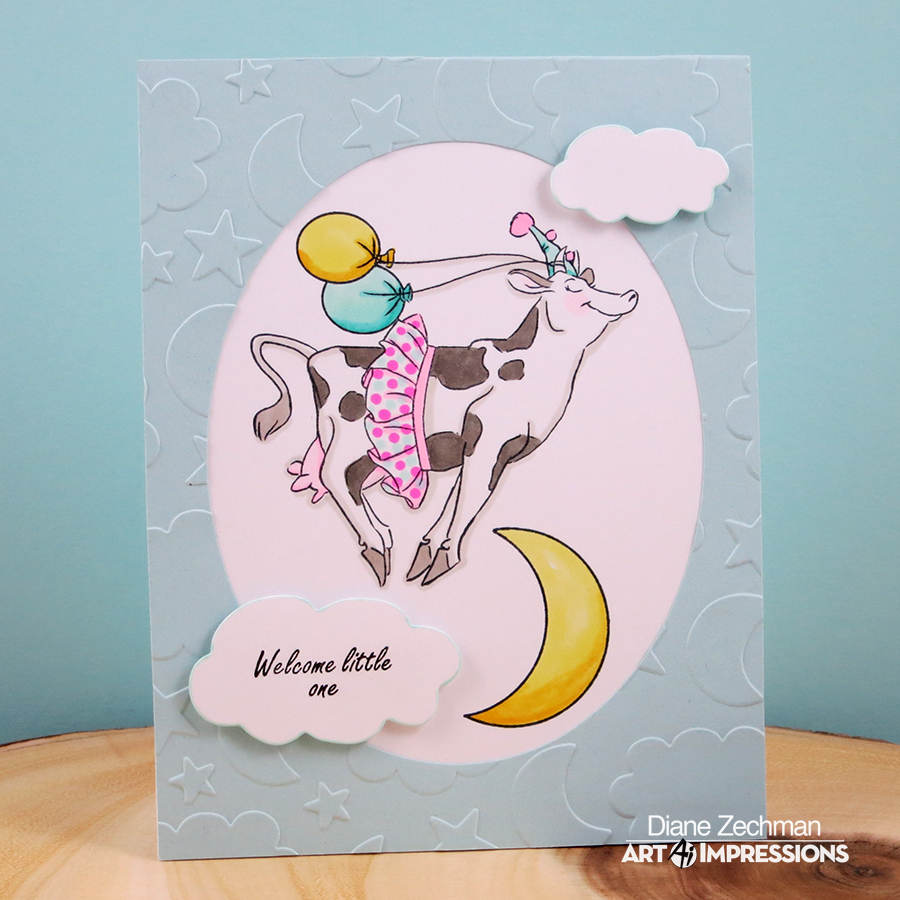
Next up are two projects for the sweet little ones! I loved getting “more bang for my buck” by using the birthday cow from the Udderly Fantastic Set for a baby card!

cow over moon diane zechman

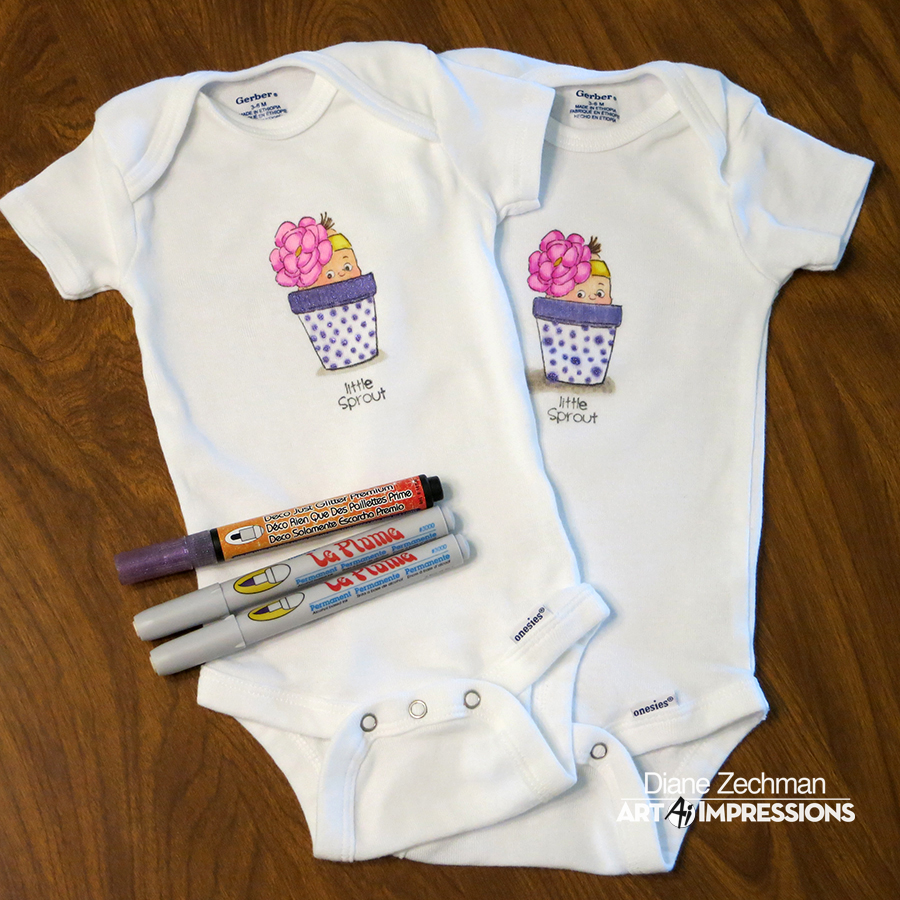
And it was SO much fun using Little Sprout (also now retired) to make some cute onesies again!

little sprout onesies diane zechman

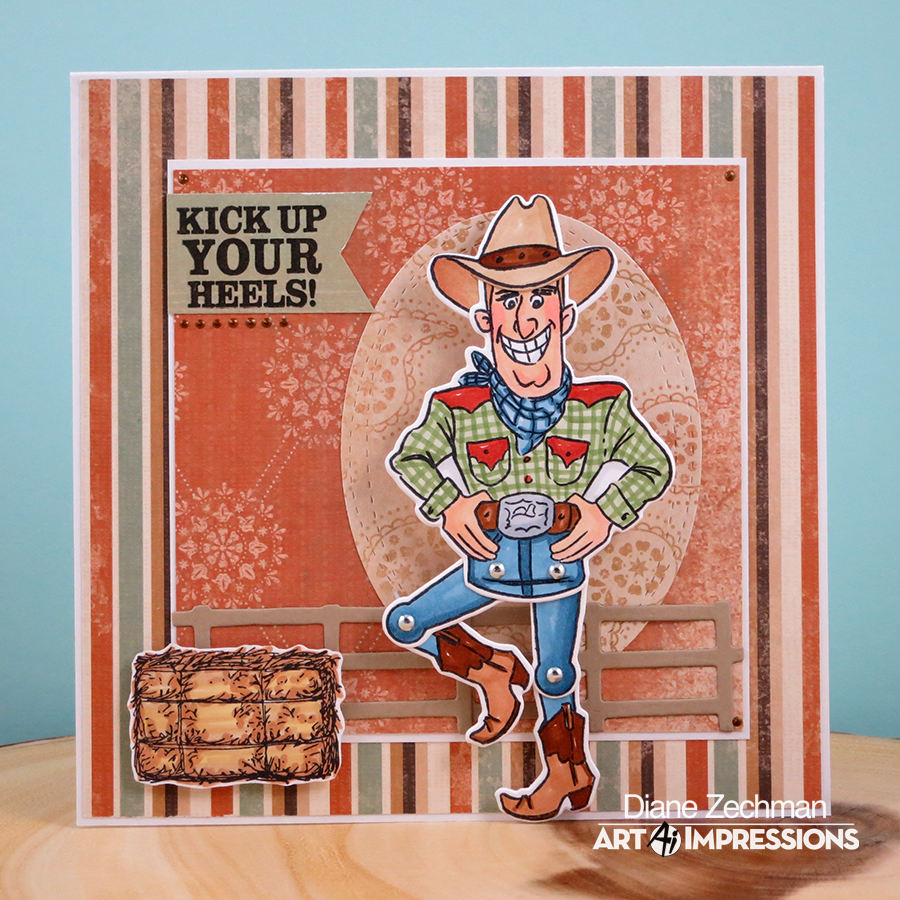
The new Wiggle Wobbles this year are soooo much fun! This guy from Cowboy Wiggle Wobble just makes me smile!

cowboy wiggle wobble diane zechman

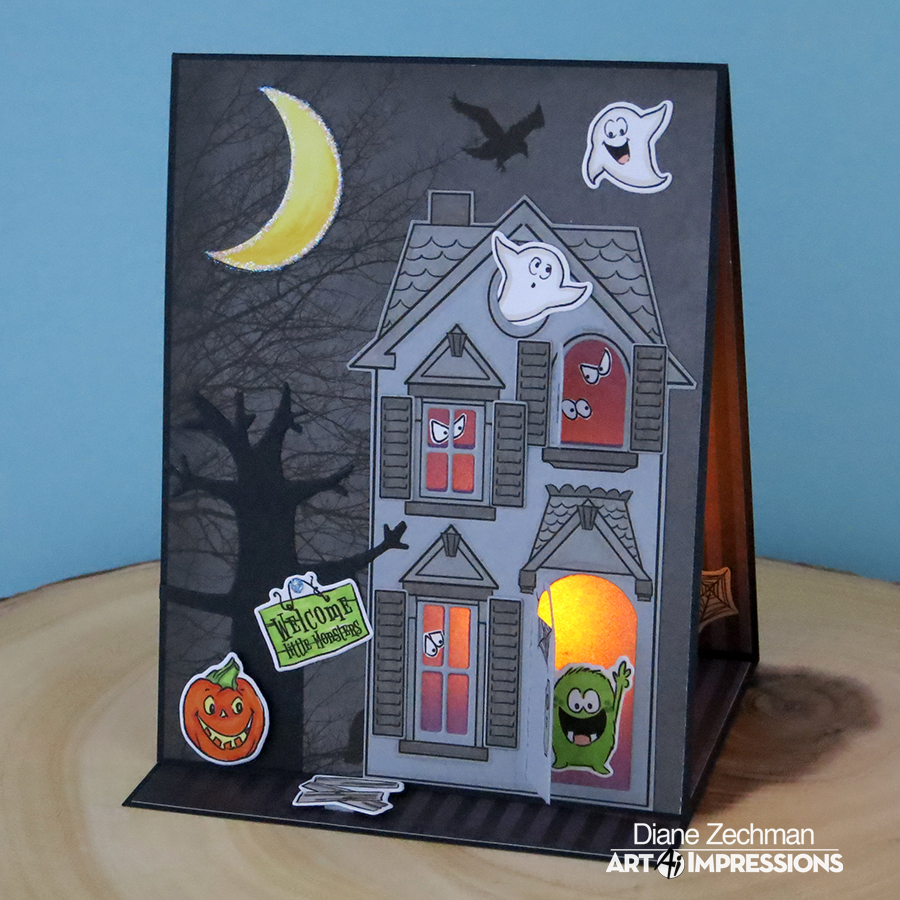
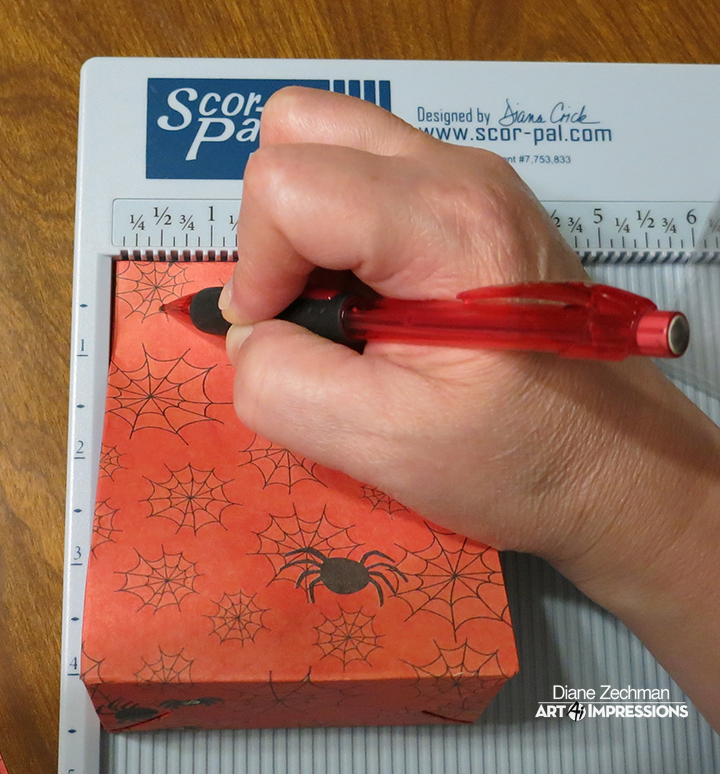
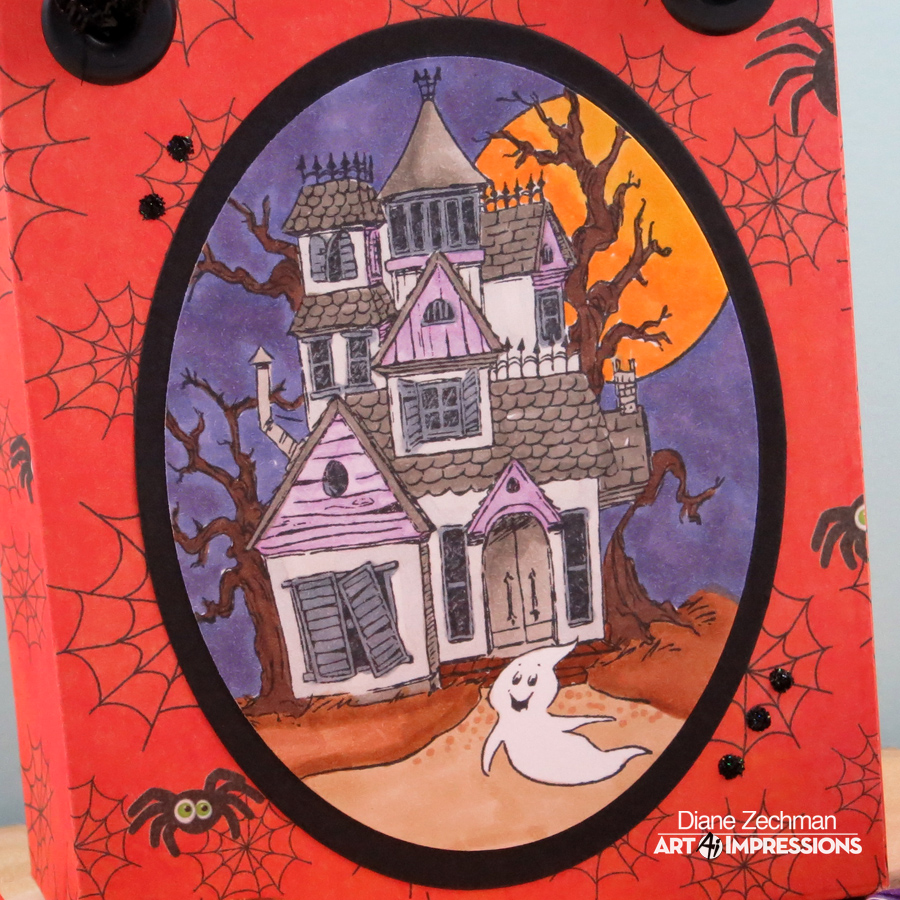
Here’s a couple of Halloween projects. The first is a card with a battery operated tea light inside using Holiday Mansion and the Accessory Set.

CHA 6c diane zechman

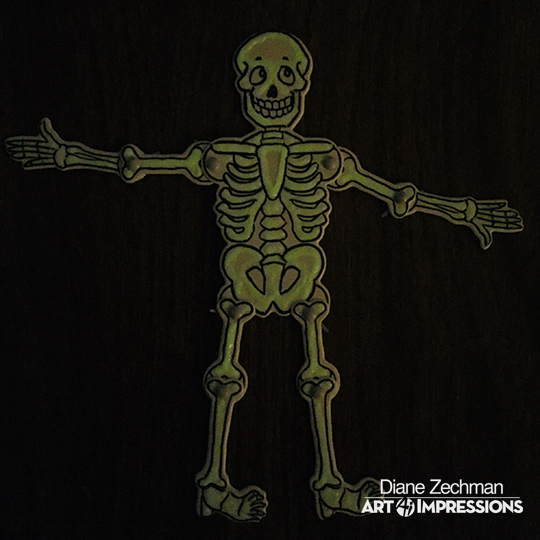
Putting Glow-in-the-Dark paint on the Skeleton Wiggle Wobble brought him to a whole new dimension! So fun! Click on the pic to see the whole card.

skeleton WW 4 diane zechman

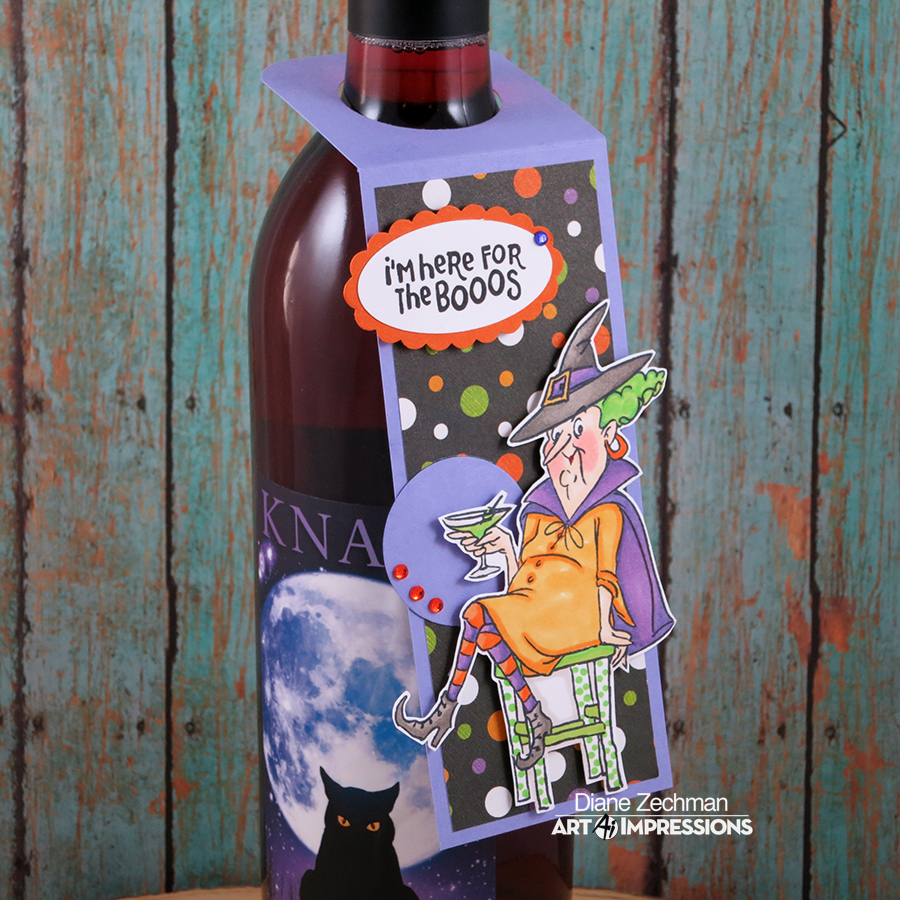
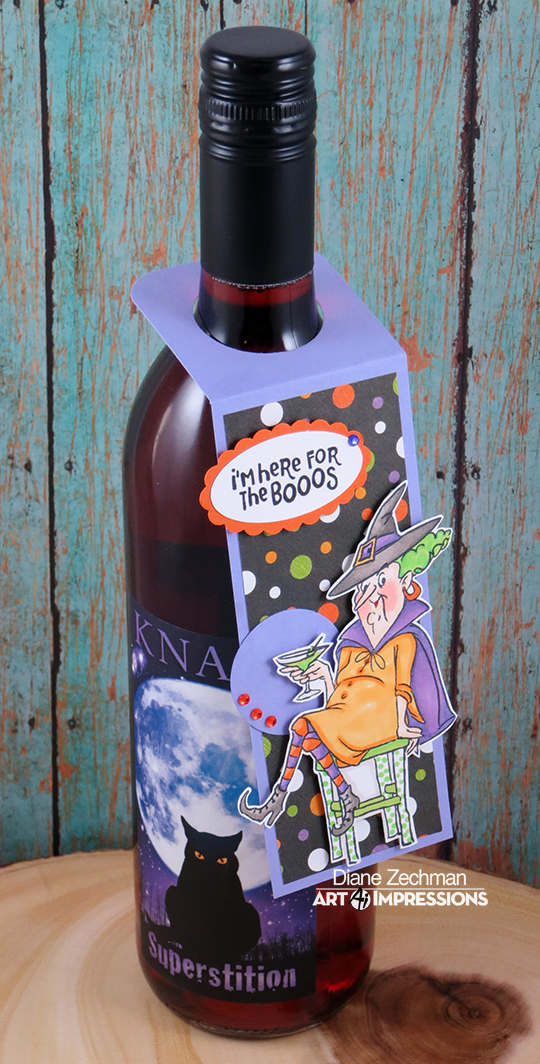
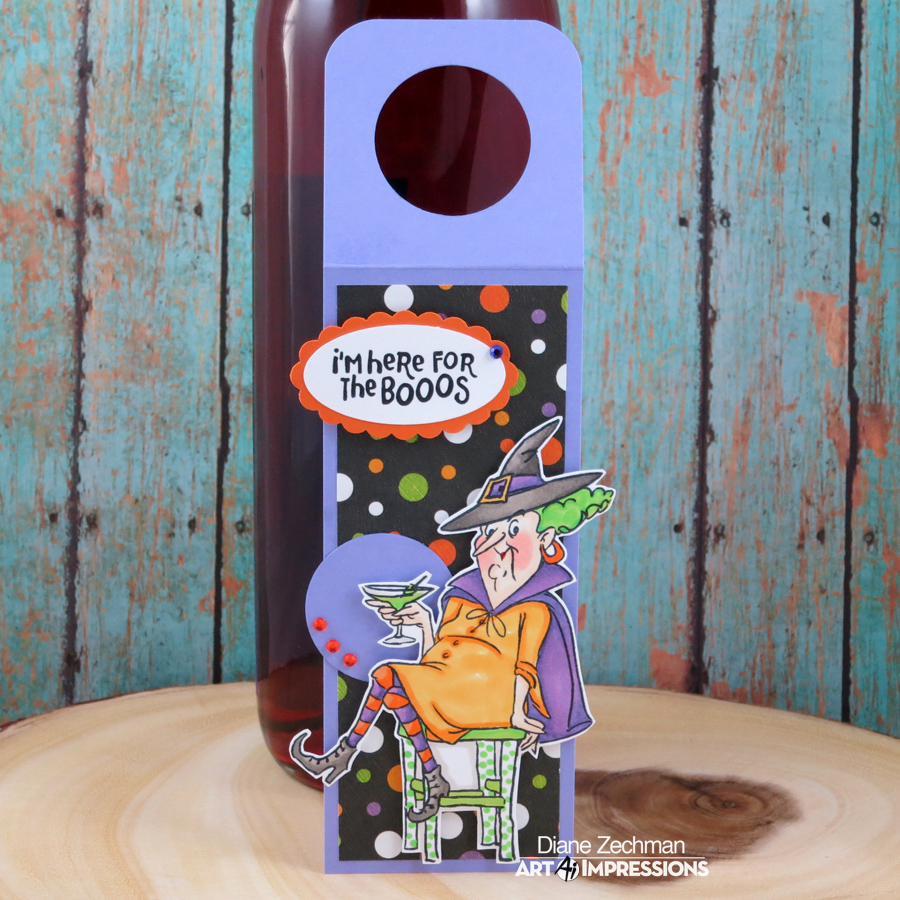
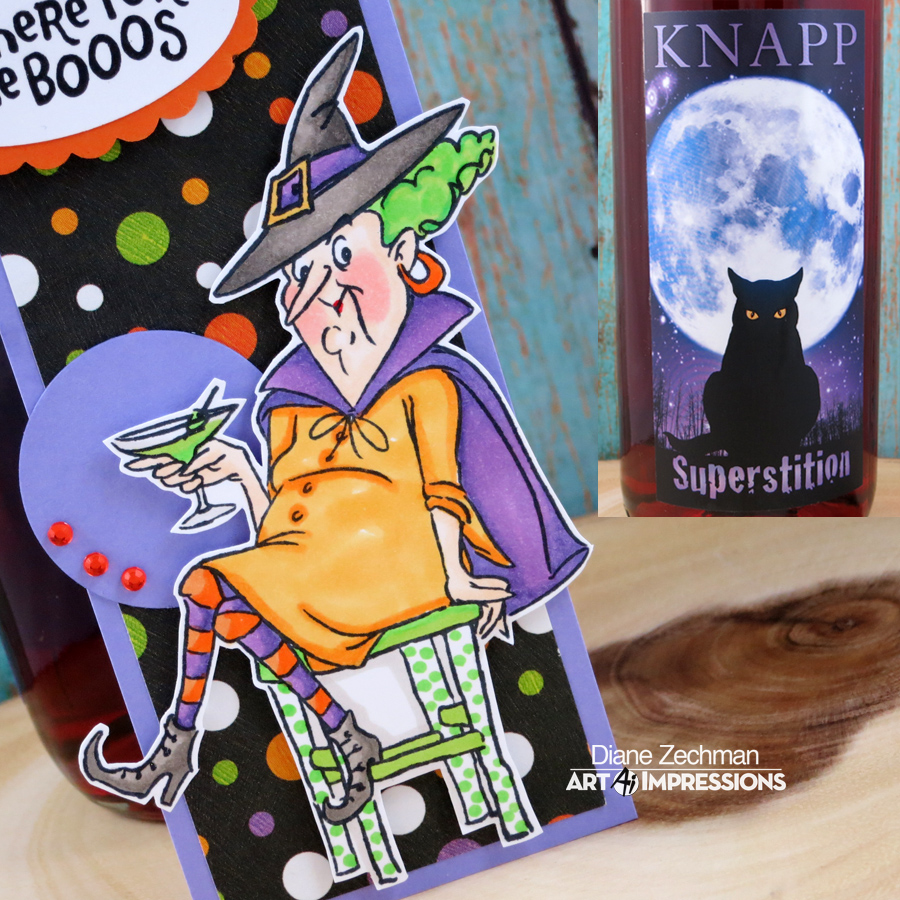
I loved making this wine tag (Old Bat Set) as much as I loved giving it to a friend!

old bat wine tag 2 diane zechman

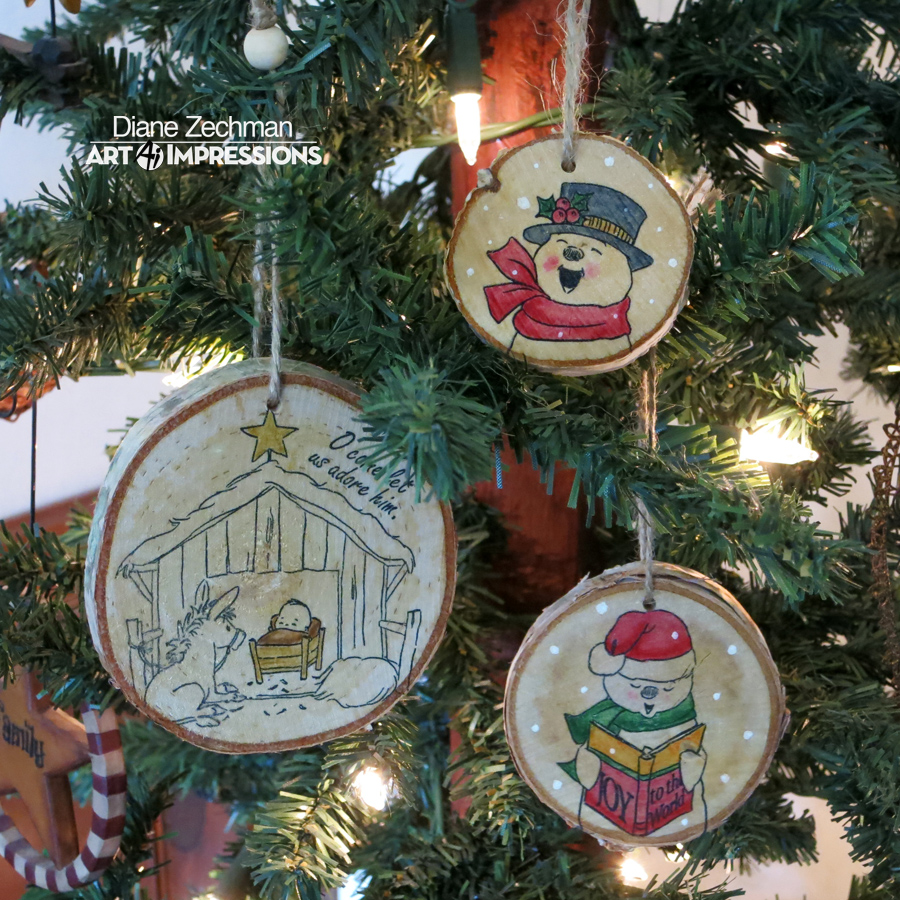
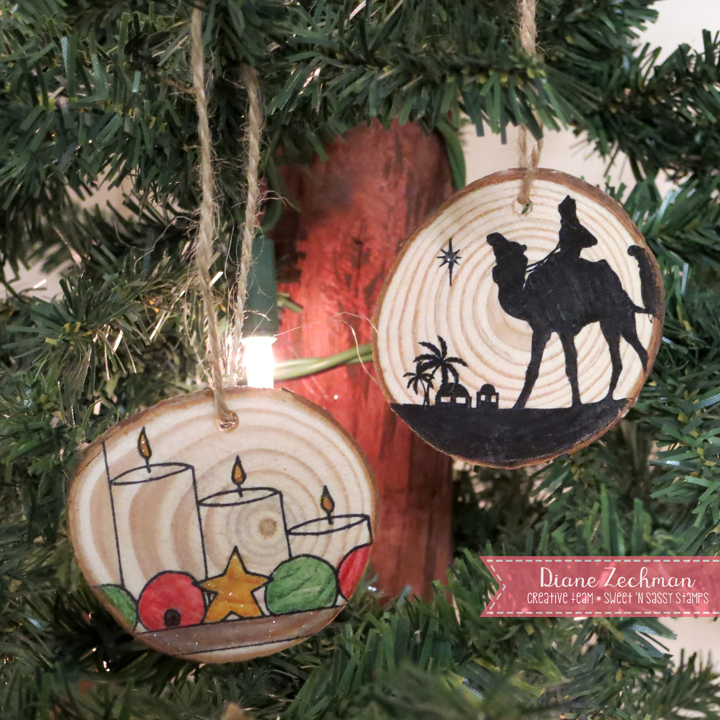
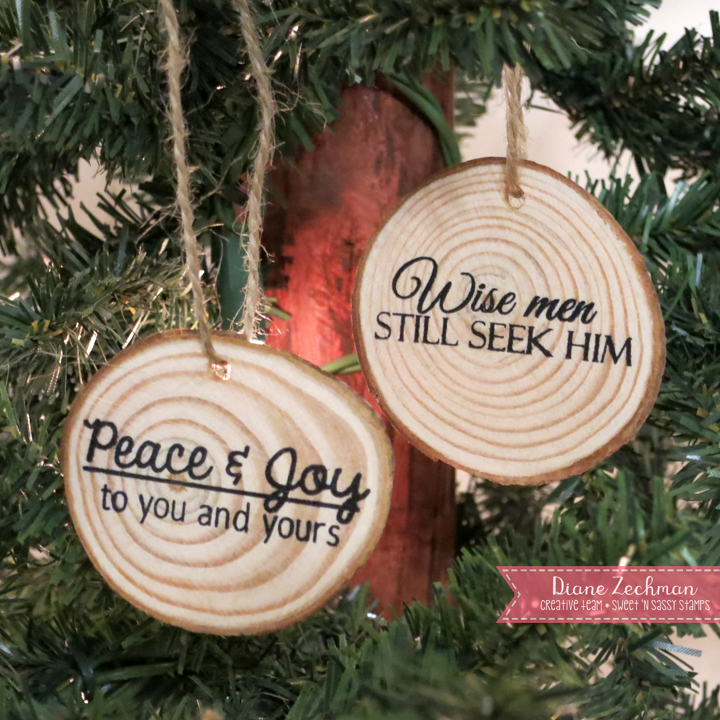
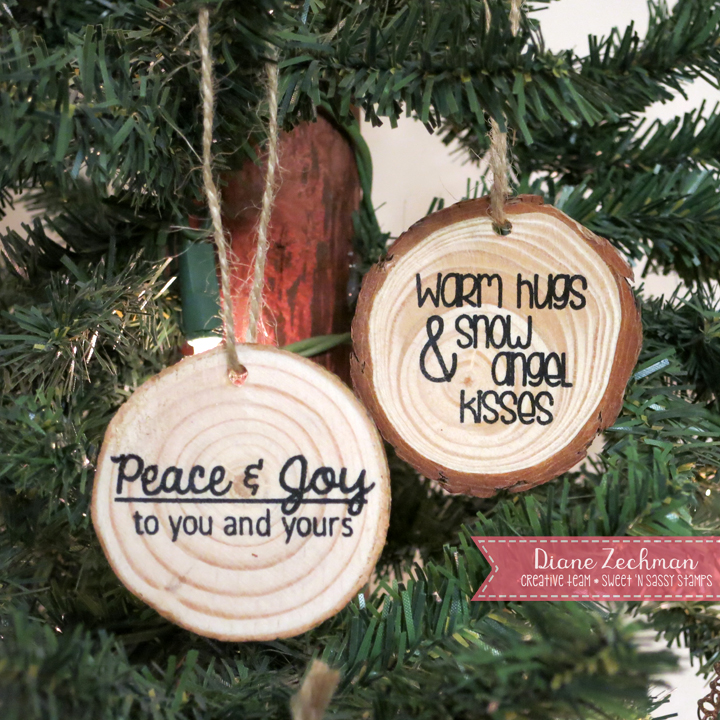
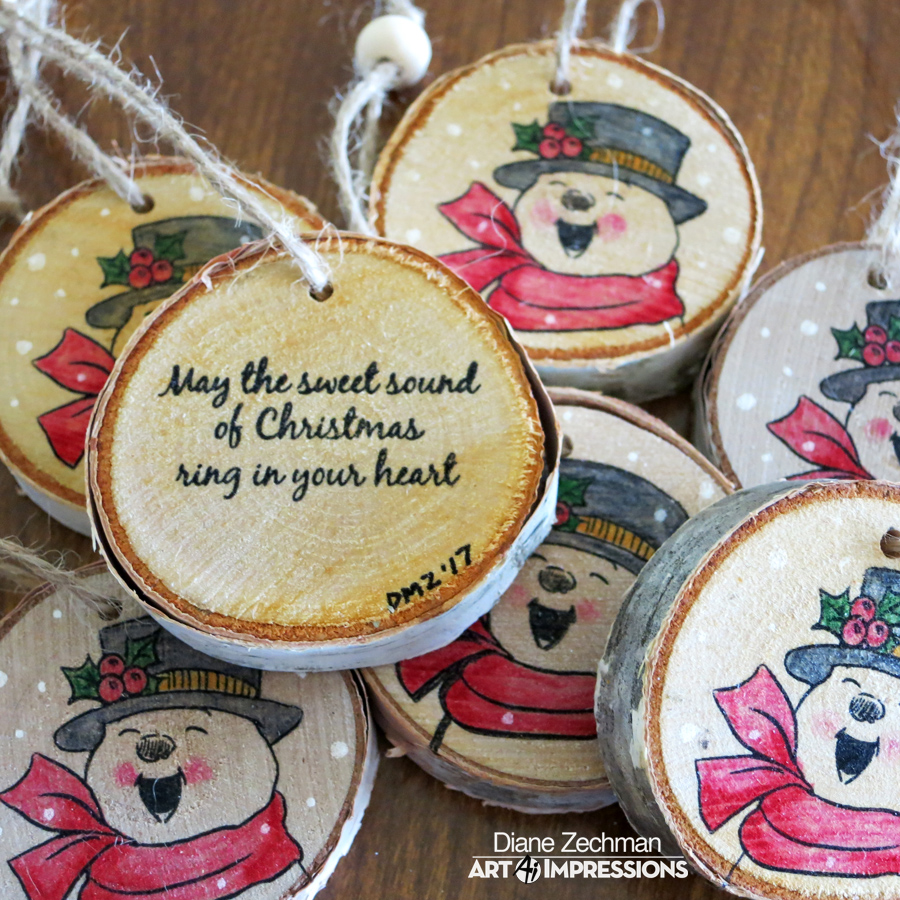
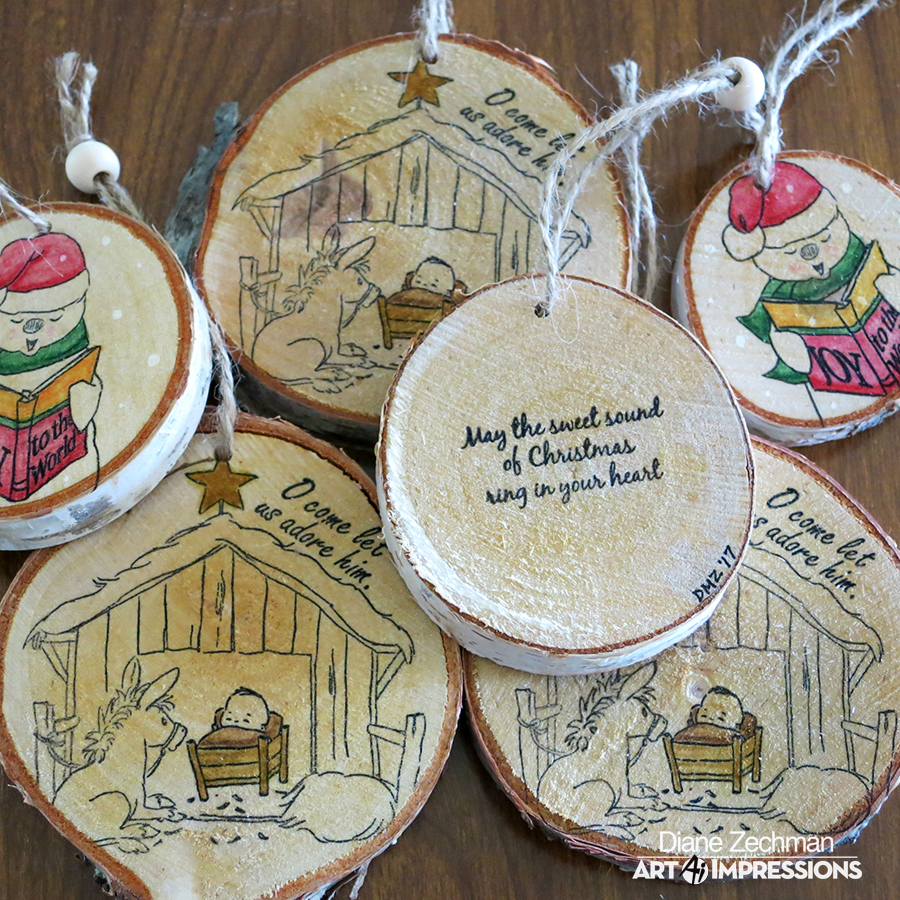
This was my first time trying wood slice ornaments and I was pretty happy with the results. Here I used Singing Snowmen PopCard and Nativity MTF. Although they are SO CUTE as intended, the interactive card sets are not limited to making interactive cards!

IMG_7144 copy

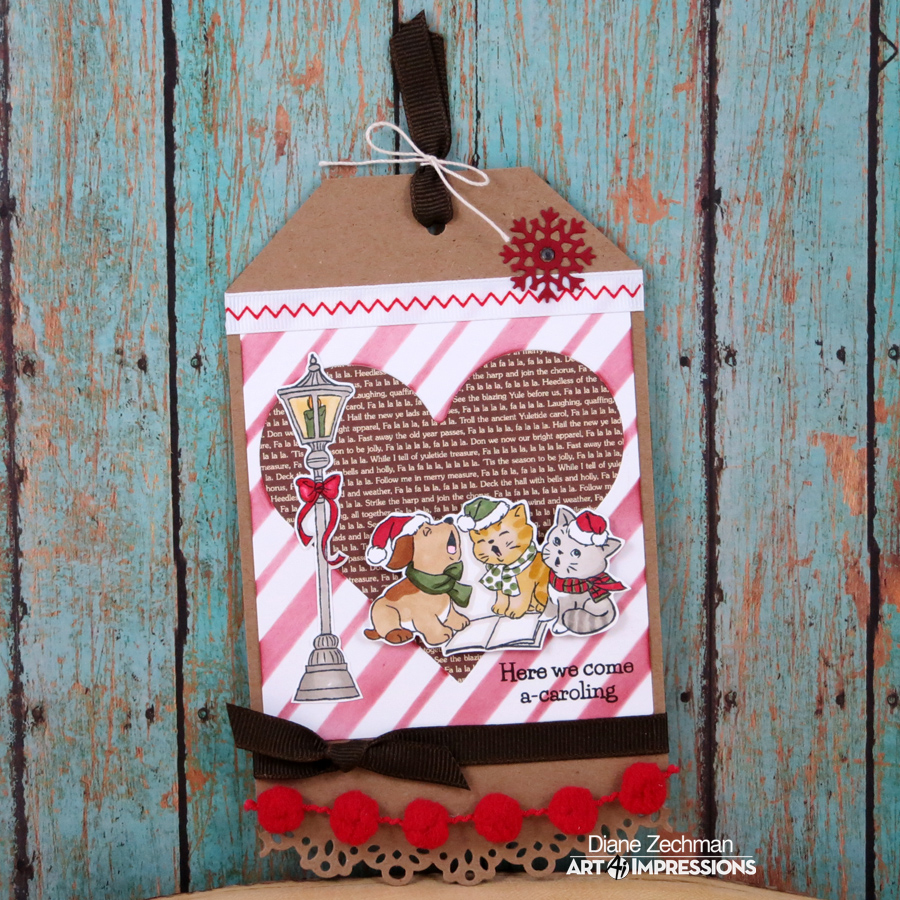
And last, but not least, I loved making this sweet Christmas tag using the Christmas Wonder Set.

caroling tag 1 diane zechman

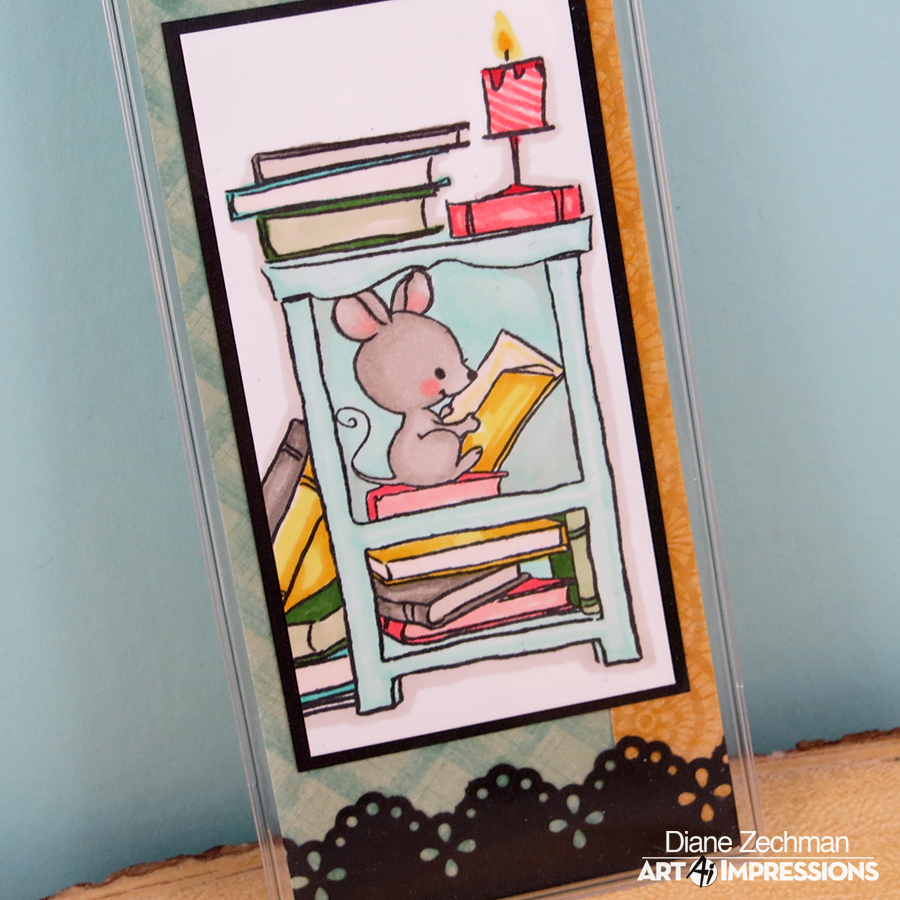
I also wanted to choose one of the new Mouthfuls cards but I already chose my limit. They are one of my new favorites!!  I’ve only shared 3 of the cards I made so far, so watch for more of this fun new line!

I hope you’ve enjoyed all of our projects throughout the year on the Ai blog. Very soon we will share lots of fun cards in the new year! I’m looking forward to it!

Have a blessed Christmas and a great 2018!

Diane Signature Medium size

more wood slice ornaments

Good morning!

Today I am sharing some more wood slice ornaments on the Sweet ‘n Sassy blog. This time I used my Holiday Hugs and Poinsettias & Candles stamp sets along with We Three Kings.

The ornaments were stamped with Archival ink and watercolored with Inktense pencils. The first two are from Poinsettias & Candles and We Three Kings.  I added some Wink of Stella to the star, base, and flames on the first one and a tiny rhinestone to the star on the wise men one.

snss ornaments 1a diane zechman

The back side of the first two…

snss ornaments 1b diane zechman

The third and fourth use Poinsettias & Candles and Holiday Hugs. More Wink of Stella on the flower centers and snow angel wings.

snss ornaments 2a diane zechman

The back side of the third and fourth…

snss ornaments 2b diane zechman

Have a great day!

stamps- Sweet ‘n Sassy Holiday Hugs, Poinsettias & Candles and We Three Kings; ink- Archival Black; accessories- wood slices, Inktense pencils, #10 brush, Artminds wood beads, twine.

wood slice ornaments

Hello friends and happy Monday!

Today I am on the Art Impressions blog with a Christmas project using two different Ai stamp sets… 4943 Singing Snowmen PopCard and 4809- Nativity MTF. The PopCards and Mini TryFolds images are SO fun to use as they were intended (creating interactive cards) but can also be used many other ways! Today I made some Birch Tag (wood slice) ornaments!

IMG_7144 copy

To begin, purchase some wood slices (or cut them yourself if you can!).  I purchased these Birch Tags at Michael’s and Hobby Lobby. I’ve also ordered some from Amazon which are a different type of wood and I haven’t used them yet. But I’m assuming I will have similar results.  The wood slices from Amazon are approx. 3/16″ in thickness compared to the M’s and H.L. ones which are 1/2″ thick.  My husband drilled holes in these for me but some come pre-drilled too.

Next you need to choose the Ai images you want to use. Remember that you can use just a portion of your image if it is too large.  The snowmen I used are from the new Singing Snowmen PopCard. For one, I stamped and masked the songbook before stamping the snowman.  Stazon ink works well but I used my Archival Black because that pad of mine seemed juicier at the moment and it also gave me the permanent ink that I needed for coloring.

I wanted to try the Inktense pencils on them and add water with a brush so the color would smooth out and wouldn’t just sit on top of the wood.  It might be easier to do some shading if you just use regular colored pencils such as Prismacolor.  It’s difficult to blend or shade this way but I do like the look. The wood soaks up the water so quick…you don’t need to worry too much about bleeding out of the lines as long as your pencil color stays within! I used a tiny #10 brush.

IMG_7138

Here are my finished ornaments. A sentiment was stamped on the back of the snowmen ones. Don’t forget to also sign and date!  I also added some “snowflake” dots with a white paint pen. To finish them, I added a small wood bead to the top of the twine (use a 9″ piece).

IMG_7146

I wanted the nativities to be more rustic, so I only spotlighted the star and manger by coloring with shades of brown.

Inktense colors- Beech Green, Cherry, Chilli Red, Carmine Pink (cheeks), Neutral Gray, Sienna Gold, Saddle Brown, Amber, Tan.

IMG_7148

Have a great Monday and… happy stamping!

Diane Signature Medium size

stamps- Art Impressions 4943 Singing Snowmen PopCard and 4809- Nativity ; ink- Stazon or Archival Black; accessories- wood slices (Artminds Birch Tags), Inktense pencils, #10 brush, Sharpie white paint pen (water based), Artminds wood beads, twine.

Old Bat wine tag

Hello friends and happy Monday!

Today I am on the Art Impressions blog with a project using one of my favorite Ai sets- 4784- Old Bat Set.  If you like cute Halloween images, this set is a must-have!  Here I used it to make a decorative gift tag on a bottle of wine for a friend.  (Did you also see Renee’s tag and wine cork pumpkin that she posted earlier?)

old bat wine tag 2 diane zechman

I am planning to surprise my friend who loves Halloween with this…she is always doing things for others so I think a little RAK is in order. 🙂

old bat wine tag 1 diane zechman

I started with a 2 1/4 x 7 3/4 piece of cardstock and scored it @ 2 1/4. The top corners were punched with a corner rounder after punching a 1 3/8″ hole in the center.  I colored her with Copics and popped her & the sentiment on foam dimensionals. I saved the circle that was punched from the top and used it to “spotlight” the glass in her hand.

old bat wine tag 3 diane zechman

I haven’t tried the wine yet, but I’ve heard it was good. At least it has a cute label!  lol.

old bat wine tag 4 diane zechman

Have a great Monday and… happy stamping!

Diane Signature Medium size

stamps- Art Impressions 4784- Old Bat Set; paper- white, SU! Lavendar Lace & Pumpkin Pie, K&Company scrap paper; ink- Memento Tuxedo Black, Versafine Black; accessories- Copics, rhinestones, 1 3/8″ circle punch, SU! Large Oval & Scallop Oval punches, foam dimensionals, corner rounder, clear Wink of Stella.

Susan’s birthday tag

Morning!

I don’t have a card today…this time I made a tag.  My stampy friends and I have dinner together once a month to celebrate birthdays. This month we had two birthdays and our friend Susan’s was one of them. She likes to make tags and has blessed everyone this year with one so I thought it fitting to create one for her.

touches of texture tag diane zechman

I started with a large manila tag and sponged it with Distress Tea Dye, then stamped an old SU! background (By Definition) with the Tea Dye ink.

Then I cut a piece of 3 1/4 x 7 1/4 white cardstock (just winging it here, lol) and sponged it with SU! Certainly Celery and Coastal Cabana inks. It was stamped with those same inks, plus Lucky Limeade, and the SU! Touches of Texture stamp set.  Then I cut each side @ 1″, leaving the center strip 1 1/4″ wide.  The three strips were then cut lengthwise @ 1 1/4″ intervals.

After adhering the pieces to the base tag, I added some burlap tape (1″ wide, cut in half) and glitter ribbon.  It was finished off with Prima flowers, ribbon, a button, and adhesive pearls.

Have a great day!

little sprout onesies

Hello friends and happy Monday!

Today I am on the Art Impressions blog with a special project for your sweet little someone!  This week we are doing a product swap with Marvy and I’ve used a few of their markers, along with the sweet Ai 4317- Little Sprout set, to decorate some baby onesies.

I wanted to try the Marvy Deco Just Glitter Premium markers and I read on the package that they are ideal for fabrics.  Cool!  I remembered the baby t-shirts that I did about 7 years ago and wanted to try making them again, this time adding a bit of glitter!

little sprout onesies diane zechman

I made sure to pre-wash the onesies and then stamped them with black ink.  You can find info on how I do the onesies in the tutorial I previously did on my blog.

I received some great skin tone markers so I colored the baby girl’s skin with Marvy Le Plume Permanent Markers, OR822- Pale Orange and R813- Blush Pink. The rest was colored with Copic markers and I finished by adding some purple glitter with the Marvy Deco Violet Just Glitter marker.

little sprout onesies 2 diane zechman

These little t-shirts also look great hanging on a line to decorate at a baby shower.  You can customize them to the theme and colors!

Be sure to check the Ai blog all week for more inspiration!

Ai Marvy Swap

And don’t forget to enter the drawing!!

a Rafflecopter giveaway

Have a great Monday and… happy stamping!

Diane Signature Medium size

stamps- Art Impressions 4317- Little Sprout set; ink- Memento Tuxedo Black; accessories- Marvy Deco Just Glitter Premium markers and Marvy Le Plume Permanent Markers, Copics, Gerber baby onesies, iron.

New Ai Hobby Lobby Halloween

Hello friends!  The current Ai Challenge is “Orange & Purple” and we are featuring the new Art Impressions Halloween blocks in the Hobby Lobby stores! Today I am sharing how I made a little treat bag with the new 4783- Haunted House block.  The Ai images turn a simple bag into one that is totally unique and fun to give (or receive!).

HL Haunted House bag 1 diane zechman

First, cut TWO 6×6 squares of double-sided patterned paper.  Then score each @ 1/2, 1 1/2, and 2 1/2″.  Turn it 90 degrees to the right and score again at 1 1/2″.

HL Haunted House bag 3 diane zechman

Cut the small rectangle from the bottom left corner and discard.  Then cut the 2 1/2″ vertical scored line up to the 1 1/2″ horizontal line.

HL Haunted House bag 4 diane zechman

Turn it 180 degrees and mark the bottom of the bag @ 1″ and 2 1/2″. Score from each mark to the corner of that rectangle.

HL Haunted House bag 5 diane zechman

Flip the paper over and fold those scored lines to create the bottom flap.  (It helps to tape or glue the flaps down.)  *Now repeat those first steps on the second piece.

HL Haunted House bag 6 diane zechman

Fold all scored lines and apply strong tape to the 1/2″ flaps on each piece. (place the tape on the side which will be the outside of the bag)

HL Haunted House bag 7 diane zechman

Adhere each 1/2″ flap to the opposite side of the other 6×6 piece to assemble the bag.  Fold in the bottom flaps and adhere.

Note- you can cut a 2 x 3 1/2″ piece of cardstock to place inside the bottom of the bag to make it nice & sturdy.

HL Haunted House bag 8 diane zechman

Next, mark both sides 1/2″ down and 1/2″ in from each top corner.  Use these marks as a guide to adhere ribbon handles with eyelets or brads.  Cut two pieces of 10″ to 12″ of ribbon for the handles.  If using eyelets, slip the ribbon through and knot each end.

HL Haunted House bag 9 diane zechman

Now the bag is assembled.  Stamp, color, and cut out your favorite Ai images to add to the front!

HL Haunted House bag 2 diane zechman

The finished bag is 3 1/2 x 4 1/2 x 2″ deep.

HL Haunted House bag 1 diane zechman

Now it’s your turn to break out your favorite Ai stamps, make a card, and join us in the “Orange & Purple” Challenge!

Happy stamping!

Diane Signature Medium size

stamps- Art Impressions Hobby Lobby 4783- Haunted House; paper- white, black, K & Company KP Halloween; ink- Memento Tuxedo Black; accessories- Copics, Scor-Tape, Scor-Pal, We R Memory Keepers Black Jumbo Eyelets, Crop-A-Dile, ribbon trim, Large & Small Oval Nestabilities, Black Stickles, Clear Wink of Stella.

be joyful frame

Hello friends!  The current Ai Challenge is “Let’s Distress” (use Distress ink or distress your edges) and we are featuring the new Windows to the World stamps PLUS a fun new 4887- 3D Frame Die!  Here I used M4877 Be Joyful to make a mini framed image that stands up!

be joyful frame diane zechman

The frame is very simple to assemble…just fold each side and slip the tabs through the slots, then add cardstock and a stand (included in the die) to the back.

I lightly “distressed” the edges of my frame with some sponged ink. Then added some Darice string pearls and paper flowers around the edges to finish it off.

Here’s the back-side…

be joyful frame back diane zechman

Now it’s your turn to break out your favorite stamps, make a card, and join us in the “Let’s Distress” Challenge!

Happy stamping!

Diane Signature Medium size

stamps- Art Impressions M4877 Be Joyful; paper- white, SU! Crumb Cake, Cosmo Cricket- Material Girl; ink- Memento Tuxedo Black, Distress- Tea Dye; accessories- Ai 4887 3D Frame Die, Copics, glue dots, Darice pearl string, paper flowers.

Psalm 5:11

Hello! Just sharing a bible journaling page that I finished today. I’ve done a few pages recently but two were pretty much cased so I may not share those here and another one I will post later this month.

I’ve seen a few pages done recently with artist Diane Duda’s girls and I loved them so much that I was anxious to do one myself!  I chose this girl and paired her with Psalm 5:11.

Psalm 5 11 diane zechman

I did a search for Diane Duda images and resized one, then traced it in my bible with an Illustrated Faith journaling pen. I doodled around the selected verse and also sketched the branches in the top corner.  The word “rejoice” was hand written and somewhat copied from a font I had. Her dress (the flowered part) was paper pieced with a scrap of DCWV patterned paper. I colored the rest of the page with Prismacolor pencils and blended it with Gamsol. The background was colored light blue which doesn’t show up well here, then I sponged over it with the Tim Holtz Tiles stencil and some SU! Marina Mist ink.

I think that about covers it! It was a fun page to do and I can see some more pages coming in the future which are inspired by this artist!  Have a great evening!

MTF bookmark

Hello friends and happy Thursday!

Today I am on the Art Impressions blog with a project using one of the new Art Impressions Mini TryFolds4853 – Pamper Your-Shelf MTF.

This set is created to make a trifold card and includes two dies to cut out the openings in the two layers of the tri-fold, allowing for a sneak peek of the images inside. Instead of making a trifold card, this time I wanted to try something a little different. I’ve been wanting to make a cute bookmark with this set…it is just perfect for one!

To avoid extra layers that I would normally have by die cutting the inside of the shelf for the mouse to peek through, the middle image was omitted.  I stamped and reverse masked the shelf, then stamped the mouse inside.

shelf bookmark close 2 diane zechman

After my image was layered how I wanted it, I slipped it into a plastic bookmark sleeve.  Some paper flowers and ribbons finished it off.

shelf bookmark diane zechman

A bonus for using double sided patterned papers is that your back side looks pretty too!

shelf bookmark back diane zechman

Have a great day and… happy stamping!

Diane Signature Medium size

stamps- Art Impressions 4853 – Pamper Your-Shelf MTF; paper- white, black, MME- Hello Gorgeous; ink- Memento Tuxedo Black; accessories- Copics, bookmark sleeve, Martha Stewart eyelet lace punch,  SU! oval punches, Pale Gold Nuvo drops, ribbons, twine, paper flowers, brad.