Category Archives: baby

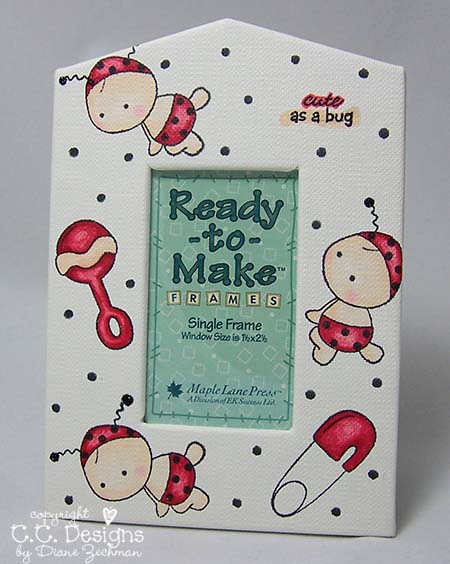
cute as a bug

I had a fun day today…shopping with a friend!  :0)  But before we were shopping, we met up with another friend who is expecting a baby very soon.  I missed her shower and wanted to deliver a gift.  Along with the purchased items, I wanted to make a little something handmade.

Here is what I came up with.  I wasn’t sure if it would be a boy or girl so I was hoping this would be ok either way. 

baby-bug-frame-diane-zechman.jpg

I was really pleased that the Copics worked well on the frame.  Just like on fabric, they did not blend well…but there was very minimal bleeding of the color. 

The tiny black background dots were made with a stamp that has a row of dots.  I just kept inking only the first dot. 

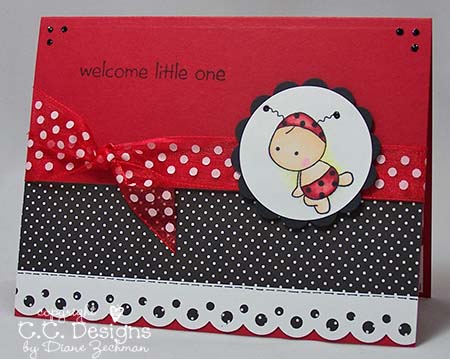
And here’s a matching card to go with it…the words here and on the frame are from AmyR’s new Baby Sentiments.

baby-bug-diane-zechman.jpg

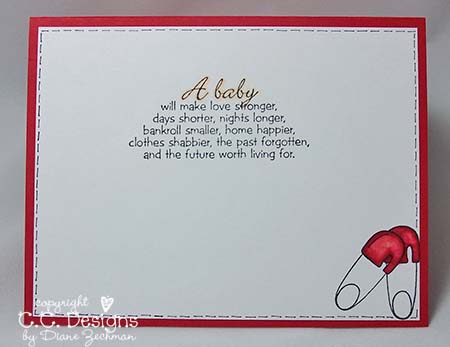
And I snapped a quick pic of the inside so you can see the verse (also from Amy’s set).  I love this sentiment!

baby-bug-inside-diane-zechman.jpg

stamps- Gingersnaps Oh Baby! and Fairy Junebug (dots) by C.C. Designs, AmyR Baby Sentiments; paper- Real Red, white, black, dp- Making Memories; ink- Memento Black; accessories- frame, Copics, Stickles, circle punches, ribbon, Martha Stewart Scalloped Dot punch.

a turtle shower

Loooong post today! I have several pics to share of the baby shower I helped with. The mom is decorating the room with turtles so we went right along with the turtle theme! The Pond Life set from C.C. Designs came in handy here.

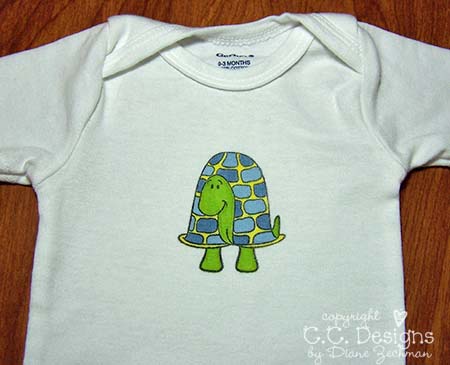
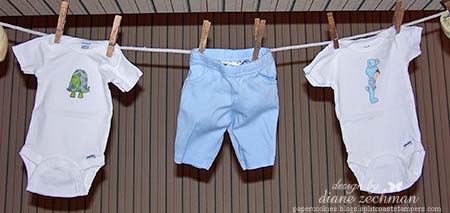
Remember the onesies I stamped a few weeks back? I also made this one…
turtle-onesies-diane-zechman.jpg

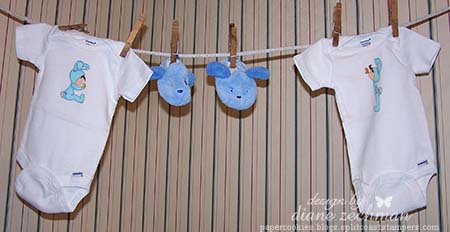
…and we hung them all on a line at the shower for decoration…

clothesline-1-diane-zechman.jpg

clothesline-2-diane-zechman.jpg

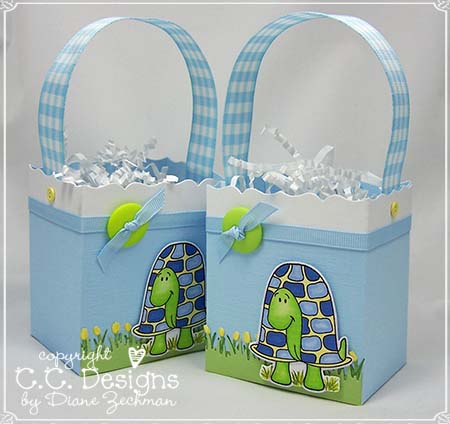
Then I made some little gift bags for the winners of the baby games (everyone seemed to enjoy playing along!).  These were filled with some Ghirardelli chocolates and flower bulbs. 

turtle-gift-bags-diane-zechman.jpg

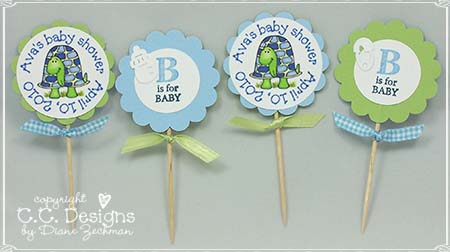
Next I made some cupcake toppers…

turtle-cupcake-toppers-diane-zechman.jpg

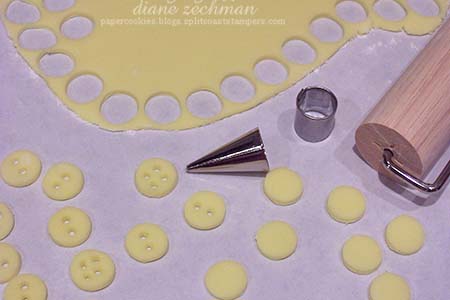
And then I was inspired from a link shared by JulieHRR (to make tiny cookie buttons).  I made mine from fondant instead.  I used a tiny circle cutter to cut them out and then made the holes with a Wilton frosting tip…

fondant-buttons-diane-zechman.jpg

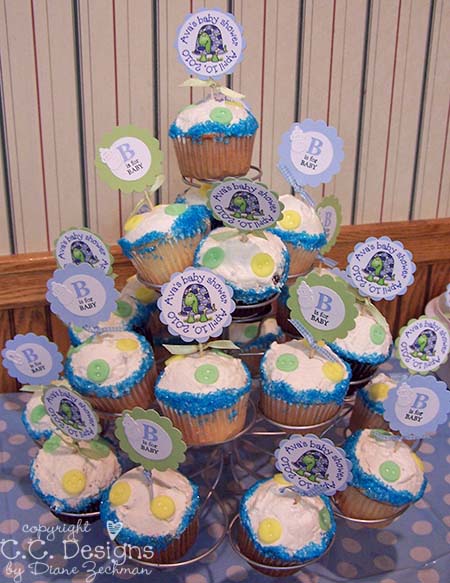
Here’s the cupcake tree…it was a group effort.  My SIL baked them, my MIL filled and frosted them, DD rolled the edges in sugar crystals and I put the decorations on.  Not professionally made but definitely made from the heart!  ♥

turtle-cupcake-tree-diane-zechman.jpg

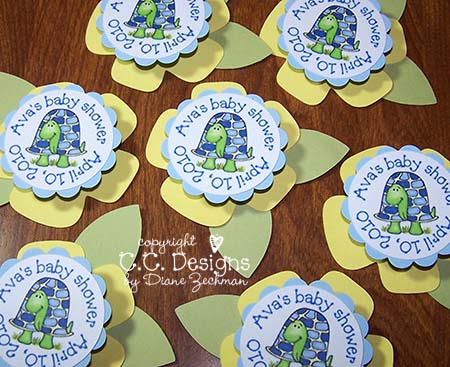
I decided to also make some peppermint patty favors…and finally got my Cricut out of the box to cut the large flowers and leaves!  The peppermint patties are sandwiched between the turtle toppers and the flowers.

turtle-pepp-patties-diane-zechman.jpg

Gotta love those after Easter sales when you need a cute basket to put them in!

turtle-pepp-patties-basket-diane-zechman.jpg

This was my card and it was already shared but I thought I’d add it here again with the rest of the pics….

turtle-baby-card-diane-zechman.jpg

And last pic today….I made a quick set of coordinating thank you cards for the mom…

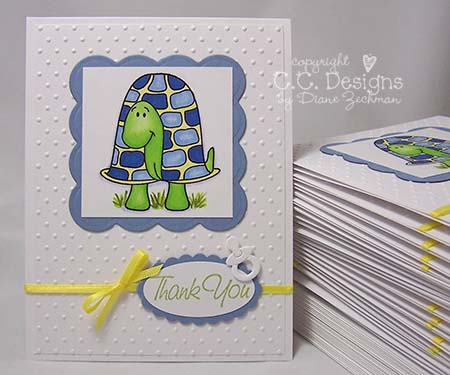
turtle-thank-you-diane-zechman.jpg

We had a fun day…now I can’t wait to meet the new little one!

various supplies used:

C.C. Designs Pond Life, AmyR sentiments and SU! incentive stamp, Copics, Cuttlebug Baby #2 die, Martha Stewart grass and tulip punches, buttons, ribbon, brads, Cuttlebug Swiss Dots and Baby folders, Big Scalloped Squares Nestabilities.

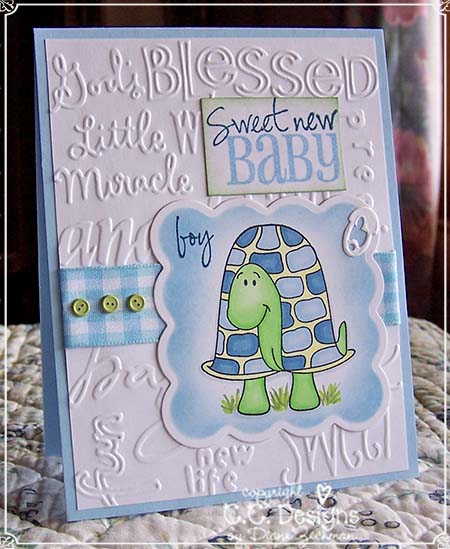
sweet new baby boy

Happy Monday!  Today All That Scraps is previewing 2 sets of words by Amy Rysavy…Big Words and Handy Additions.  I combined both sets to make the sentiment here…

turtle-baby-card-diane-zechman.jpg

This card is for an upcoming baby shower and I’ll have some more pics of that later.  The mom is obviously expecting a boy and has planned a turtle theme for the nursery.  Amy’s words were a perfect addition…I love the fonts she chose!

More samples can be found here.  Have a fabulous day!

stamps- Pond Life and AmyR Big Words & Handy Additions by C.C. Designs; paper- Bashful, white; ink- Bashful, Celery, Navy, Memento Black; accessories- Cuttlebug Baby folder and die, button brads, Big Scalloped Squares Nestabilities, ribbon.

baby onesies / Copics on fabric tutorial

Happy Monday!  :0)  Today I have a tutorial for you on how to stamp on baby onesies and color them with Copics.

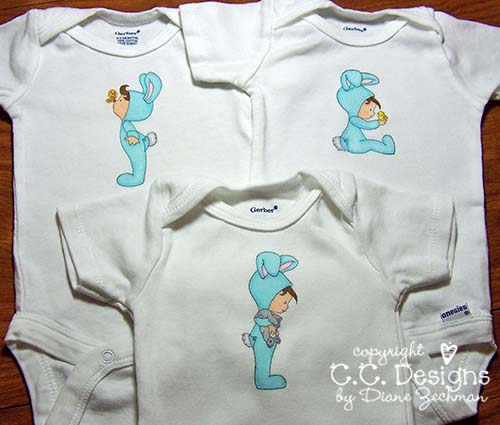
I made these onesies for a baby shower using the Baby Bunnies from All That Scraps.  It really is quick and easy…and lots of fun!  So let’s get started…
onesies-tut-5-diane-zechman.jpg

Supplies needed:

onesies, cardboard / paper scraps, permanent ink (discussed below), stamps, iron, Copic markers.

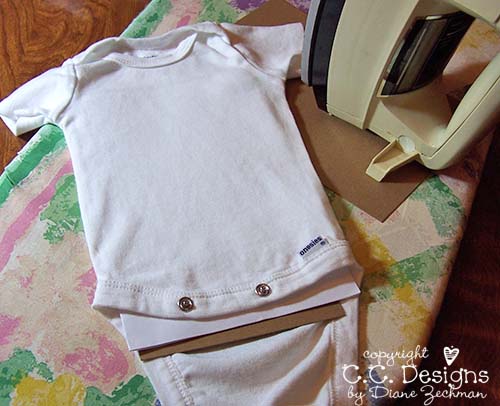
First you need to wash and dry the onesies (or any other fabric you use) to remove the sizing.  (Sizing is the process manufacturers use to make the fabric stiff)  This will help keep your inks from fading.

Next, iron the fabric so you have a smooth surface to work on and a nice finished product.

After you have ironed the shirt, slip a piece of cardboard inside to make a harder surface to stamp on and also to prevent your ink from bleeding through to the back of the shirt.  I also slipped a piece of white paper inside.
onesies-tut-1-diane-zechman.jpg

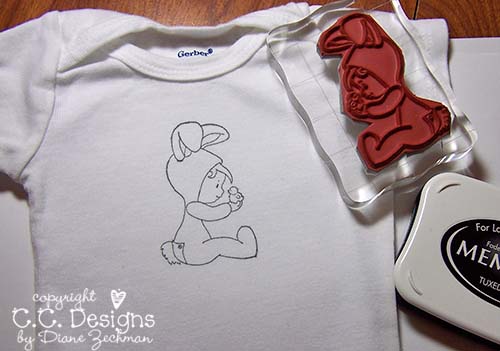
Next, stamp your image using a permanent ink.  Make sure that your stamp is well inked for good coverage.

If you are planning to color it in with Copic markers, then Brilliance or Memento work well.  If you are using a solid image or don’t plan to color with Copics, then Stazon inks work great too.  Just remember to not use Stazon inks along with the Copic markers as they are not compatible.

After stamping the image, let it dry and then heat set the ink with your iron about 5 seconds.
onesies-tut-2-diane-zechman.jpg

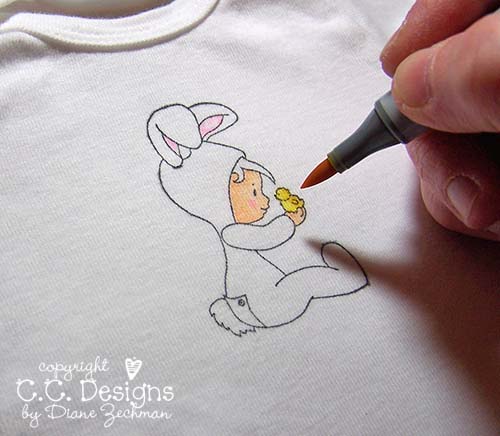
Now you are ready to color.  Coloring on fabric with Copics is not quite the same as coloring on paper.  You don’t have the smooth, fluid movement with the marker as you do on paper.  And it isn’t as easy to blend your colors, so if you want to use different shades together, I’d suggest keeping your numbers as close as possible.

When working on fabric, you need to start in the middle of the space you are coloring or at least stay away from the lines until you see how far the ink will spread.  The fabric will wick the ink and if you color too close to the line, it will seep over it.  It’s not difficult, just be careful.  You can go back and fill it in if needed.  If you want to try it, you might be able to iron the image as you color and the heat would hopefully help dry the ink faster, therefore reducing the amount it spreads.
onesies-tut-3-diane-zechman.jpg

Here is my finished image….I heat set it once again when I was done.
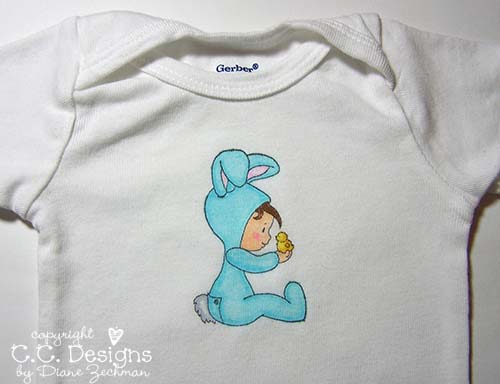
onesies-tut-4-diane-zechman.jpg

And here’s a pic of all three bunny tees….
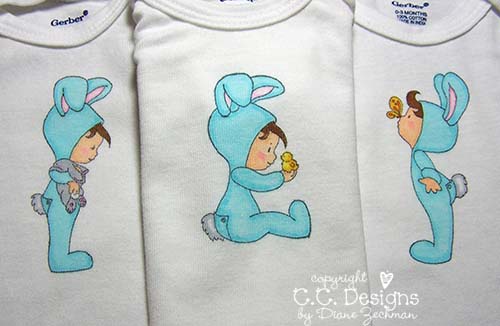
onesies-tut-6-diane-zechman.jpg

Variations:

You can also add buttons, beads, stitching, ribbon, etc.  But I chose to leave them plain…I think those accessories would look much cuter for a girl.  ;0)

Fabric paints can also be used but I would suggest applying them with a stencil and a brush to get a thinner layer.  Fabric paints tend to dry hard and stiff, crack and peel over use and will stick on itself when folded.  Not something you want on your baby’s soft skin.

Fabric markers would be a good alternative to the Copics.  Be sure to test them before applying to your project.

Leisel and her Wheelbarrow

Hello all!  I hope you have been enjoying your week! 

I’ve been absent here the past few days as we were on vacation to Cedar Point in Ohio.  We had a great time but it’s always alot of work getting ready and then unpacking too, isn’t it?  LOL.  I am told that the roller coasters were great!  (I’ll keep my feet firmly on the ground, thank you very much!) ha ha.

So while I was gone, the previews for the GREAT new sets for August started over at All That Scraps!  I’ll start playing catch-up with this new Swiss cutie named Leisel and her Wheelbarrow.  I love her and the new Heidi stamp is awesome too!

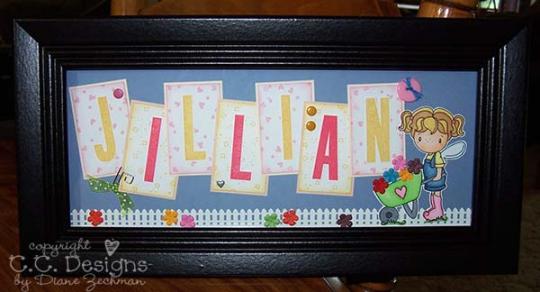
Last week I was asked to make a baby shower gift.  The baby shower was in 3 hours!  Eeeek!  But I couldn’t say no, so my mind was thinking about what I had on hand to create.  Thankfully I had this frame tucked away to be used for a name frame, and she knew the mom was having a girl and naming her Jillian. 

jillian-frame-diane-zechman.jpg

I immediately thought that Leisel with her wheelbarrow would look cute with the Martha Stewart Picket Fence punch to create a scene.  I was wishing I had more time though.  I would have stamped a soft background on the blue and maybe add a few tiny words.  I also would have finished the little Primas with some Stickles or Liquid Pearls.  But there was no way it would have had time for that to dry….the frame was finished 5 minutes before it went out the door!  LOL.

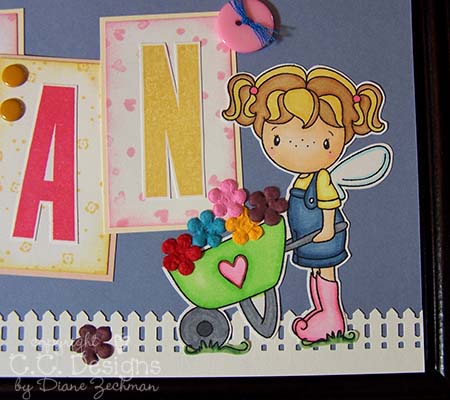
Here’s a close-up of Leisel:

jillian-frame-closeup-diane-zechman.jpg

You can check out the other sweet samples and new set previews on the ATS blog and in the gallery.  And don’t forget to leave a comment on the blog for a chance to win the sets!

stamps- Leisel and her Wheelbarrow by C.C. Designs, Headline Alpha and Petite Patterns by SU!; paper- white, blue, yellow, pink by Making Memories; ink- So Saffron, Regal Rose, Pretty in Pink, Memento Black; accessories- Martha Stewart Picket Fence punch, frame (Walmart), Copic markers, snaps, brad, ribbon, square clip, button, Primas.

ATS June sneak peeks

fairy-junebug-1-diane-zechman.jpgIt’s time again for some sneak peeks of the new C.C. Designs sets for June!
Today I have 2 pics to share…and there’s more to come.  (My new set will preview Sunday so be sure to check back!)

This new fairy set previewed yesterday…it is called Fairy Junebug.  Fairies are so popular now and this cutie is just adorable, isn’t she? 

The short row of dots in the upper left and bottom right corners is also a stamp in this set.  I used one of the sentiments as well, but it is on the inside of my card since I ran out of room on the front.  LOL.

The pretty papers are from SU!….I purchased them from their paper sale.  I thought the bright, cheery colors would be perfect for this gal so I used those shades to color her in.  The image was stamped on Shimmery White cardstock so it has some sparkle. 

stamps- Fairy Junebug by C. C. Designs, paper- Shimmery White, Regal Rose, SU! Sweet Always dp; ink- Palette Black Noir; accessories- Labels 4 Nestabilities, Copic markers, gel pen, ribbon, Primas, Stickles.

oh-baby-1-diane-zechman.jpgHow sweet is this baby, all bundled up?

This is from Christine’s first baby set…Gingersnaps Oh Baby!

I decided to paper piece the baby’s pouch with some Basic Grey dp.  And once again the main image was stamped on Shimmery White cardstock.  I love that shimmery paper and once in a while I pull it out and use it on several projects for a change of pace.

This is a simple card but I felt that it was needed with such a sweet, simple image!

Be sure to check out the ATS blog and gallery for more samples of these 2 sets and you can also enter to win one!

stamps- Gingersnaps Oh Baby! by C.C. Designs; paper- Shimmery White, Regal Rose, Celery, Basic Grey Eva; ink- Palette Black Noir; accessories- Oval Nestabilities, ribbon, gel pen, Cuttlebug Baby A2 folder.

Baby’s First Christmas paper bag album

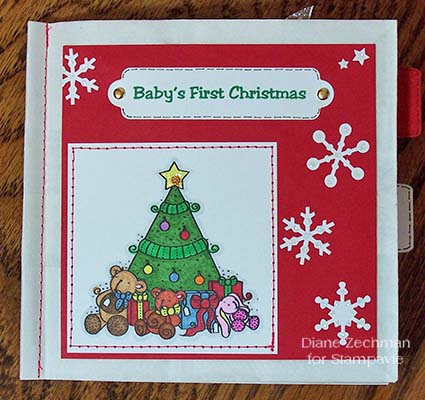
bfc-album-cover-diane-zechman.jpgMy friend invited me to stamp recently and she said that she needed to make a baby shower gift.  Well, that was just a perfect theme for me too because I am overdue with a gift for a shower that I was unable to attend.  My friend suggested we make a paper bag album and I came up with the “Baby’s First Christmas” theme since it is getting close to the holiday and I had these *cute* Rachelle Anne Miller stamps that I was eager to use.  Rachelle’s images are just adorable and perfect for a baby theme!

I started out by machine stitching the binding on the bags (we used 3 lunch size bags).  I also machine stitched the main image to the layer on the front cover.  All of the other stitches you see are faux stitching with a Micron pen or a gel pen.  This was a fun project to create together because we could share our dies, punches, papers and embellishments!  Of course, we didn’t get it all done in one night but we got everything stamped, punched and laid out.  I did all of the coloring, glueing and finishing touches later.  I decided not to stamp any words on the tags, etc. so that the recipient could personalize it however they want as they add their own photos of this joyful Christmas holiday.

*Just a note- the Rachelle Anne Miller images, along with the Cuttlebug and Nestabilities can be found at All That Scraps.  And right now Christine has the Limited Edition Holiday folders on sale so go check ’em out!

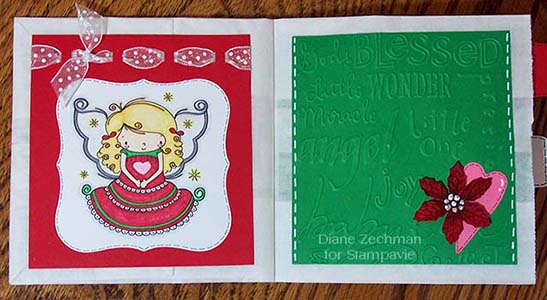
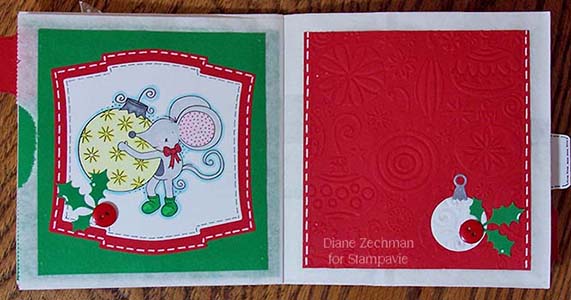
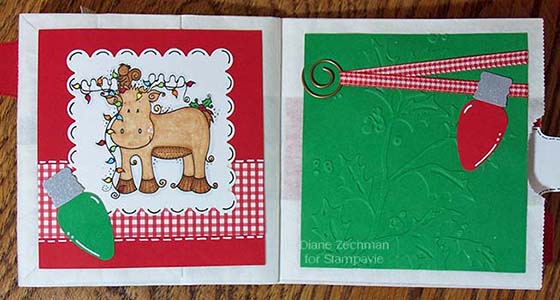
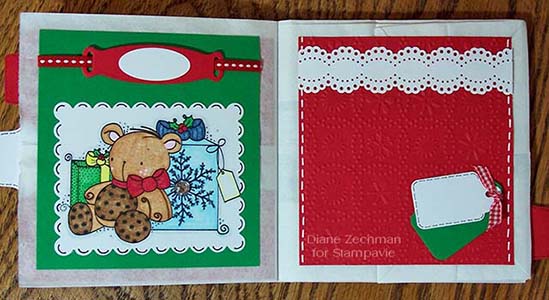
Here are pics of the pages inside:

bfc-album-pg-1-diane-zechman.jpg

bfc-album-pg-2-diane-zechman.jpg

bfc-album-pg-3-diane-zechman.jpg

bfc-album-pg-4-diane-zechman.jpg

bfc-album-pg-5-diane-zechman.jpg

recipe: are you ready for this?  :0)

stamps- Rachelle Anne Miller: Gifts Tree, Moose, Mouse, Snowman, Teddy Bear, and Angelface by Stampavie; paper- Real Red, Regal Rose, Creative Memories Green and patterned paper, White; ink- Palette Black; accessories- white lunch sized paper bags, sewing machine, Copic markers, Primas, circle clip, ribbons, buttons, gemstone, brads, glue dots, red-line tape, Shimmerz paint, Liquid Pearls, Stickles; punches- SU! Round Tab punch and Small Oval punch, Martha Stewart Ribbon Threader and Doily Lace punches, Emagination bulb punch, unknown holly punch; Sizzix diecuts- Sizzlet Tags, Picket Fence, Primitive Hearts; Nestabilities- Double Ended Tags, Ribbon Tags Trio, Labels 1 & 2, Squares, Rectangles; Cuttlebug- A2 folders- Baby, Christmas Ornaments, Holly, Snow Dots, Snowflakes, dies- Snowflake #2, Snow Fun Combo, Treetops Combo, Ice Crystal Combo.

Amy’s Wardrobe

amys-wardobe-diane-zechman.jpgHappy Saturday everyone!  Don’t you just love the weekends?  :0)

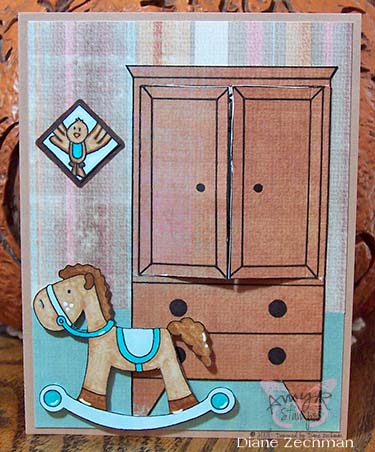
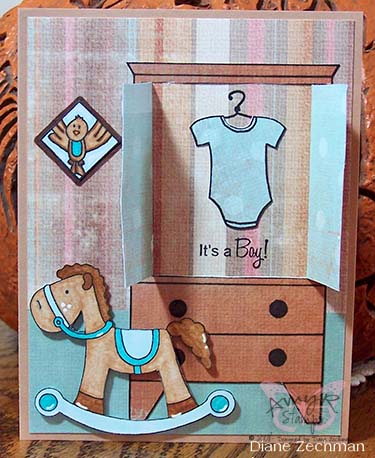
Today I am sharing a card I made with Amy’s new sets to be released on Monday at All That Scraps….Amy’s Wardrobe and Wardrobe Sentiments.  Let me tell you…when I opened up the set, I was surprised.  That wardrobe is huge!  There are a bunch of images to go with it too.  And the sentiment set complements it nicely.  On the front of this card, I paired the wardrobe with Christine’s rocking horse from her North Pole set because I wanted to make a baby card.  The horse was popped up on dimensionals.  I also stamped the little square on the wall (from Amy’s Build A Holiday set) to make a picture frame but I think it looks more like a window with the bird in it.  LOL.  The birdie is from Jen’s Forest Friends set. 

amys-wardobe-open-diane-zechman.jpgUsing an exacto knife, I carefully cut the doors open.  The wardrobe was stamped on double sided paper, so the inside of the doors are already “finished”.  The hanger was stamped onto the cardfront and the onesie was stamped, cut out and pieced on.  The dp from My Mind’s Eye was just perfect for this card.  The striped pattern worked great for wall paper and the other sides gave a great texture.  I’ve had it for a long time but it came in handy when I needed it!

Have a great Saturday! 

stamps- Amy’s Wardrobe, Wardrobe Sentiments & Build A Holiday- AmyR Stamps, North Pole- C.C. Designs, Forest Friends- Stampin’ Spot Studio; paper- Caramel, White, dp- My Mind’s Eye; ink- Palette Black; accessories- Copic markers, pop dots, gel pen

welcome baby

Wow- has it really been over a week since I posted? Yikes…sorry about that! Sometimes life just gets busy and you need to take a break. The good news is….my taxes are done! yay.gif I also have some news to share…but maybe I’ll save that for another day. (No, today’s cards have nothing to do with it. LOL!)

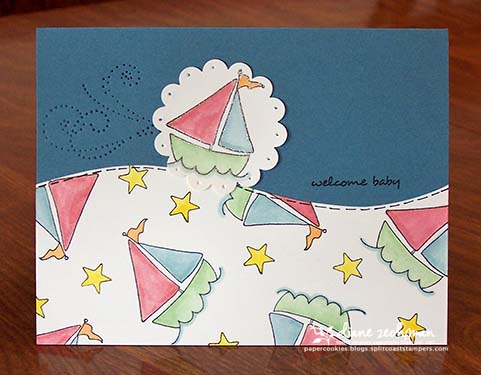
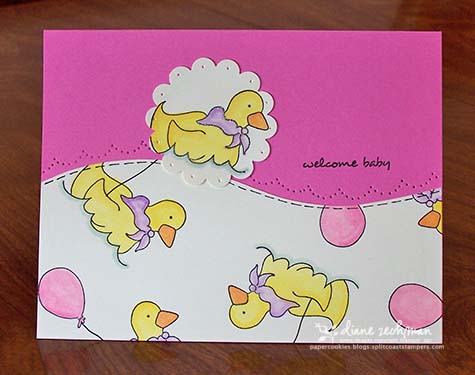
Here are 2 more cards with Anna Wight’s Bundle of Joy set. I used my One Sheet Wonder template to make these. I didn’t want a whole sheet of one design though, so I cut my sheet in half and made some for a boy and some for a girl. And I still have leftover pieces!
The images in the scallop circles have some glitter added. And I used the Priceless brass template to pierce some holes. The flourish was used to make some “wind” for the sailboat and the scallop edge was used to make some waves for the duckie.

welcome-baby-boy-by-diane-zechman.jpg

welcome-baby-girl-by-diane-zechman.jpg

stamps- Bundle of Joy by Whipper Snapper
paper- Vanilla, Bayou, Pixie
ink- Black, Summer, Pumpkin, Bayou, Cranberry, Pixie, Wasabi
accessories- Scallop circle punch, Priceless brass template, glitter pen

friendship chick

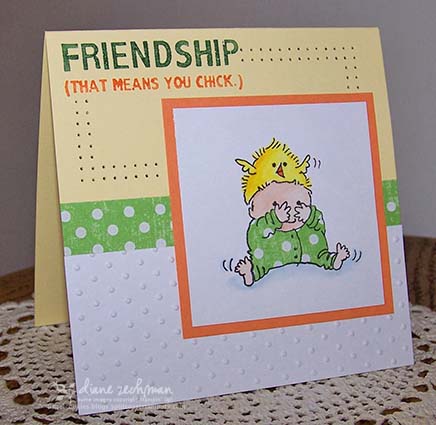
I know what you’re thinking….why did she put a baby on a “friendship” card? Well….I asked myself that question too but then I thought…why not? LOL. If we can send each other cards with animals & bugs & what-not, then babies should be fine too, right? (besides….I have no one to make a baby card for and these little ones are too cute to NOT be used!) 😉
When I saw these adorable baby images on Leigh O’Brien’s blog I just loved them! They are so darn cute! I have not been a fan of clear stamps (the older ones) so I was hesitant on trying them. So many stampers are loving the newer clear stamps, though, so I decided to give it a whirl and ordered them from Eclectic Paperie. Wow- they stamped great! I was pleasantly surprised! And can I also say that I love, love, LOVE the new Cuttlebug Swiss Dots embossing folder! It’s my new favorite!
I picked up the sentiment at ACMoore and thought it would be great to use with any chick or girl images. It was inked with markers before stamping. To finish the card, I pierced some holes with the SU mat pack.

friendship-chick-b-dmz.jpg

stamps- Peek-A-Boo Baby by Stampendous, words by Inkadinkado
paper- Banana, White, Orange, Bo Bunny- Shabby Princess
ink- Black
accessories- Cuttlebug Swiss Dots embossing folder, piercing tools